
How to Host an Extra Virgin Olive Oil Tasting at Home
Editor's note: We cannot imagine a better host for an olive oil tasting than contributor Nancy Ash. Ash was among the first tasters in the U.S. to be trained in the International Olive Oil Council’s assessment methodology and has served on the California Olive Oil Council Taste Panel since its inception in 1998.

"Harvest in Tuscany and olive oil tasting-20" by Visit Tuscany is licensed under CC BY-NC-SA 2.0.
Arriving at your friend’s home, you notice the regal appearance of the dining room, yet something is amiss. Although the table is elegantly arranged with several wine glasses at each place, there is no wine in sight. There are also no dinner plates, utensils or even appetizers on the table, just small plates with apple slices. No – this isn’t the latest fad diet; welcome to an olive oil tasting.
Consumers are faced with many choices when shopping for olive oil. Some may consider olive oil as just a commodity, nothing more than a minor ingredient in recipes. Although this may be true of the lesser-grade oils such as pomace, pure, and extra light, you may be surprised by the range of flavors found in extra virgin olive oils.
Preparing for an Olive Oil Tasting
Nancy Ash
An olive oil tasting party can be a fun and educational way to sample and compare oils, and you don’t have to be an expert in order to host the occasion. Consider the following guidelines as a “recipe” for hosting an olive oil tasting at home.
An olive oil tasting is similar to a wine tasting, just as both wine and olive oil are liquids obtained by pressing fresh fruit. (Yes olives are a fruit!) There are hundreds of types of both grapes and olives: variety and region of origin are just two of the many factors that affect the flavors of both wine and olive oil.
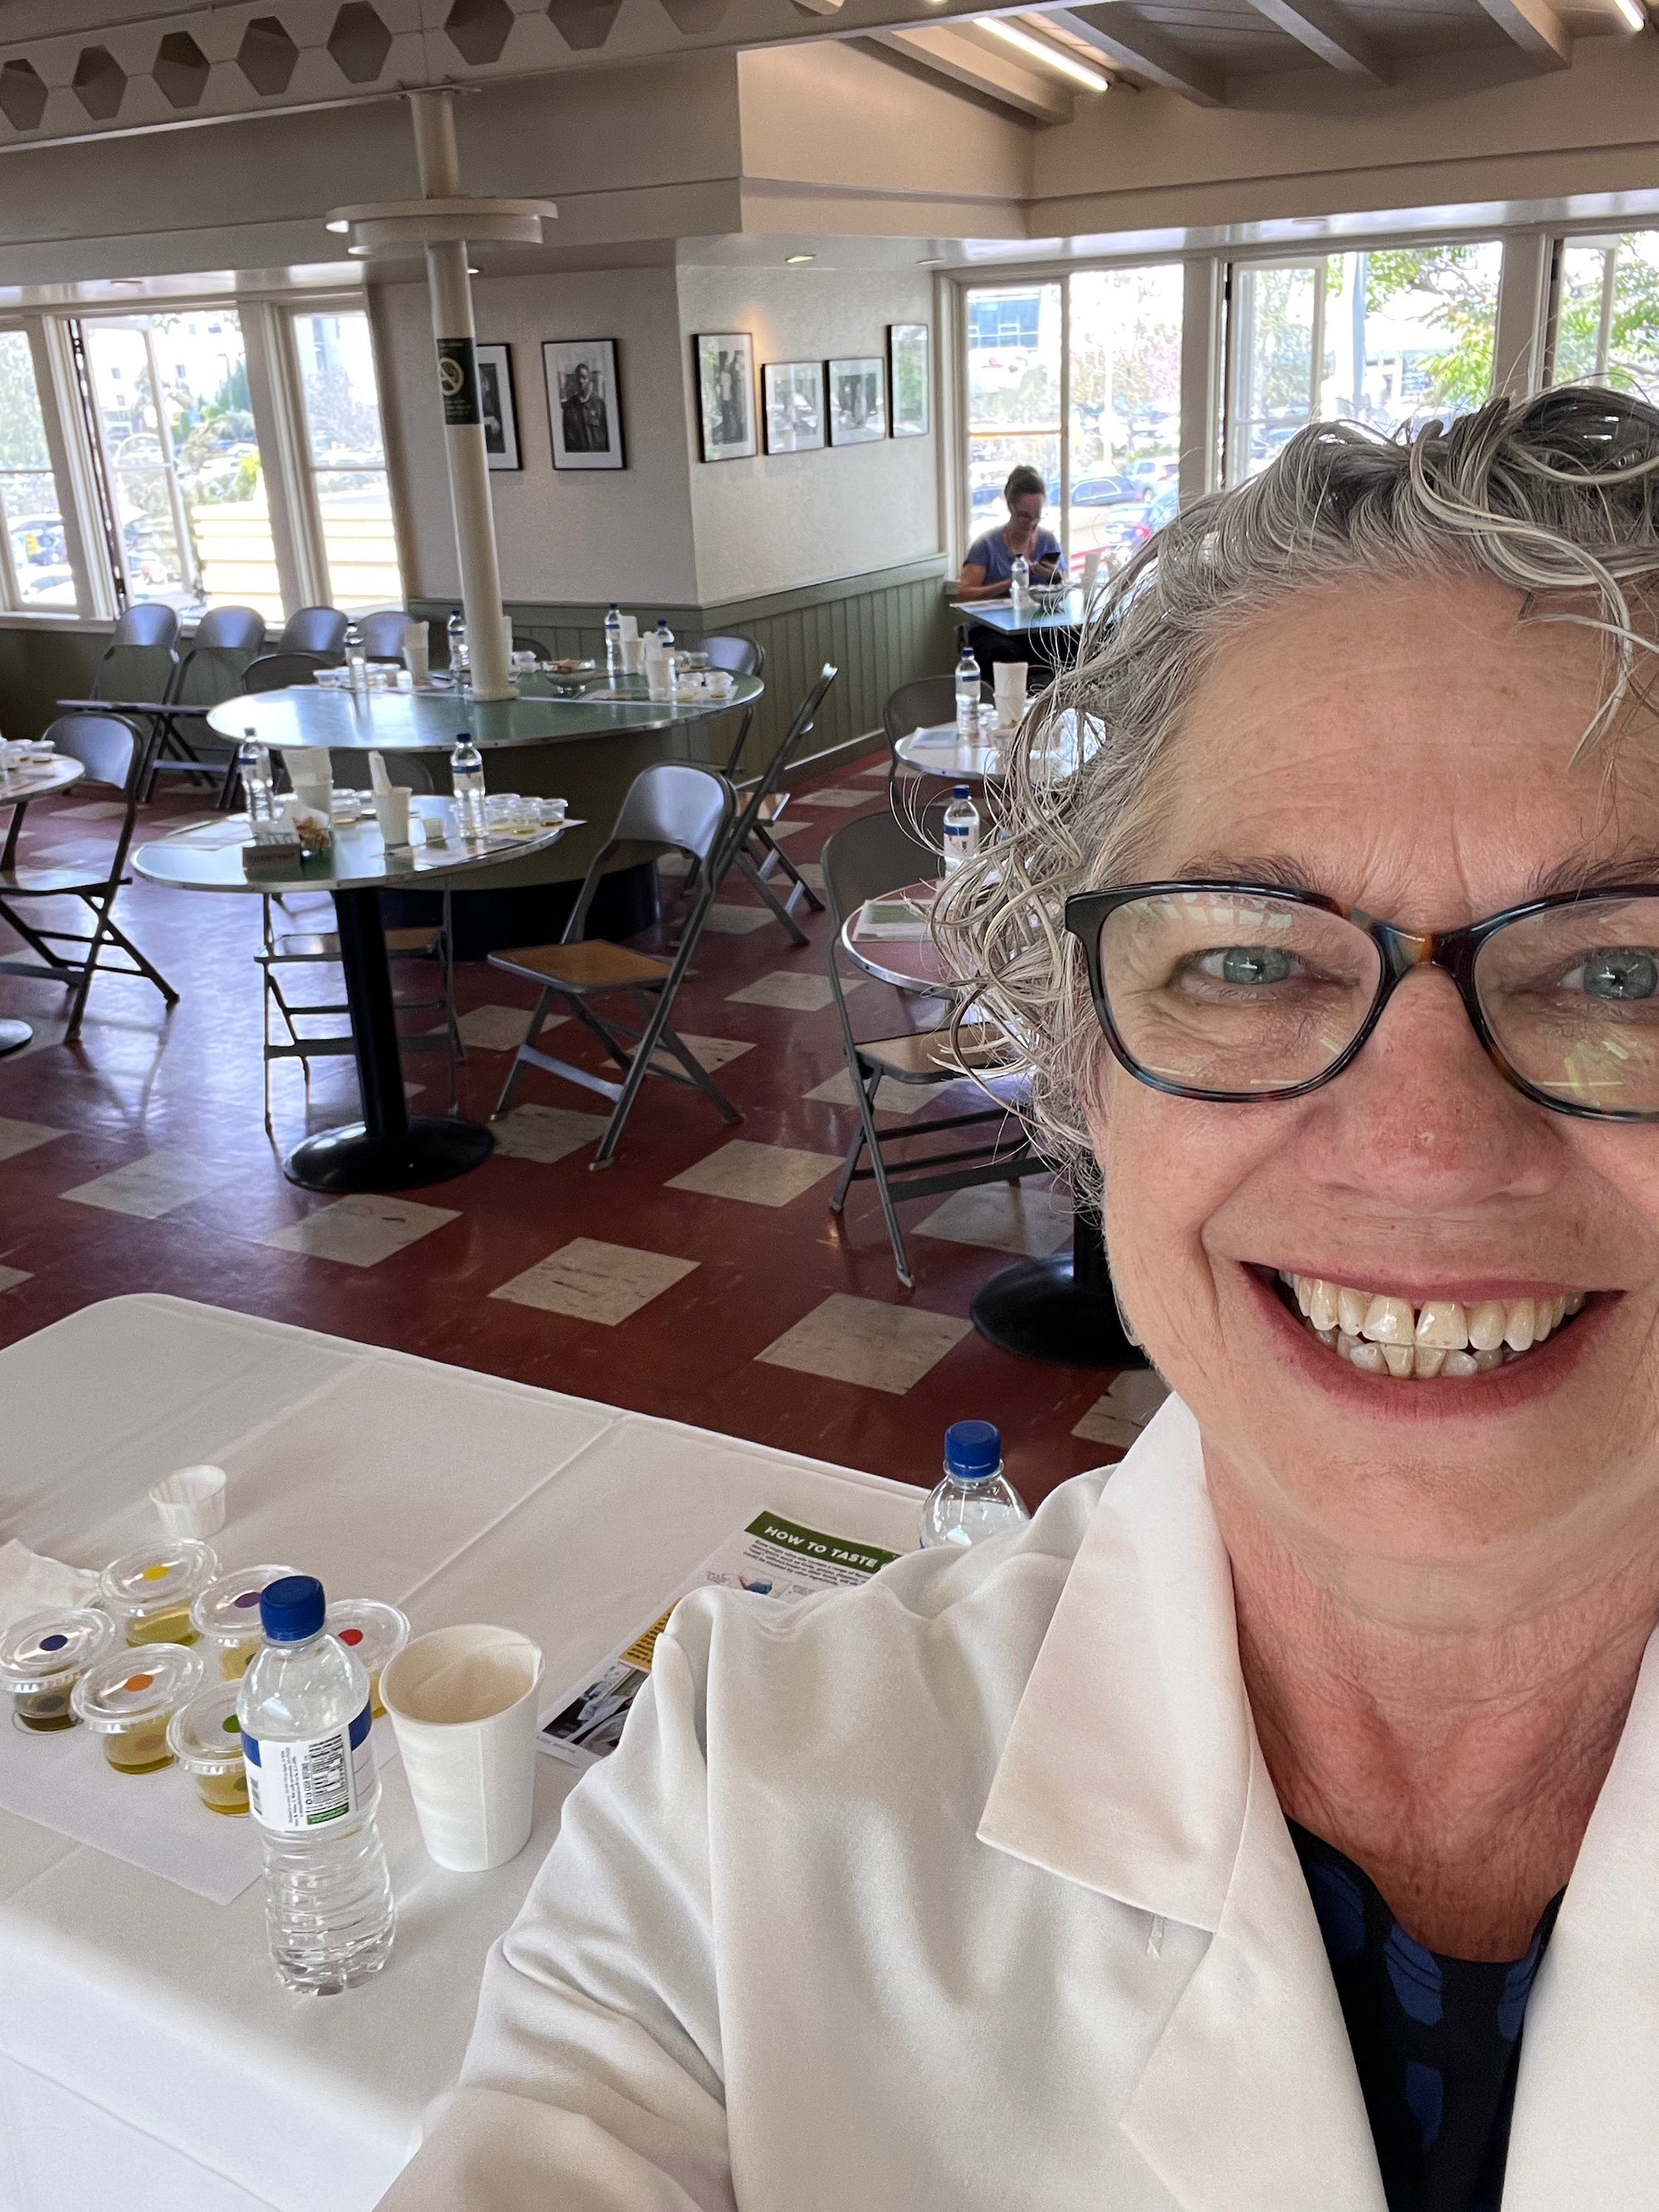
As the tasting host, your first consideration is how many people can comfortably sit at your table. Each person will need a place setting including a placemat (preferably a sheet of white paper), a glass for each oil (wine glasses are best), a water glass, apple slices, napkin, and a pen or pencil to jot down notes. You may also want to provide “spit” cups; disposable plastic works well but if they are translucent insert a napkin or paper towel into them.
Selecting Oils to Taste
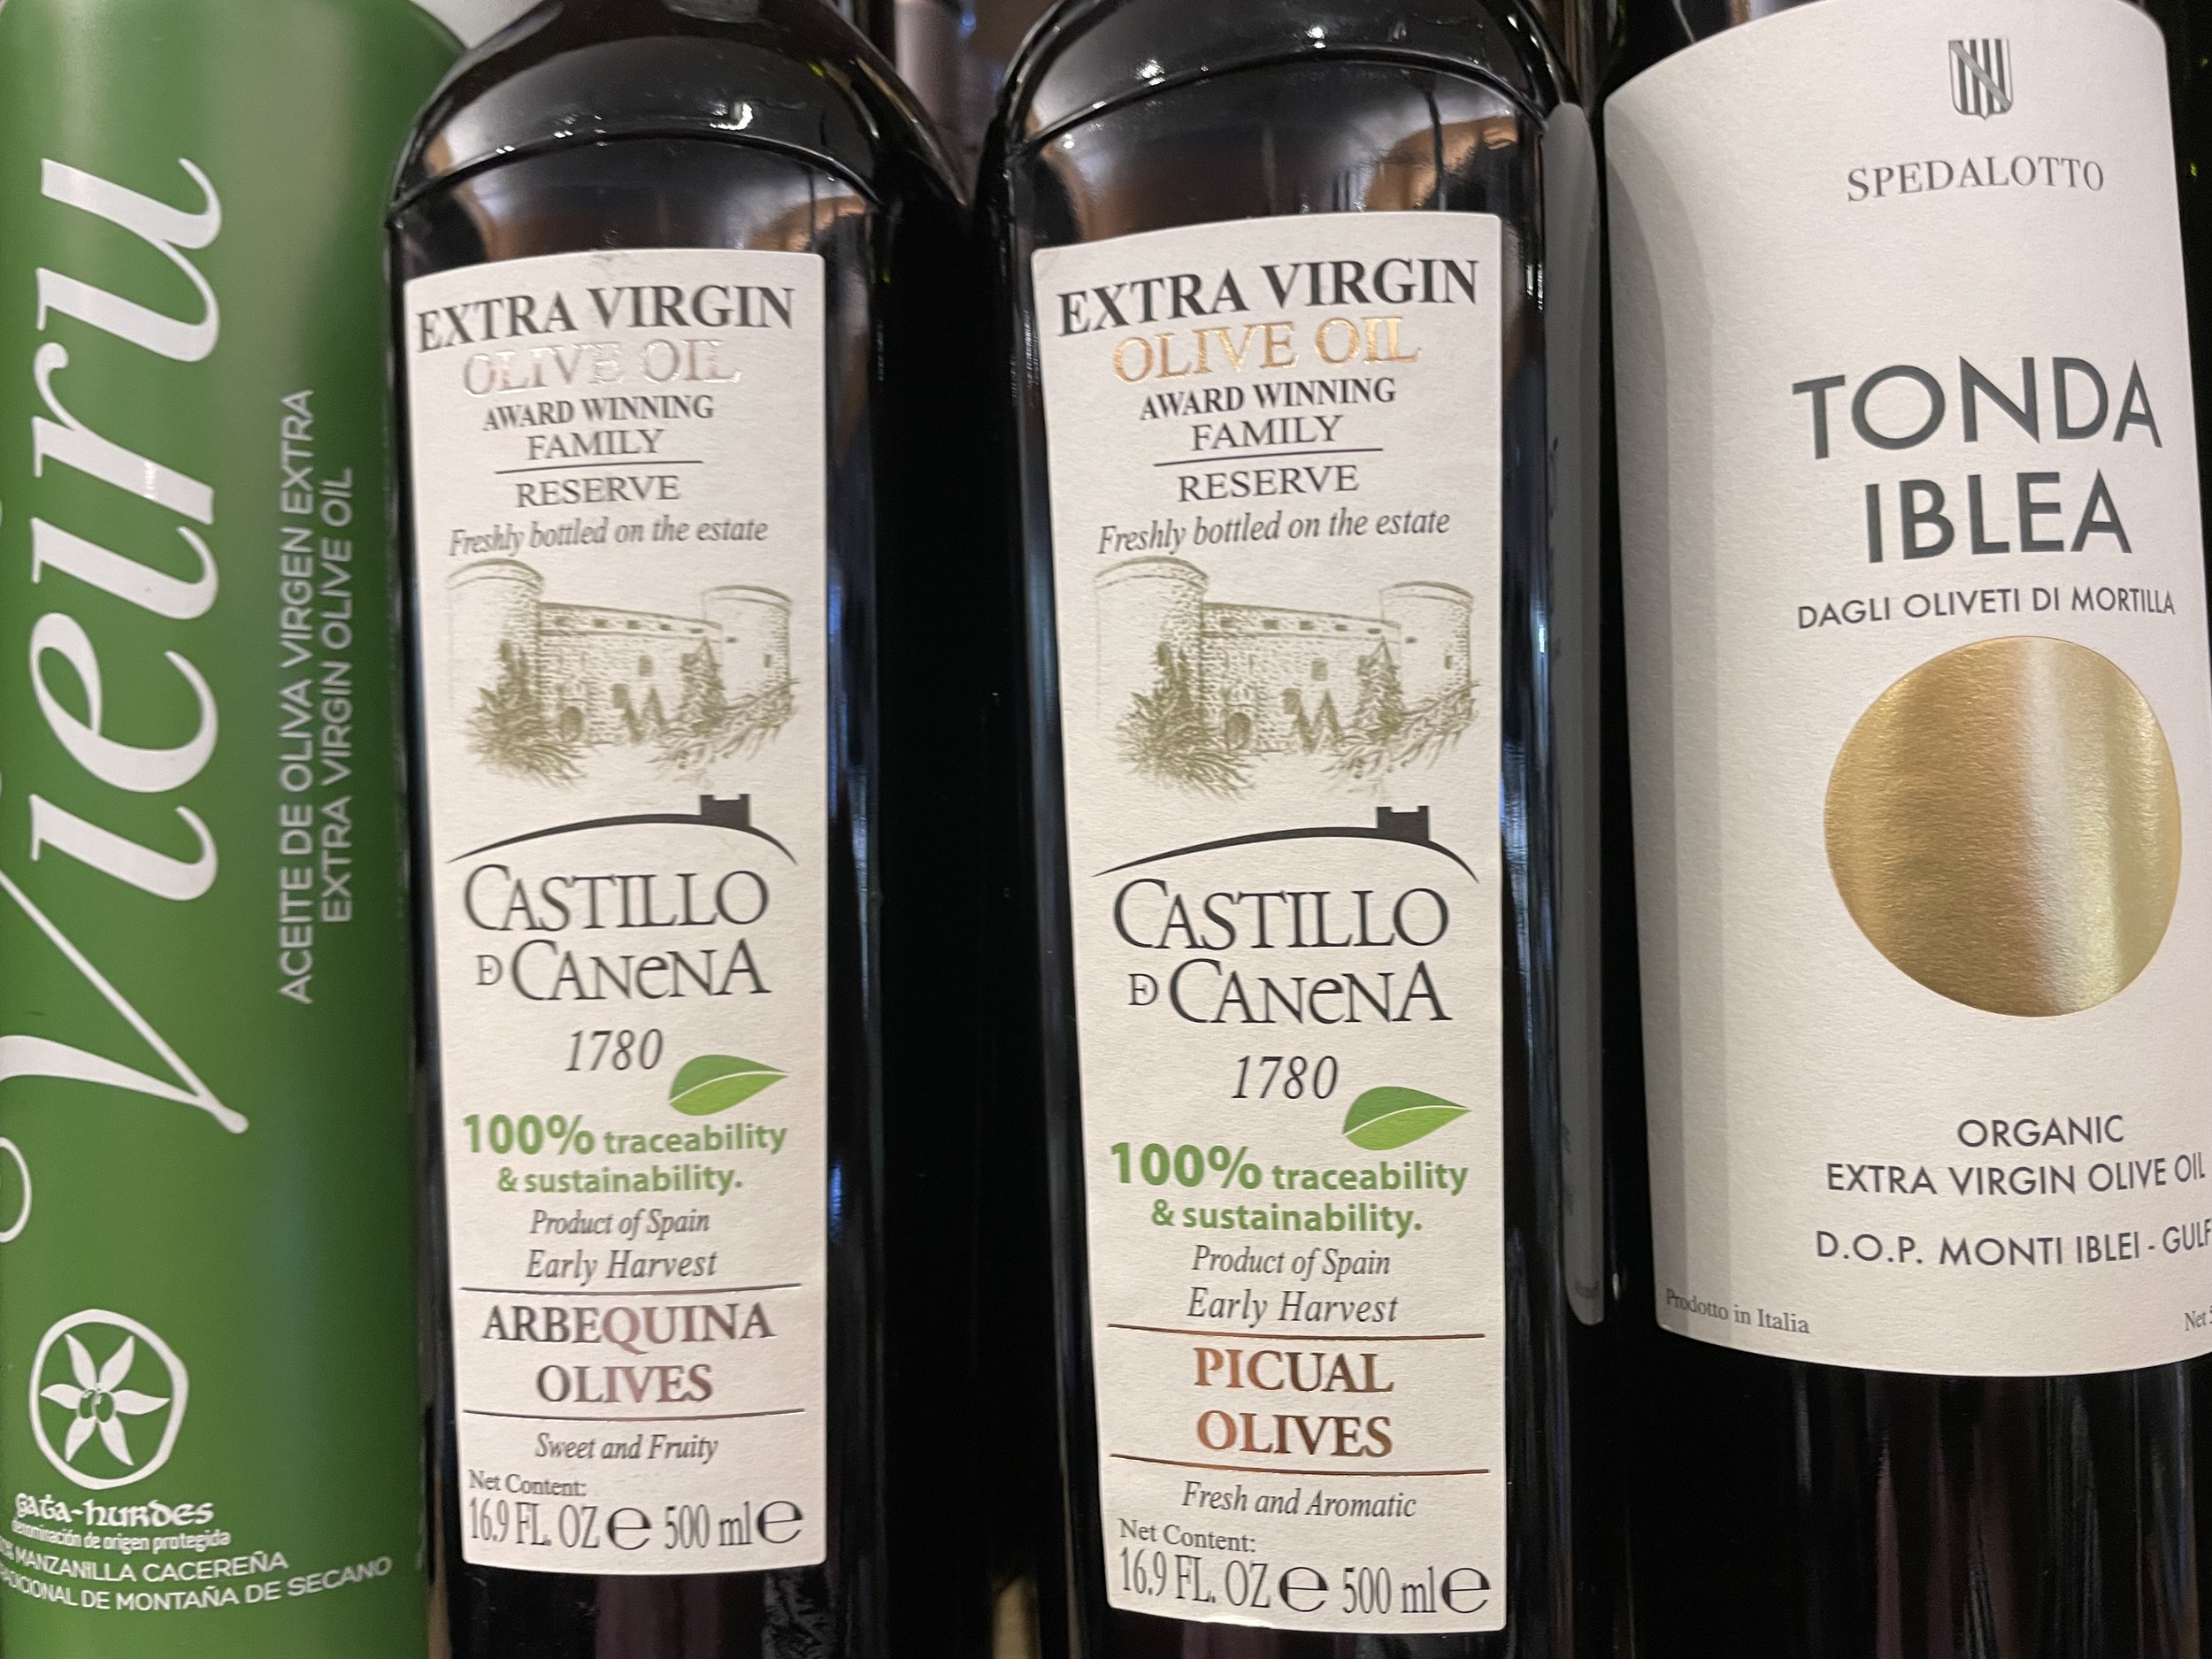
Olive oil bottles
Be sure to select only extra virgin olive oils. It can be a random assortment, or a themed comparison based on region, olive variety, price range, or consider having your guests bring a favorite oil. The number of oils to serve depends upon the number of guests you have, the tasting experience of those guests, and the amount of time for the activity. For beginners, provide a minimum of three and a maximum of six oils; allow about 10 minutes per oil for tasting and discussion.
Tasting Blind or Not
It is not necessary to conduct the tasting blindly, however it does add an element of fun and surprise. To organize a blind tasting, place the bottles inside paper bags (secure the top of the bag to the bottle with a rubber band or tape), and mark them with a letter before pouring the samples. Or you can make the tasting “double blind” by having one person bag the bottles and a second person assign the codes. Blind tastings prevent preconceptions from affecting the results; perhaps the guest who thinks s/he prefers Italian oils may be surprised to learn that her/his favorite is from California instead!
Preparing Your Samples

Cobalt blue cups professionals use for tasting
After pouring the samples, cover each glass with a small piece of paper so aromas won’t escape. Keep the glasses covered throughout the tasting, except of course when you are tasting that particular sample. Evaluate one oil at a time; if you smell all of them before you taste them, you will confuse your senses.
The 4 Steps to Evaluation Oils
There are four steps to evaluating oils called the four Ss: Swirl, Sniff, Slurp and Swallow.
First, gently swirl the oil in the glass to release the oil’s aromas. Do this by holding the bowl of the glass in one hand while the other hand holds the cover on top. After swirling, uncover the glass and quickly take a deep sniff (inhale) of the oil. Stop to consider if the aroma was pleasant or unpleasant, faint or strong, and write down your impressions including descriptions such as fresh-cut grass, tomato leaf, flowers, fruit such as apples, spices such as cinnamon, and herbs such as mint, (but don’t feel limited by this terminology!).
Next, taste the oil by slurping a small amount into your mouth while also “sipping” a bit of air. This step might take some practice, but don’t be embarrassed by any noises you may make. By mixing the oil with air as you slurp, you help to distribute it all over your tongue and the roof of your mouth, which allows you to sense more of the aromas and flavors. While the oil is on your palate, be sure to notice its retro-nasal aroma through the back of your nostrils.
Lastly, swallow the oil (really - it’s only a small amount), although some people might choose to use their spit cup instead.
Tasting Notes

Taking notes
Write down all your thoughts about the oil. Think about how intense the aromas and flavors were. Describe the oil’s characteristics such as bitterness (on the palate), and pungency (in the throat). Was the oil balanced, or did one characteristic overpower the others? Would you consider the oil mild or robust, or in between (medium)? And remember that contrary to popular belief, the oil’s color is not an indicator of its flavor or quality, so there’s no need to comment on it.
Palate Cleansing

Sliced apples
In between sampling the oils, tasters will need to cleanse their palates. At wine tastings we use water to clean the mouth, however oil is not water-soluble which makes it more difficult to refresh one’s palate. Bread and other foods can neutralize flavors in oil, so instead we use tart green apples (like Granny Smiths) to refresh the palate, followed by either still or sparkling water. If you must have bread with the oils, use plain, sweet baguette with no seeds.
Taste then talk!
It is best to discuss each oil once everyone has finished tasting it as its impression will be fresh in your mind and you can re-taste during the discussion. When your guests have finished sampling all the oils, have them rank the oils from most to least favorite and compare the results. (This should make for lively conversation!)
You can extend the experience by serving foods prepared with the different oils. This can be as simple as serving bread or bruschetta, cheeses, and salads and allowing your guests to drizzle their favorite oils onto the foods to observe if pairing oils with certain foods changes their perceptions. Or you can serve a more elaborate meal, incorporating the oils from the tasting into each course, including dessert.
Comparative tastings will help you find your favorite oils, as well as build your flavor memory and descriptive vocabulary. Learn to appreciate the wide range of flavors in extra virgin olive oil, and these oils will become the “stars” in your cooking.
Note: This story was adapted from an article originally published in California magazine in Spring 2007. Author retains all rights to the article.