
How Chef Philip Khoury Makes Olive Oil Croissants
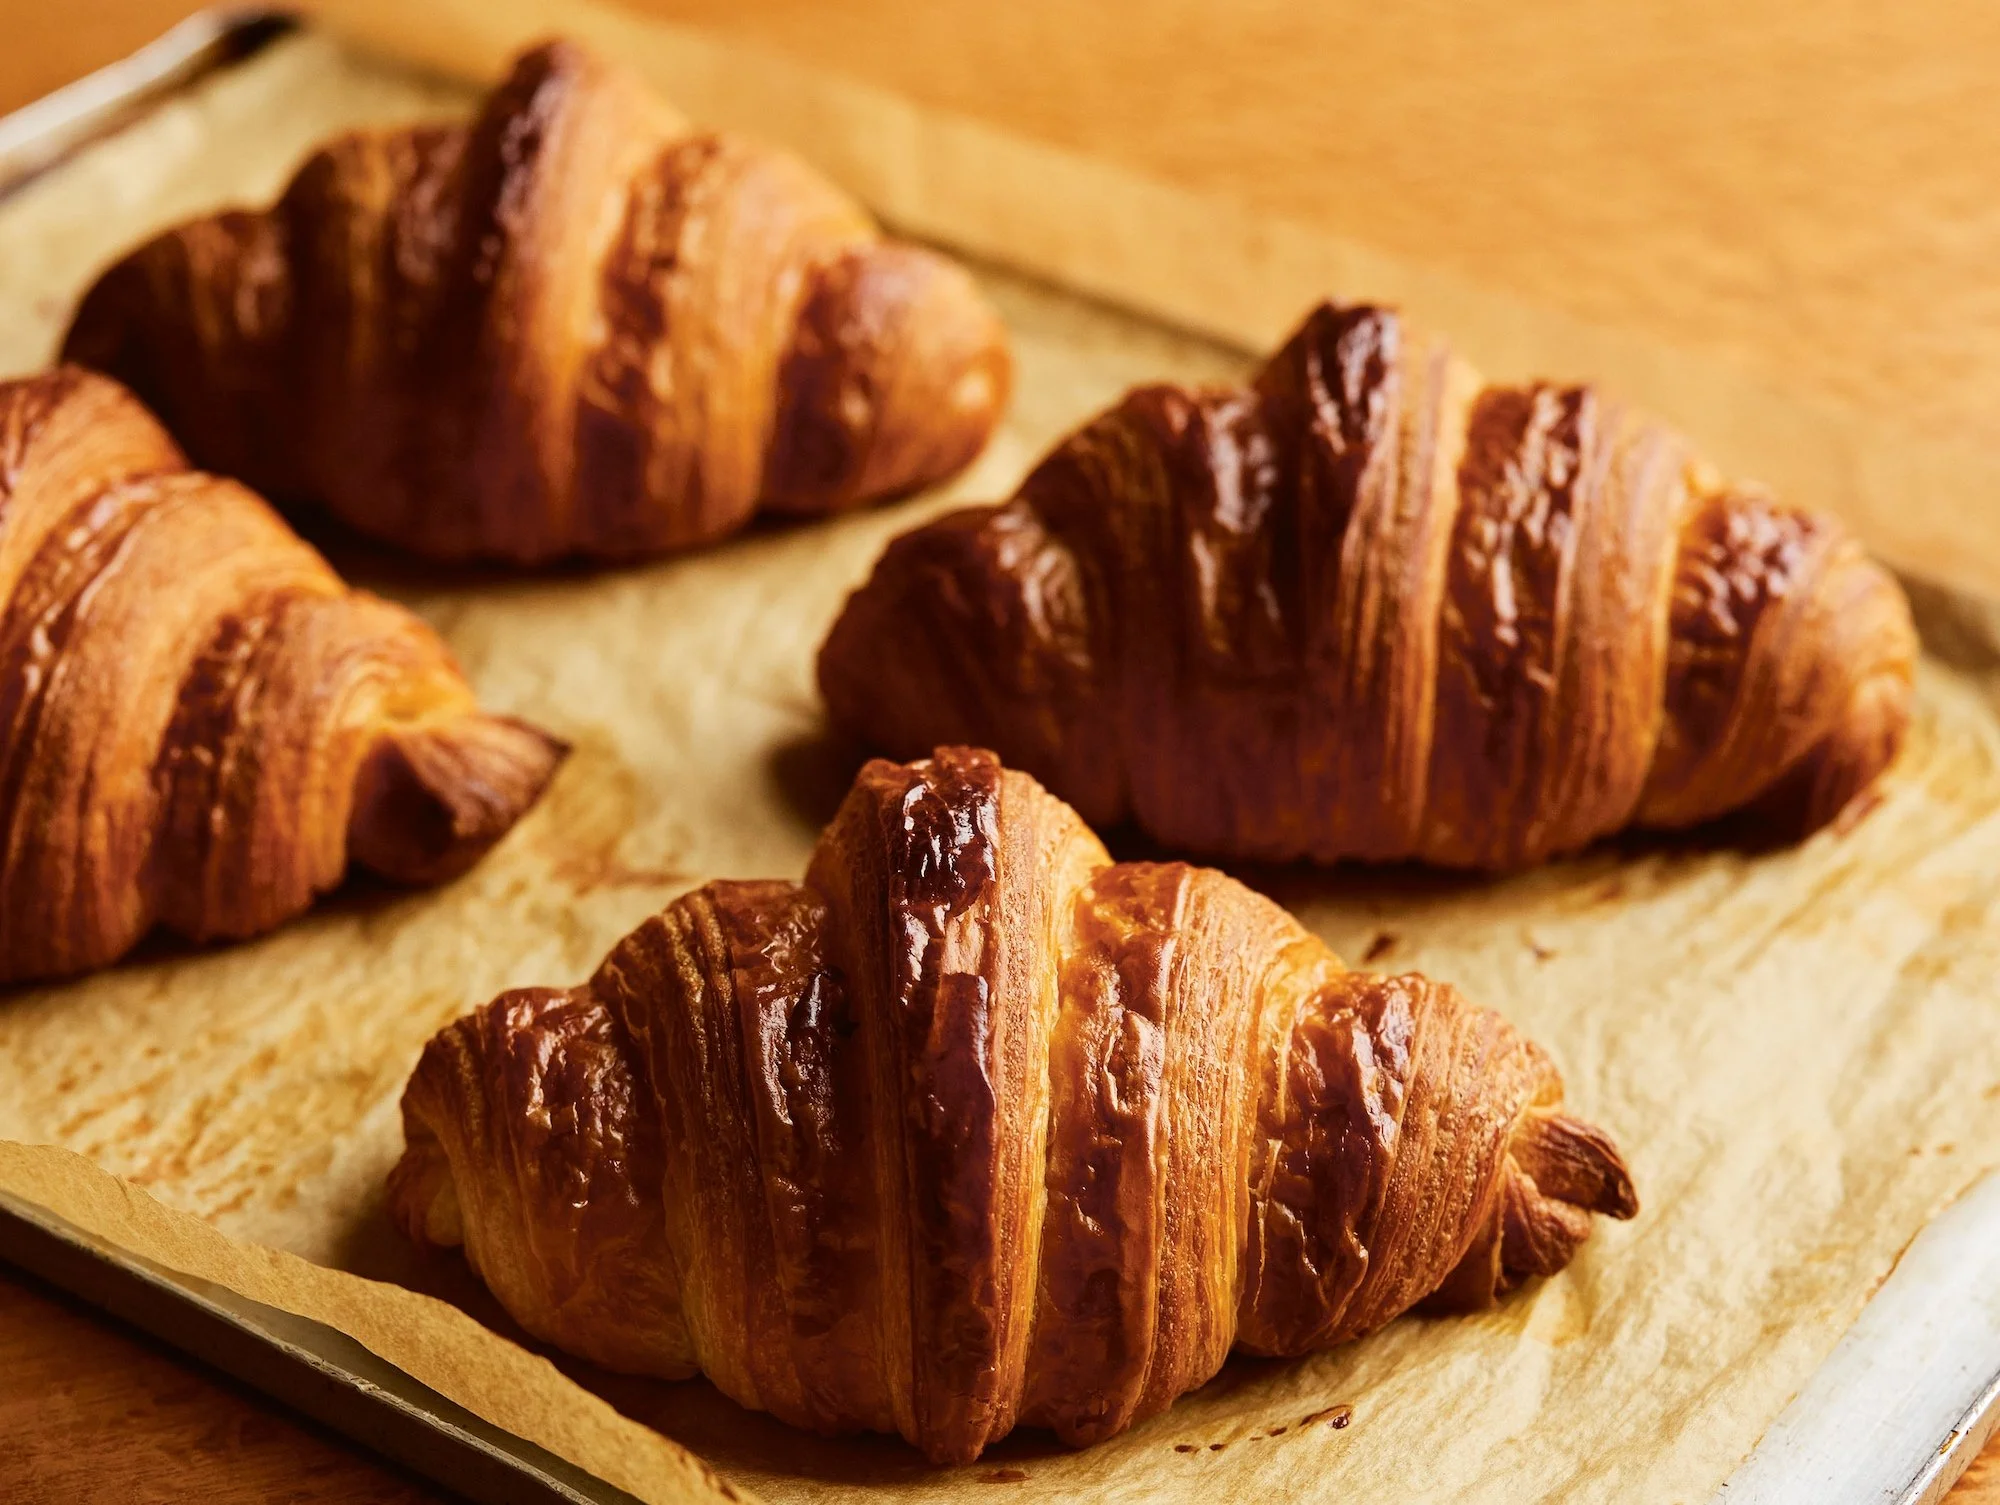
Baked Olive Oil Croissants. Photo credit Matt Russell
Making croissants at home is not for the faint of heart. Making them without their signature rich, aromatic butter presents an additional challenge.
London-based pastry chef and cookbook author Philip Khoury has embraced olive oil for plant-based baking, including recipes for Olive Oil Butter and Olive Oil Croissants in his 2025 book, Beyond Baking: Plant-based Baking for a New Era. Determined to create plant-based recipes for the home cook without relying on industrial baking ingredients, he paired olive oil with cocoa butter to create a butter block that can be folded into layers of yeasted croissant dough, producing the pastry’s airy structure and rich flavor.

Philip Khoury. Photo credit Matt Russell
For Khoury, creating indulgent baked goods without animal products is an important part of his work. In his 2023 book, A New Way to Bake: Re-imagined Recipes for Plant-based Cakes, Bakes and Desserts, he set out to prove that there is no single way to bake, and that plant-based bakes were an evolution in baking, not a sad substitution. His goal was to unlock new ways to create flavor, texture, and indulgence using familiar pantry ingredients. By leaving aside eggs and dairy, Khoury opened the door to innovative baking, allowing those who choose to skip animal products for health, ethical, or environmental reasons to have their delicious and just desserts.
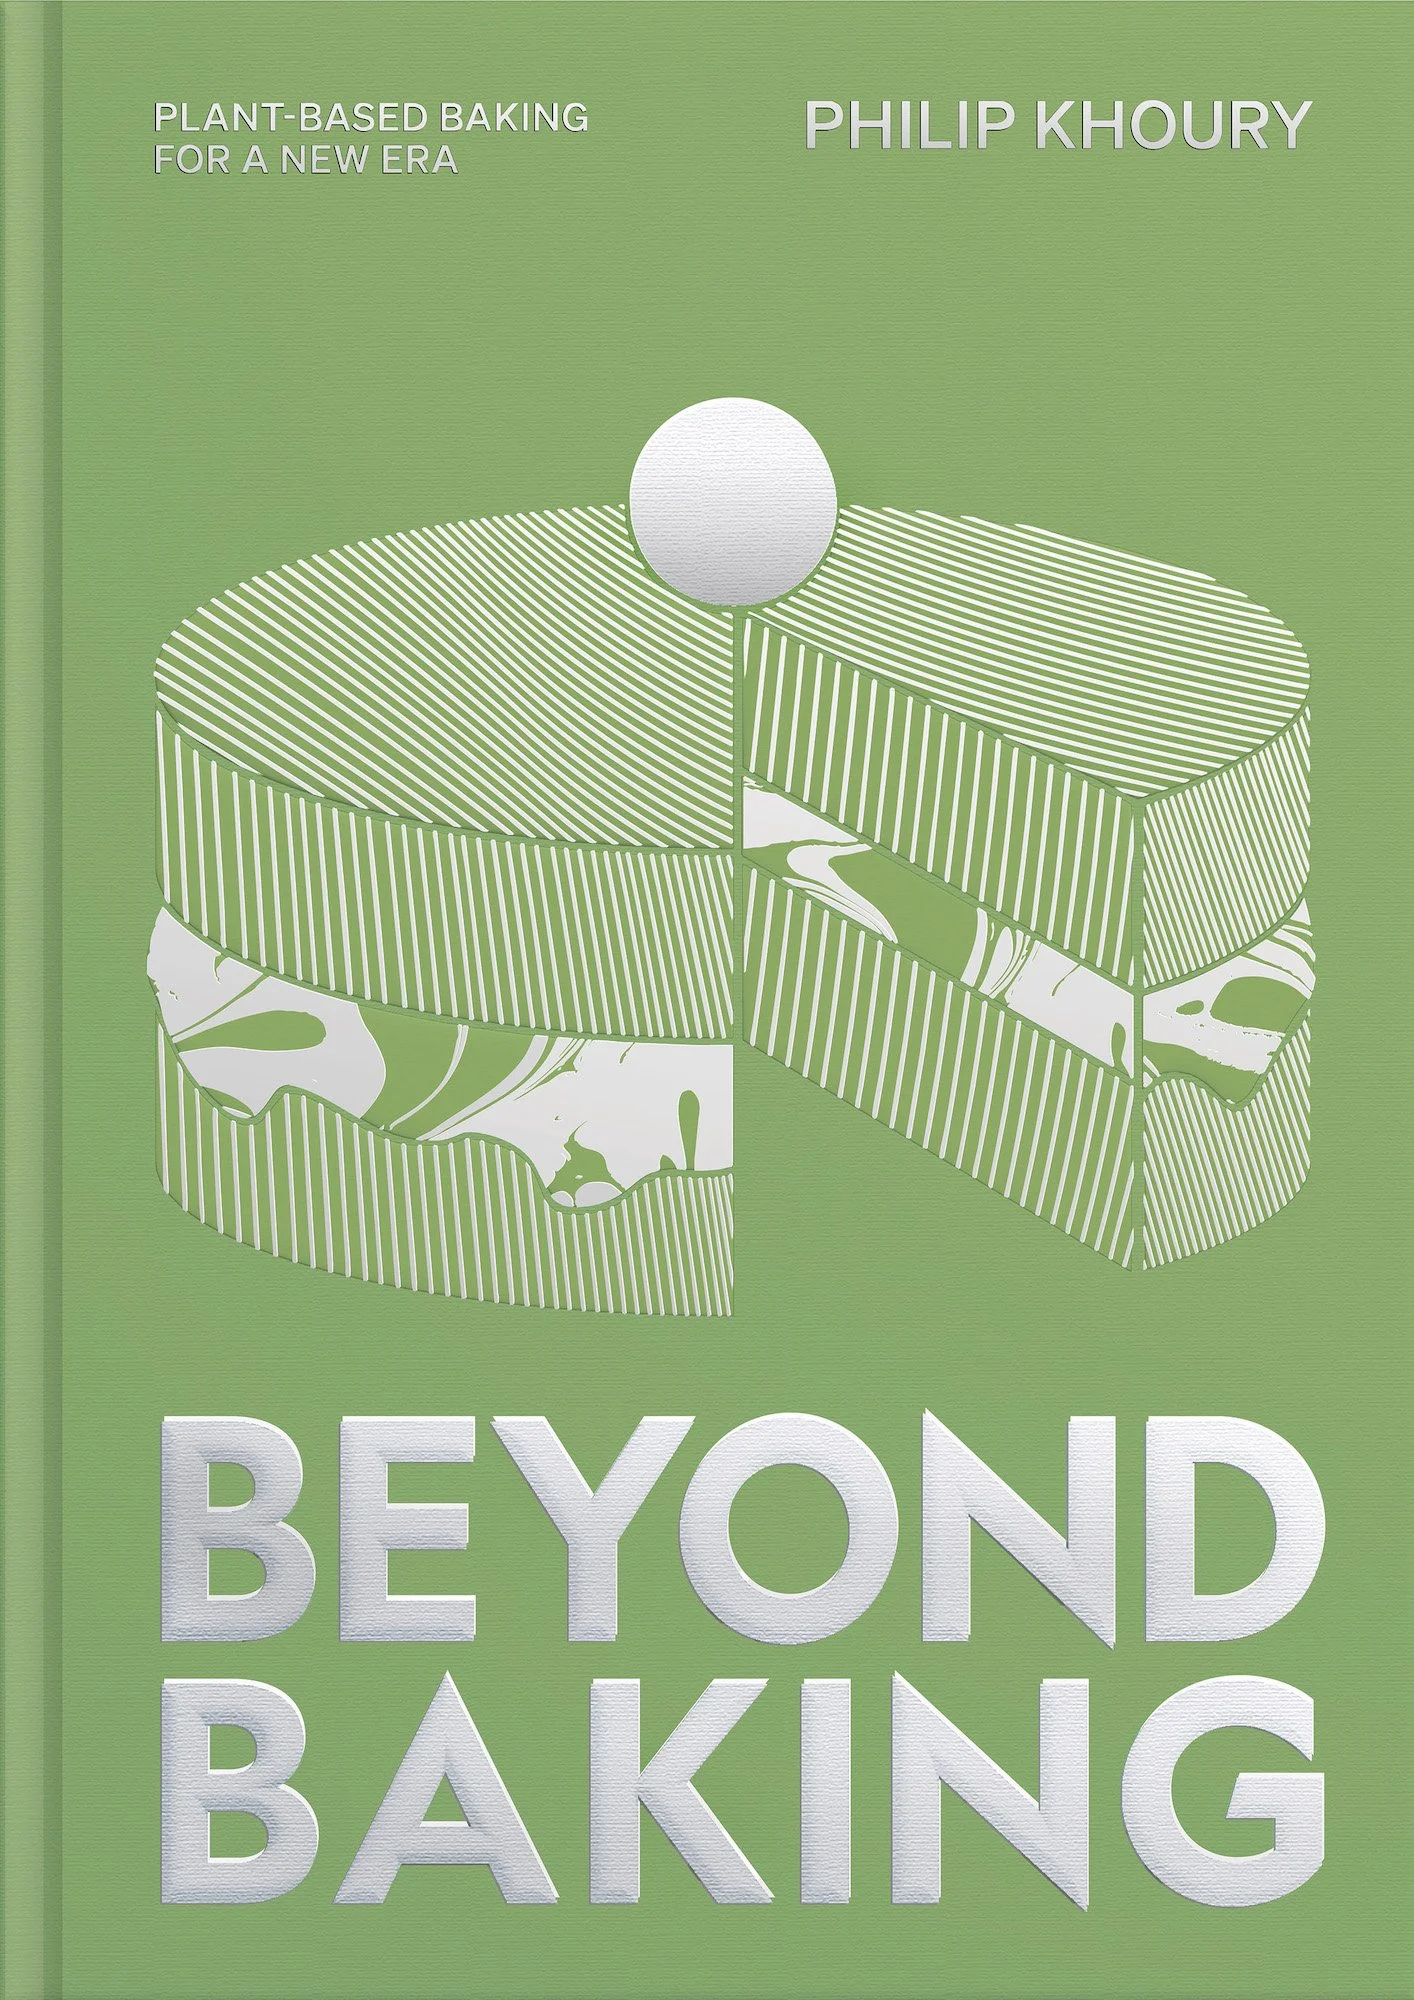
Beyond Baking by Philip Khoury
Beyond Baking pushes this idea further with more advanced baking recipes. Do they really work — and more importantly, do they taste good? The happy answer is yes, indeed! I tested the Olive Oil Butter and Olive Oil Croissants recipes and was pleased with the results. And I suspect that with a few ingredient tweaks and more practice, they could be even better, like most recipes.
Key Ingredients for Olive Oil Croissants
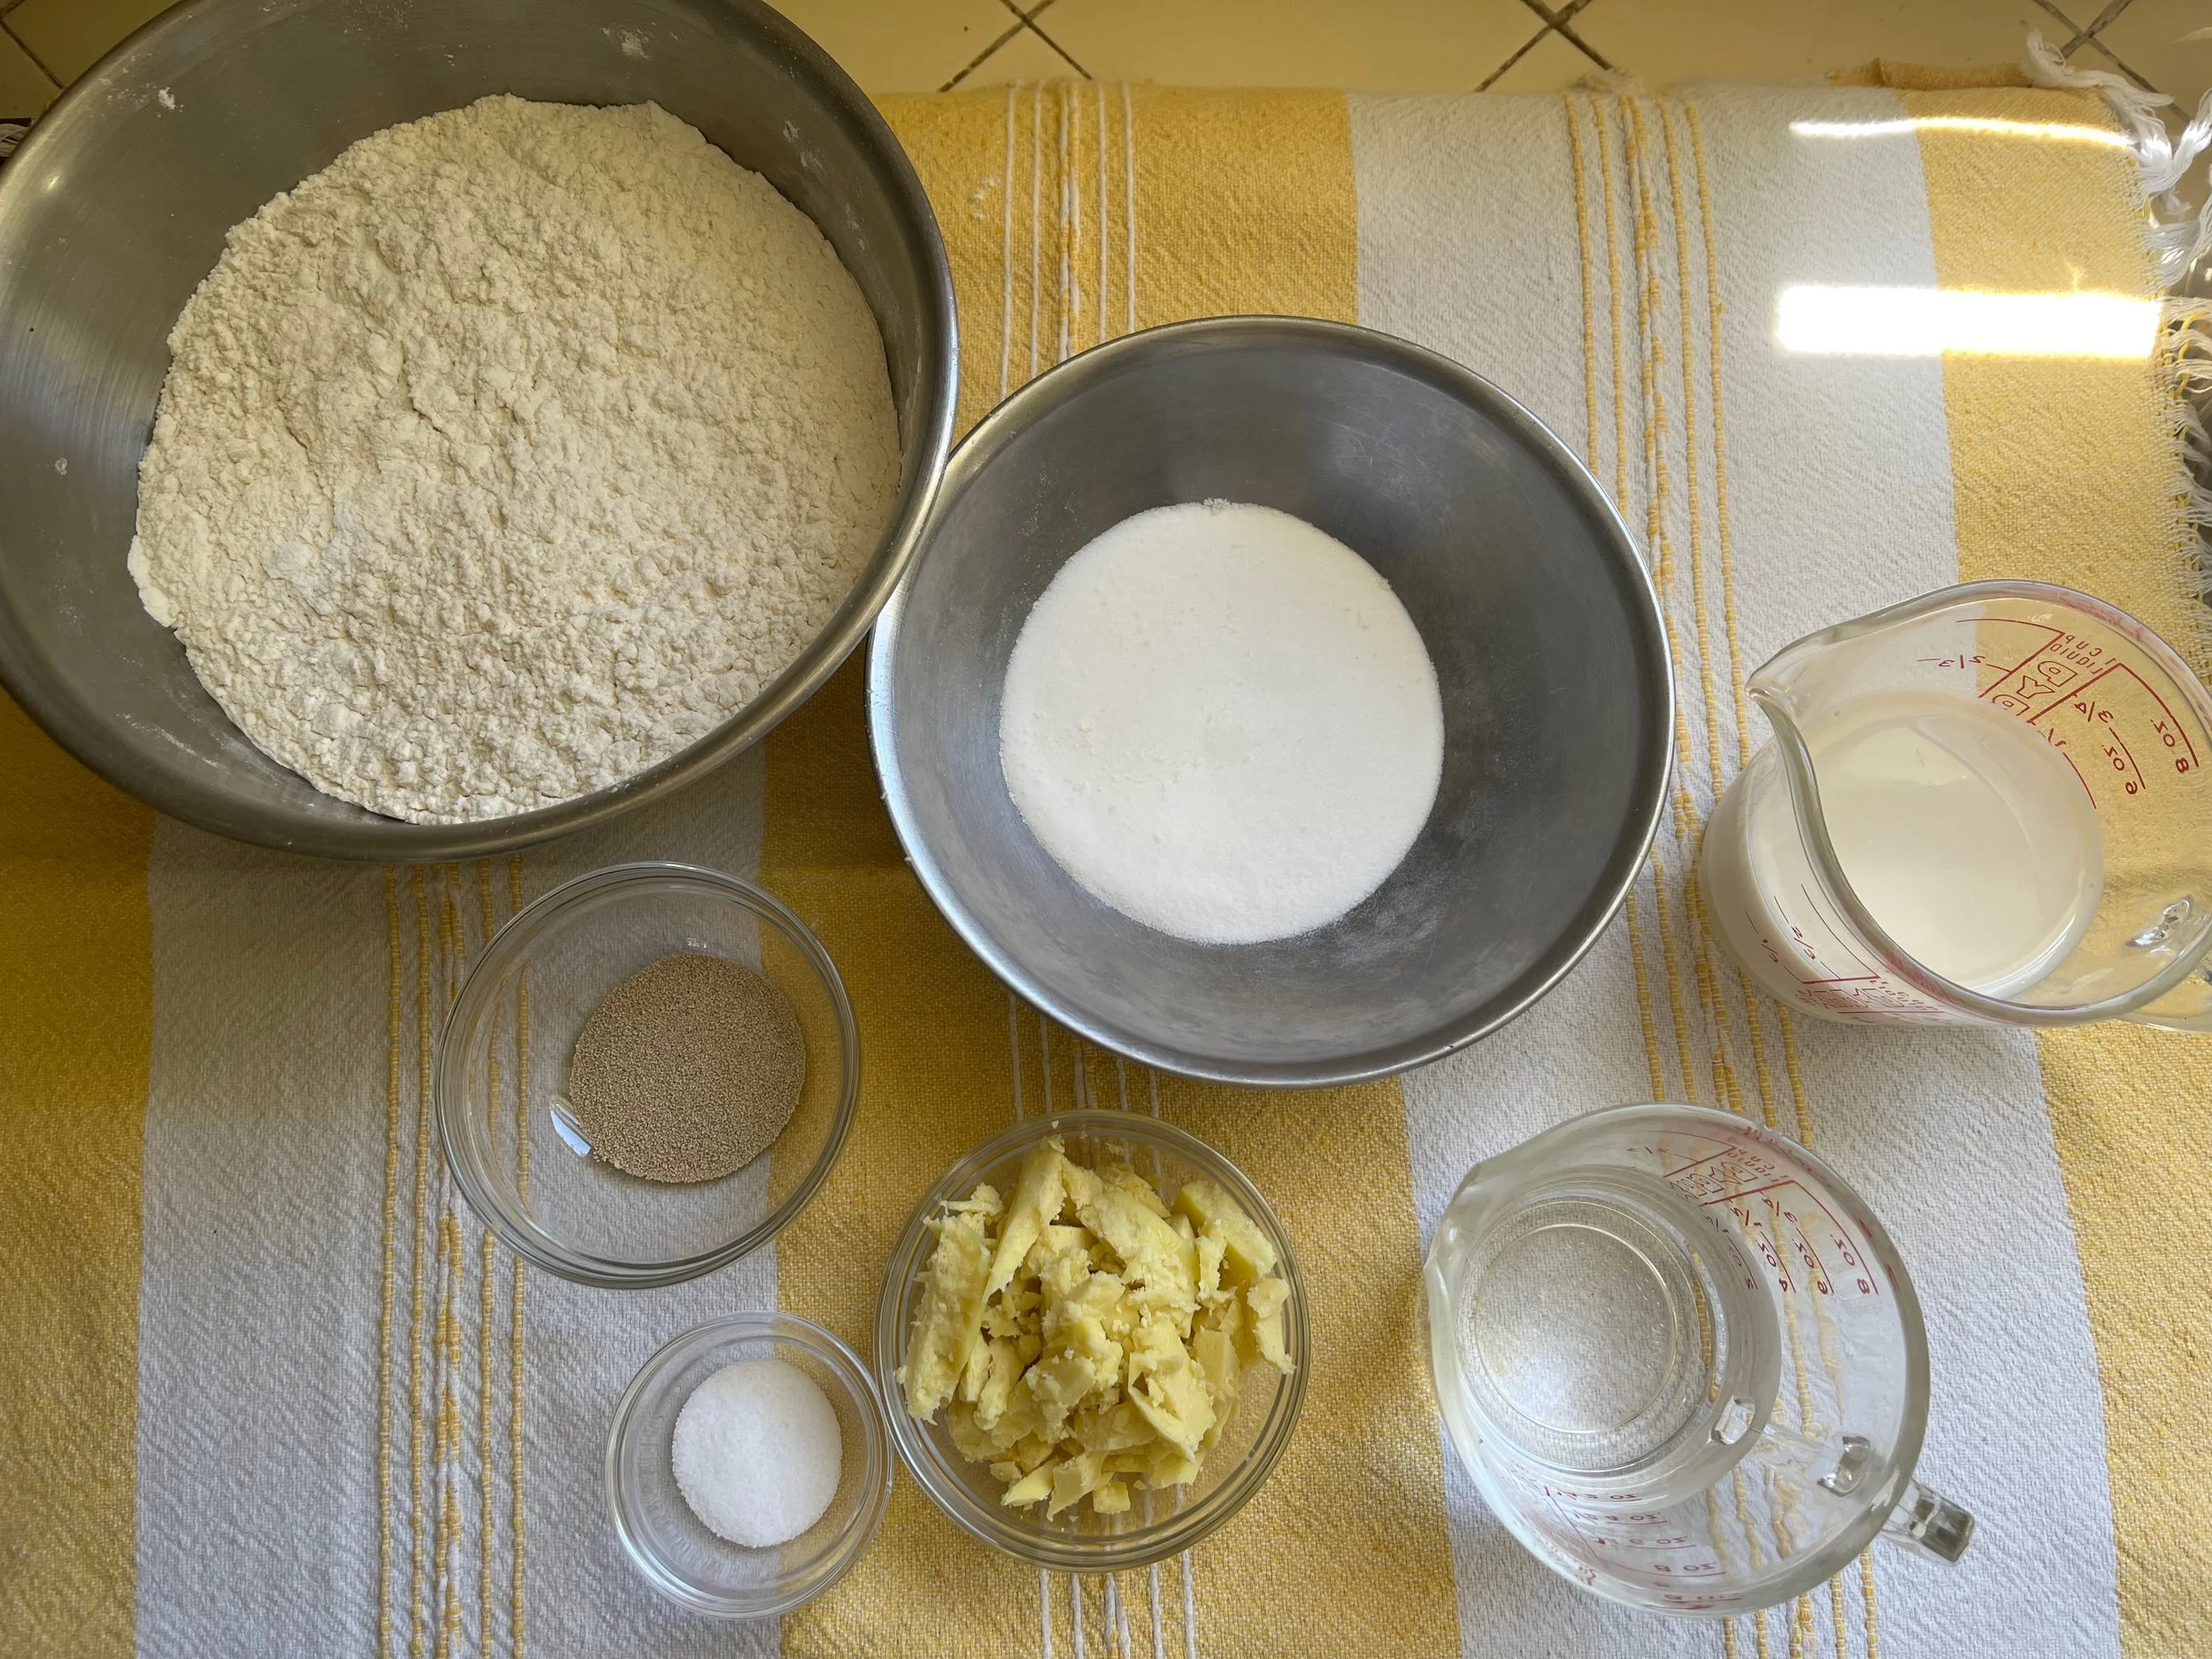
Olive Oil Croissant ingredients. Photo credit Kara Nielsen
The most eyebrow-raising ingredient in this croissant recipe is the Olive Oil Butter block made with extra virgin olive oil and deodorized cocoa butter. Aside from that, the ingredients are straightforward: flour, sugar, instant yeast, sea salt, soy milk, and water. There is also a plant-based glaze made with cooked sweet potato, soy milk, olive oil, and either agave syrup, golden syrup, or light corn syrup. The glaze was new to me but easy to make, and it adds a golden hue to the finished croissants.
Yet it’s never that simple, baking. Let’s start with the flour. The recipe calls for all-purpose (AP) flour but notes that T45 flour is preferred. This highly refined French wheat flour has a low mineral ash content and is traditionally used in France for croissants, brioche, and other delicate pastries. The right flour creates a dough that is strong enough to hold its structure but flexible enough to stretch during lamination, when the dough is layered with fat, folded, rolled out, and folded and rolled again. That’s where the layers come from. Along with proper lamination, proofing, and baking, these characteristics help create the honeycomb-like structure of a well-made croissant.
Sadly, I did not have any T45 flour in my California kitchen. I used my very favorite organic, unbleached all-purpose flour, bought in bulk at my local grocery store. And the croissants still worked out very well, though they were a bit heavy. Entirely tasty though!
Making and Rolling Out the Dough
Making croissants is a two-day project that requires lots of time: time for the yeast to activate, time for the dough to rest, time to roll out the dough and to let it rest some more. Yet it makes for a very pleasant daytime activity that you can dip in and out of while doing other things, so don’t let that get in the way.
The dough comes together like bread dough, a blend of flour, liquid, sugar, salt, and yeast. It is kneaded by hand or with a stand mixer, then given a rest. Khoury does an excellent job of describing each step, indicating time amounts and neat techniques for handling the dough. The dough is eventually rolled out into a large rectangle, and the 8 x 8-inch Olive Oil Butter block is placed in the center. The ends of the dough are folded over the block, and then the turns begin.
This is where the magic happens. The dough encasing the block is rolled out again, with the block getting thinner and thinner. After another fold, the dough rests before repeating this process. Each time, the butter block is spread out between the folds until finally the dough is put to bed in the fridge overnight, where its flavor develops. (The entire process is demonstrated clearly with diagrams in the book, and Khoury also has a YouTube version of the demo.)
Forming, Proofing, and Baking the Croissants
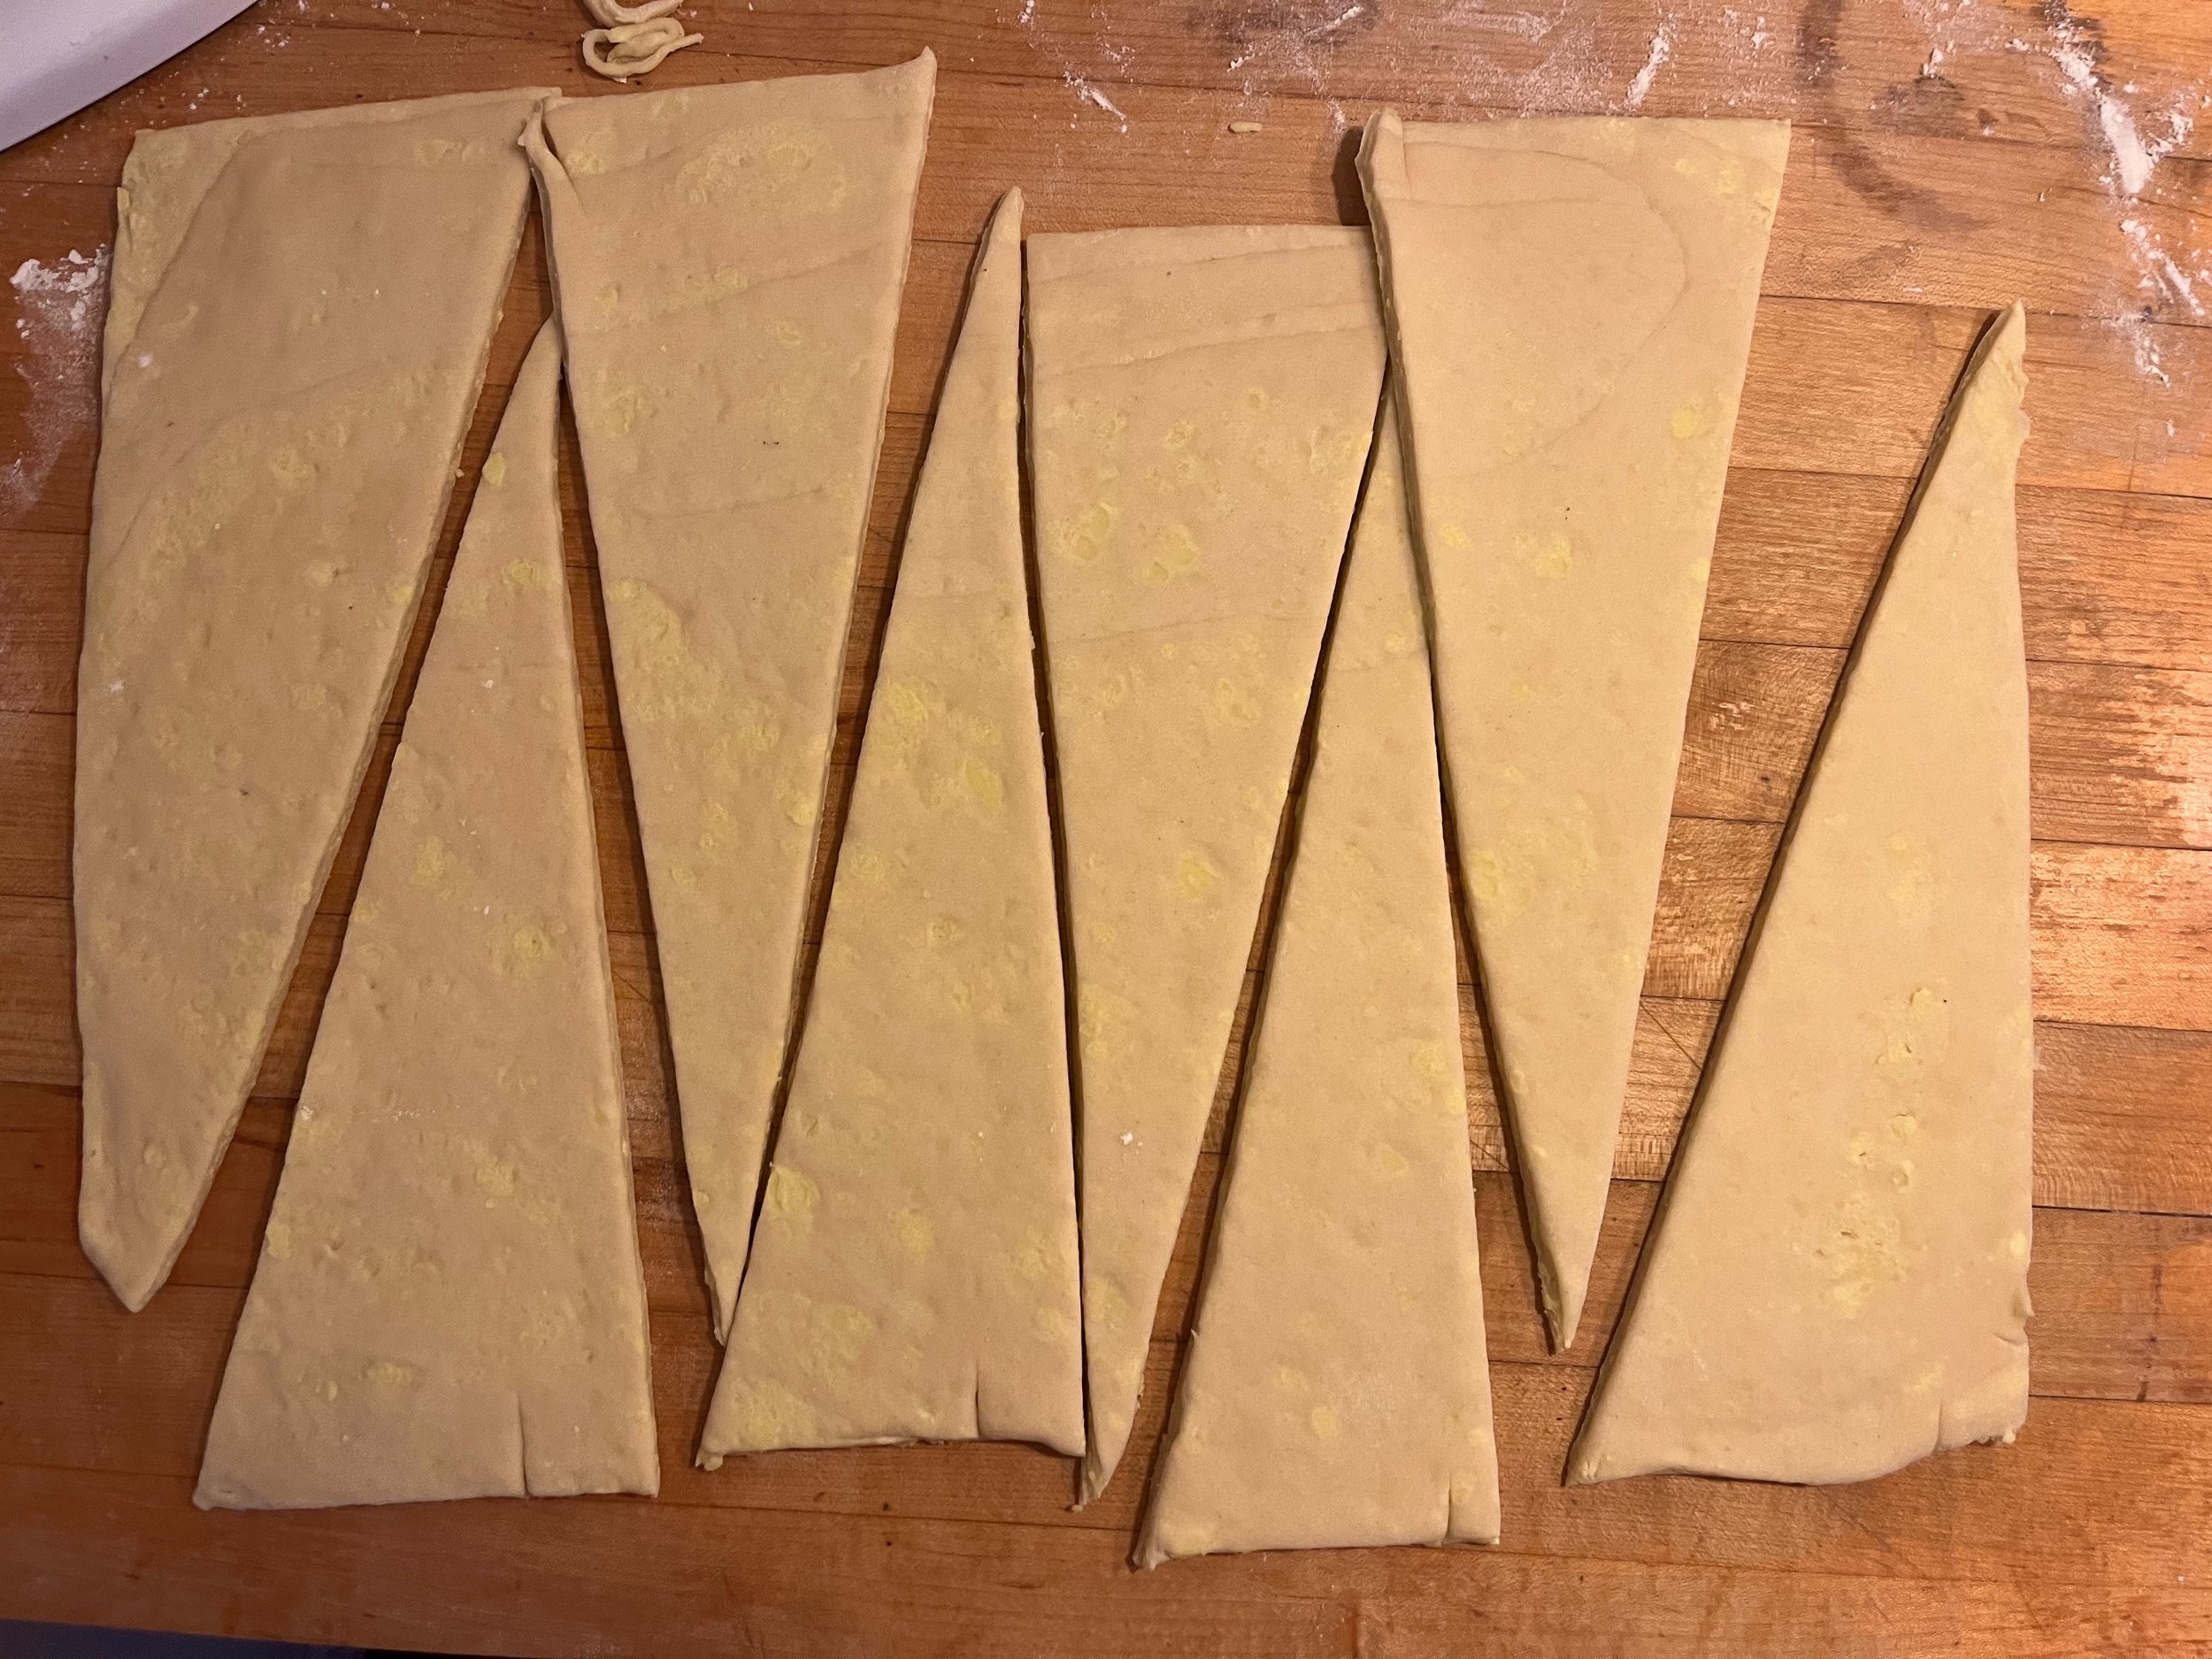
Cutting Olive Oil Croissant dough. Photo credit Kara Nielsen
The advantage of making the dough on one day and leaving it overnight is that you can start early the next morning, cut, shape, proof, and bake your croissants, and still eat them warm and fresh before noon. Plus, after all the dough rolling the day prior, rolling out the dough only once will feel like a breeze. You will need to plan on a three-hour proof time, but go enjoy a coffee and the paper while you wait.
The chilled dough is rolled out to a rectangle and triangles are cut in a specific pattern that Khoury illustrates in the book. Each one is rolled up into a crescent shape and set on a baking sheet to rise, or proof, as bakers call it.
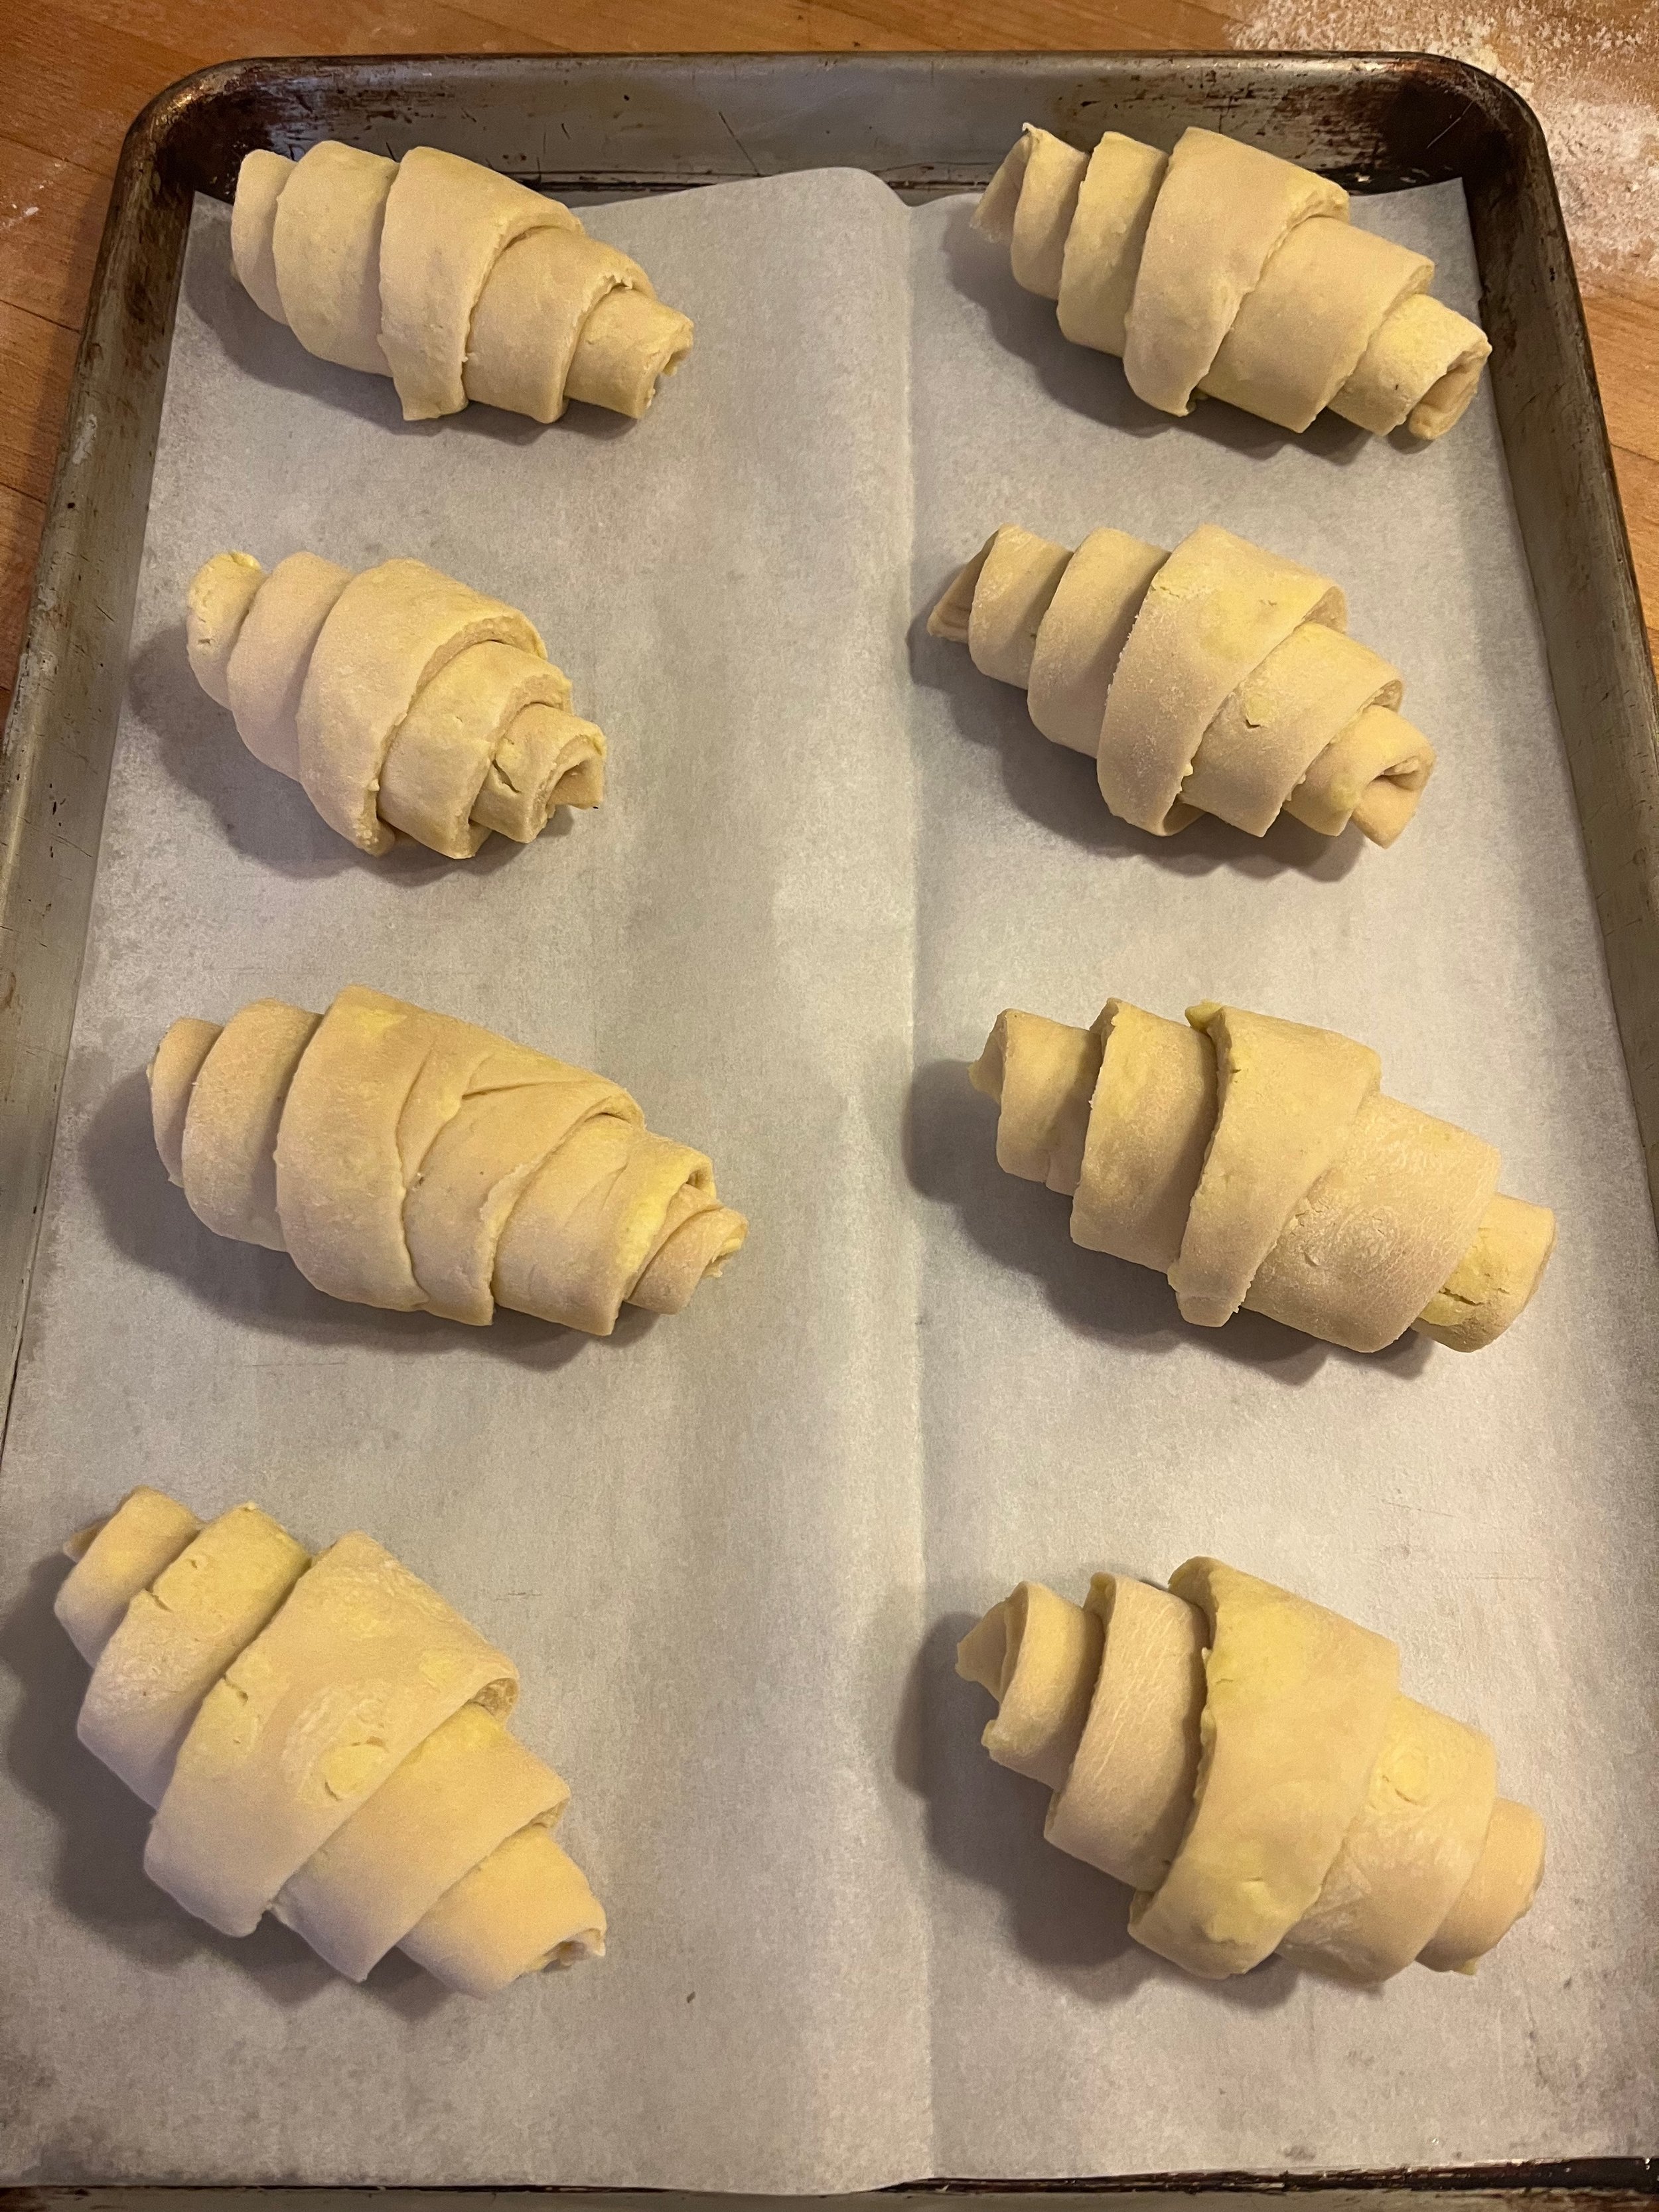
The rolled croissant dough. Photo credit Kara Nielsen
One tricky part: The dough needs to be in a warm environment with a steady temperature. In bakeries, there are proofing boxes with temperature and humidity controls to ensure the ideal rise.
I am lucky enough to have a gas oven that stays warm enough from the pilot light — about 79°F — to function as a proofing box. The goal is to keep the shaped croissants cool enough that the Olive Oil Butter doesn’t melt, while the dough and yeast are warm enough to rise. In his book, Khoury shares suggestions for creating a proofing box with a large plastic storage tub lined with a small heater (!!). He also recommends a spray bottle of water to mist the croissants while they proof, although I forgot this part and mine turned out just fine.
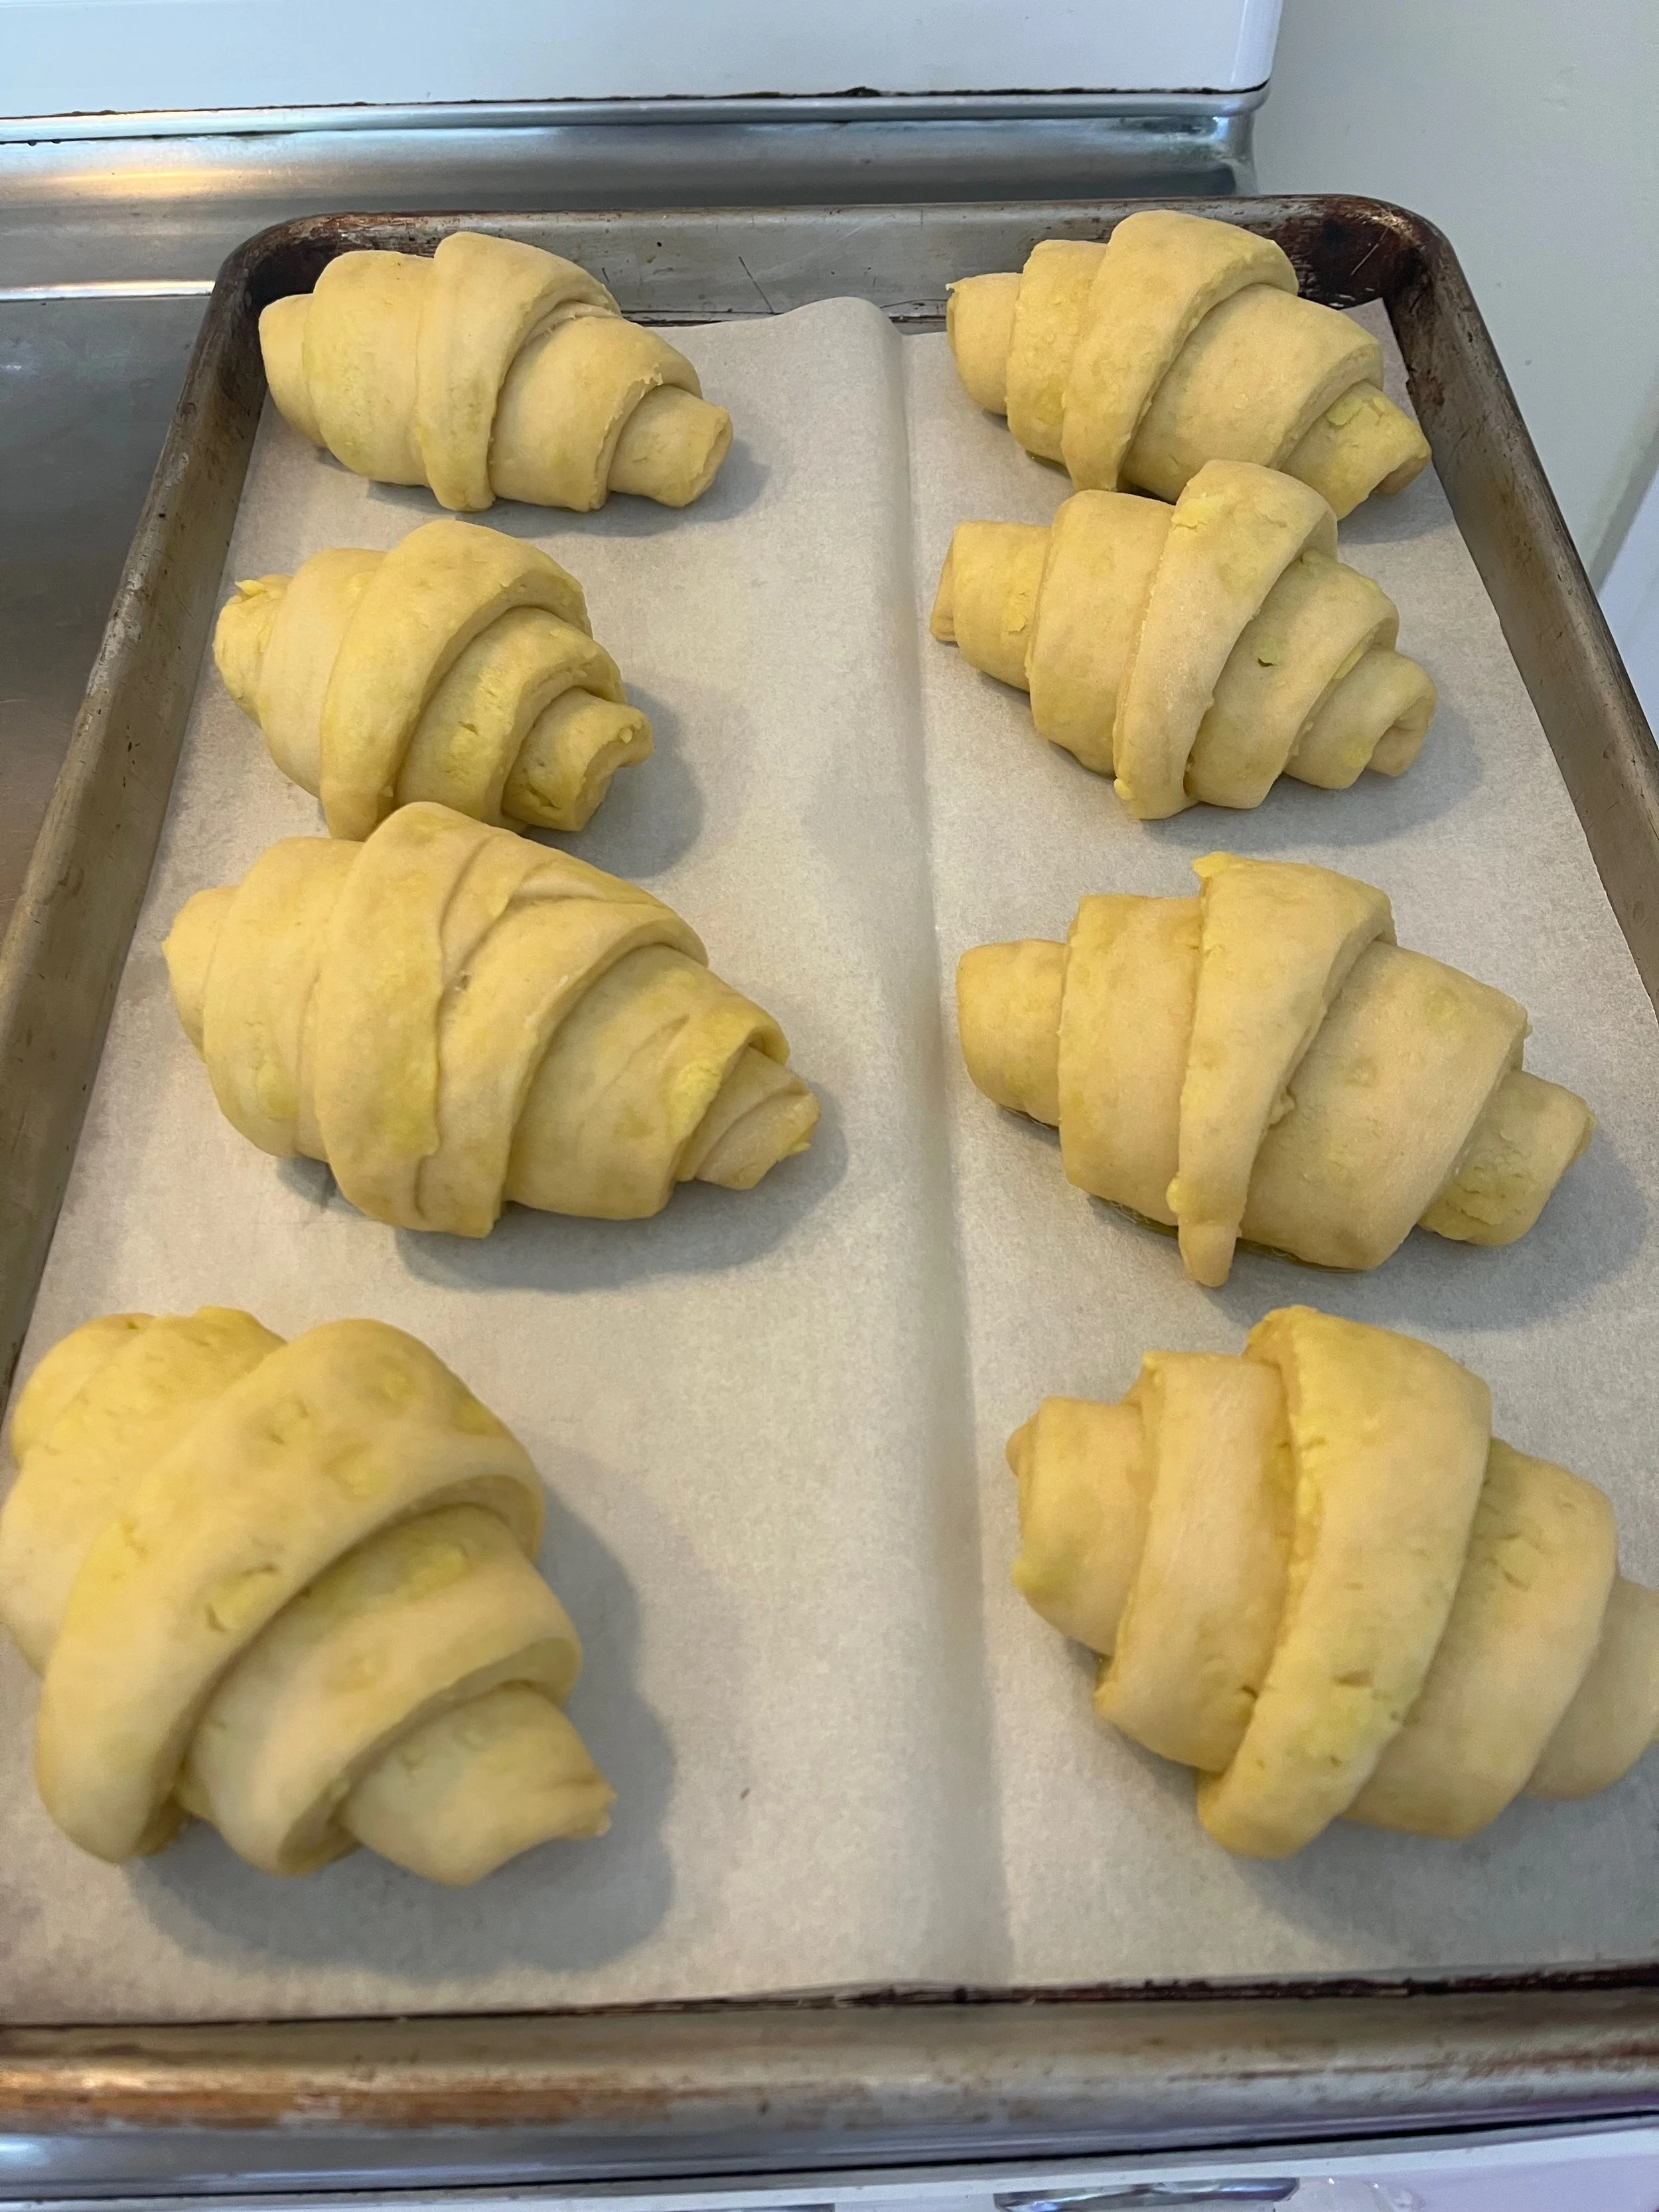
The rolled croissant dough after proofing. Photo credit Kara Nielsen
You can use this proofing time to make the plant-based glaze by boiling a sweet potato and mixing it with soy milk, golden syrup, and olive oil. Typically, pastries such as pies, danishes, and croissants are glazed with a wash of egg and milk, which creates an enticing glossy, golden exterior. Without the egg or dairy, this ingenious glaze still does the trick.
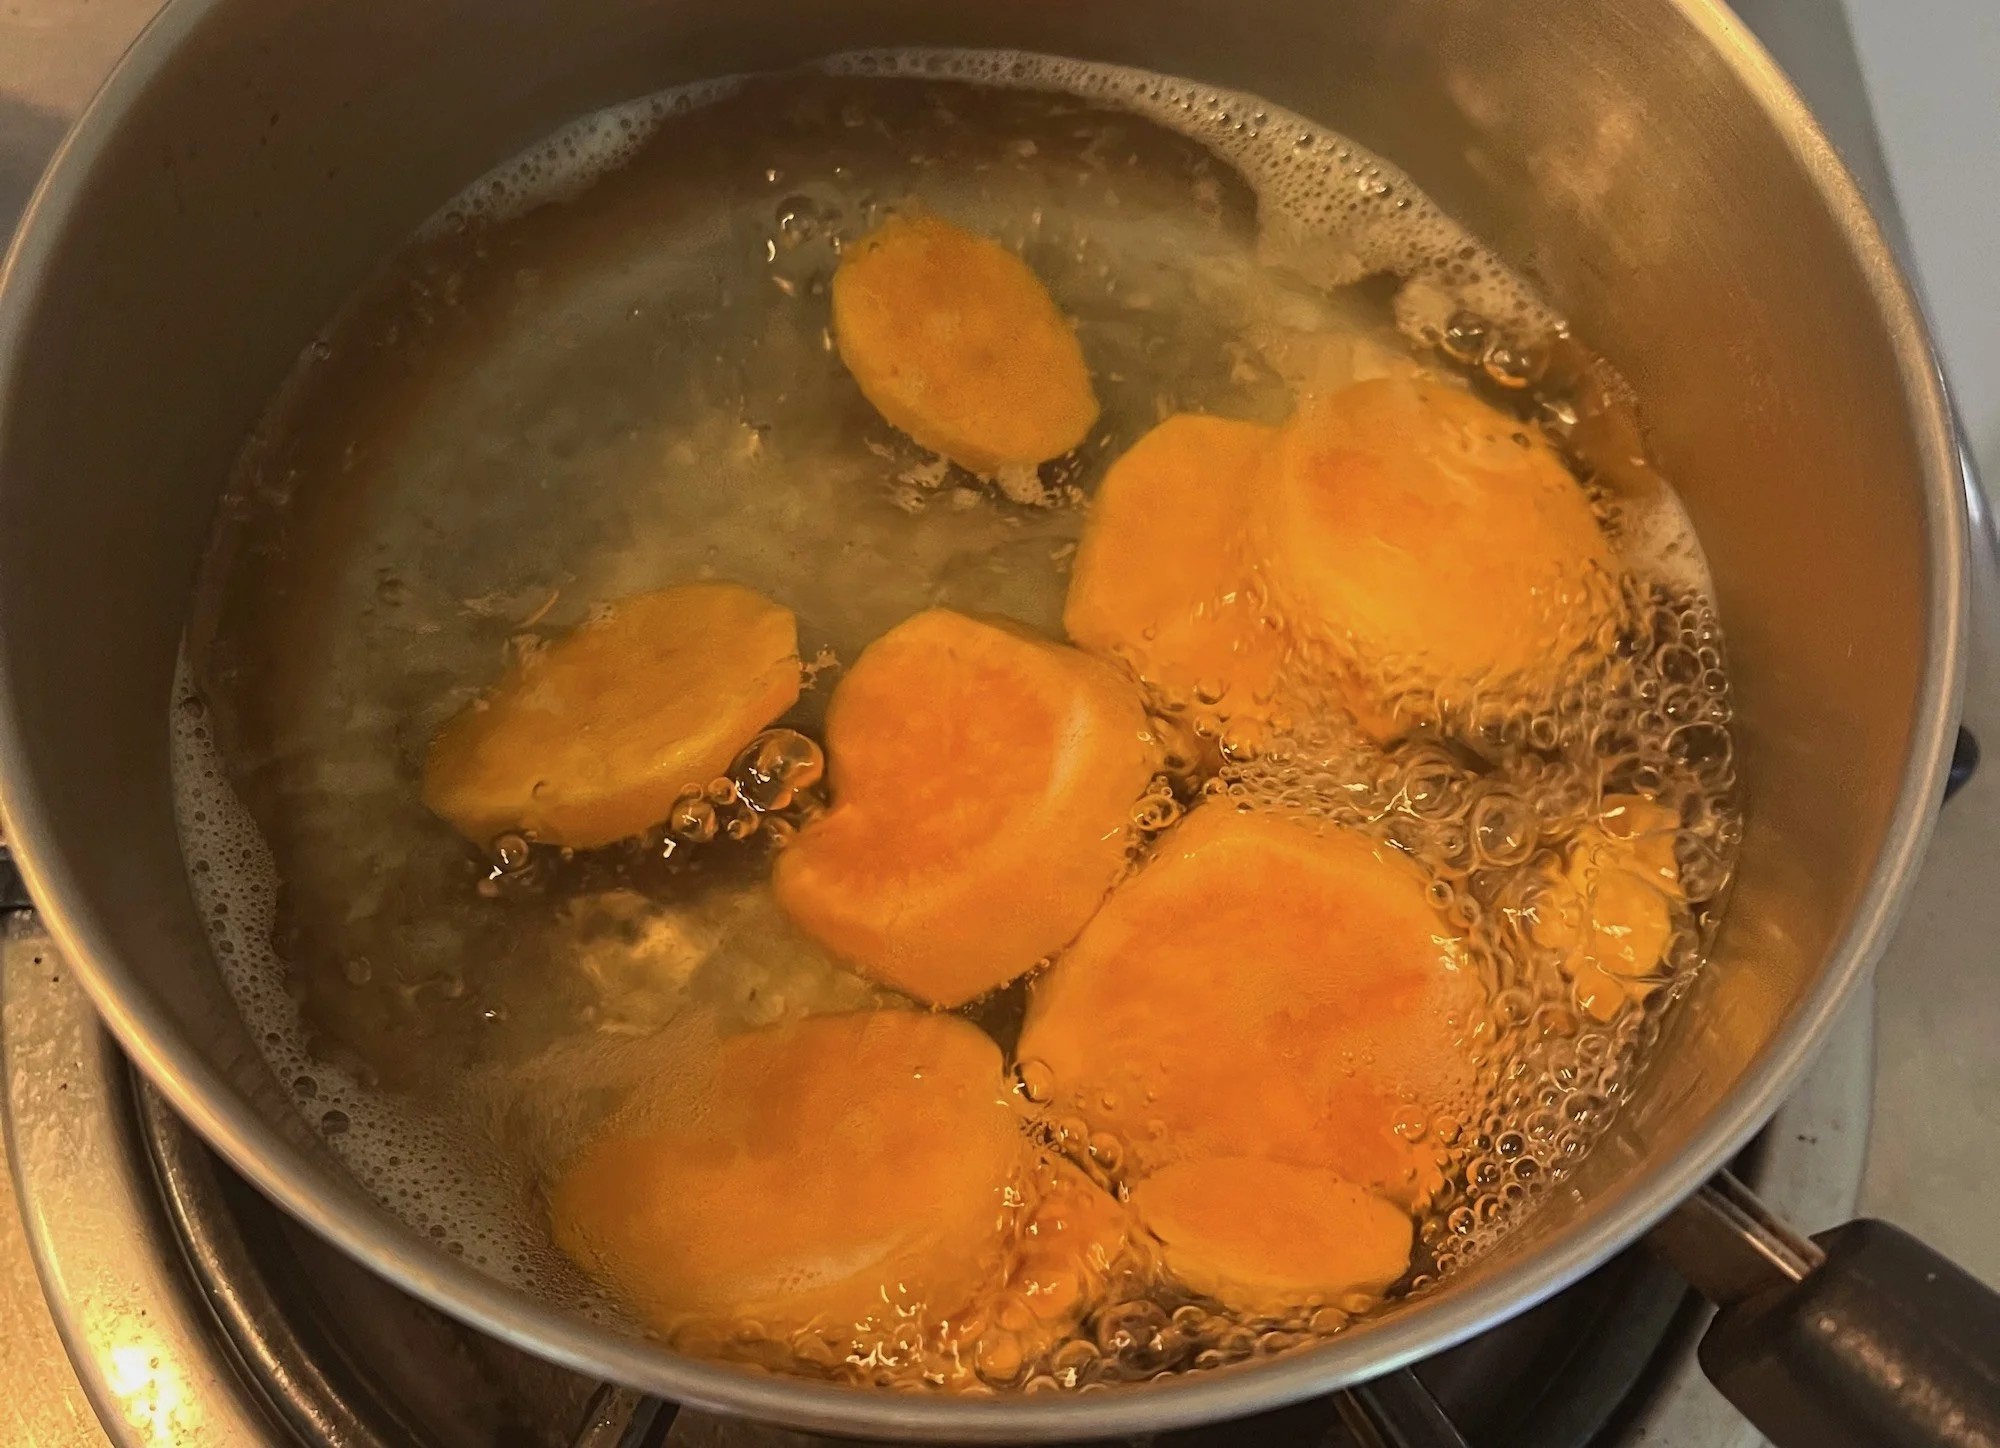
Making sweet potato glaze. Photo credit Kara Nielsen
When the croissants have risen and become puffy and wobbly, it’s time to bake them. Remove them from their proofing area, carefully glaze the tops, and bake them in a 400°F oven for about 20 to 25 minutes. Khoury suggests letting the croissants cool on a wire rack to set the layers, after which they can be enjoyed.
Savoring the Croissants
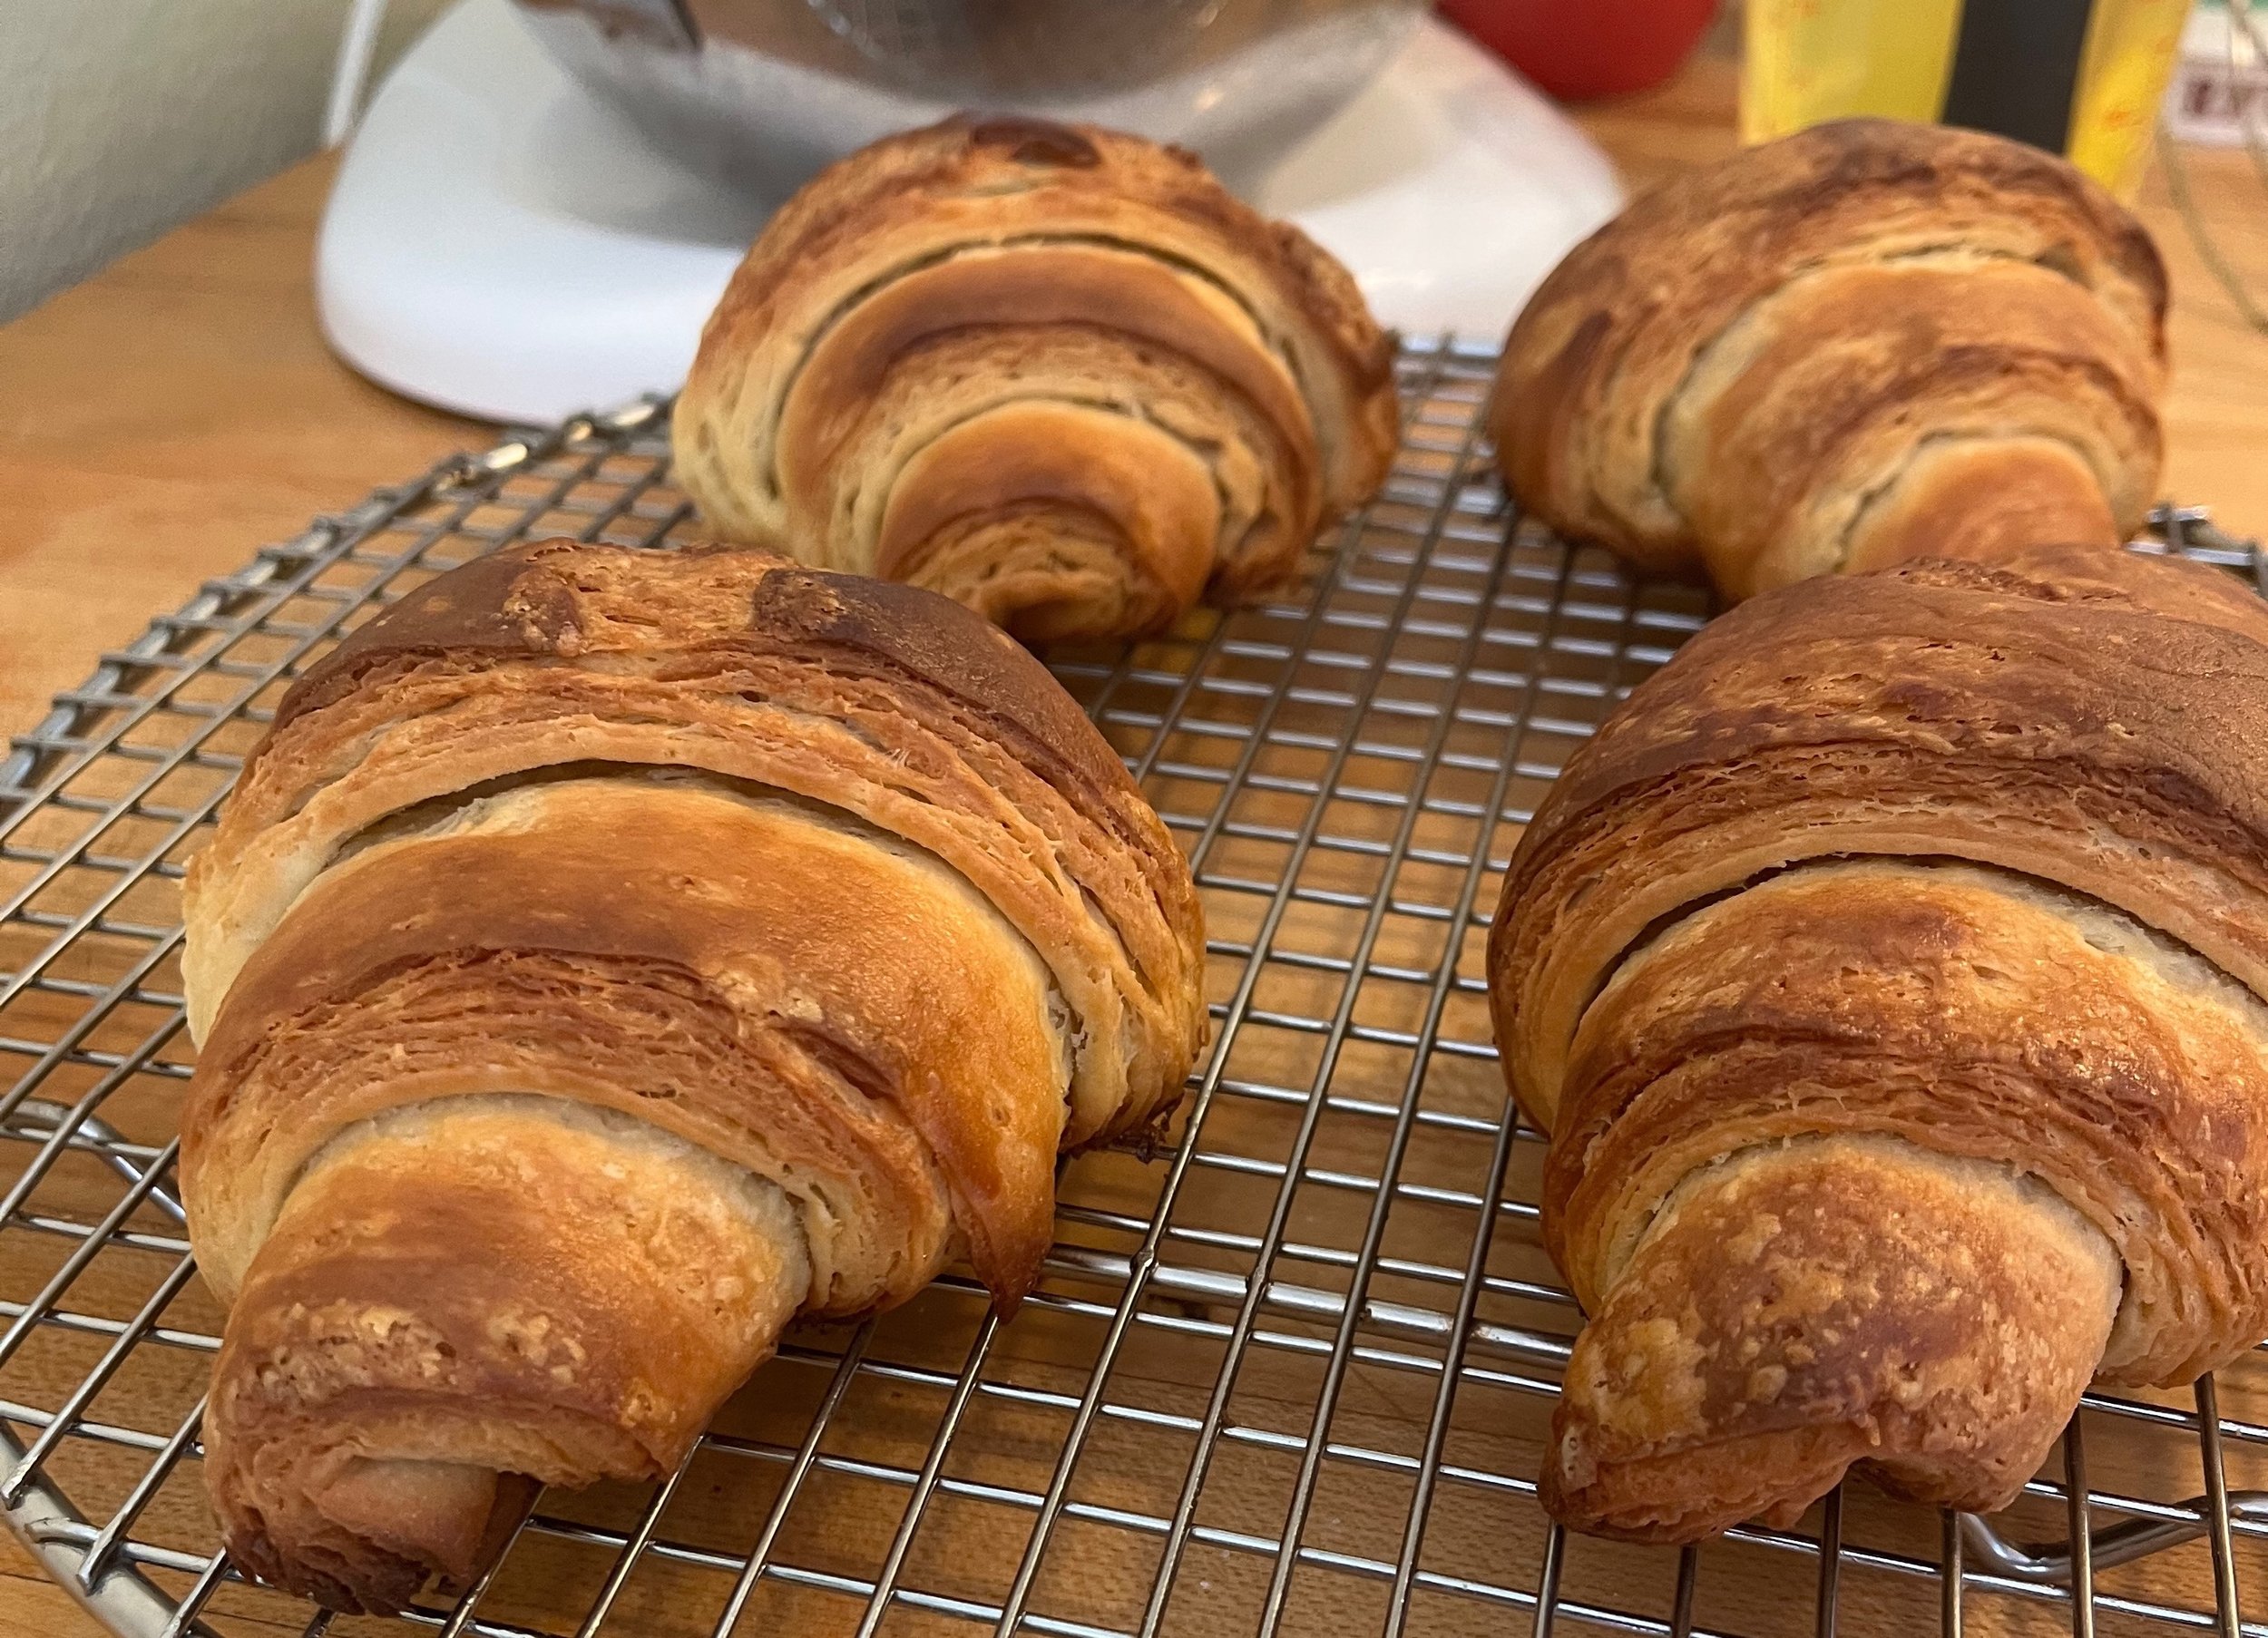
A side view of the baked Olive Oil Croissants. Photo credit Kara Nielsen
I couldn’t wait to tear into these croissants. They had a good heft to them, thanks to that heavier AP flour. I noticed that the tops revealed places where Khoury’s Olive Oil Butter block showed through, giving them a mottled look. The color, however, was a deep brown, especially on the outermost center. Noticeable dough layers peeked out the sides.
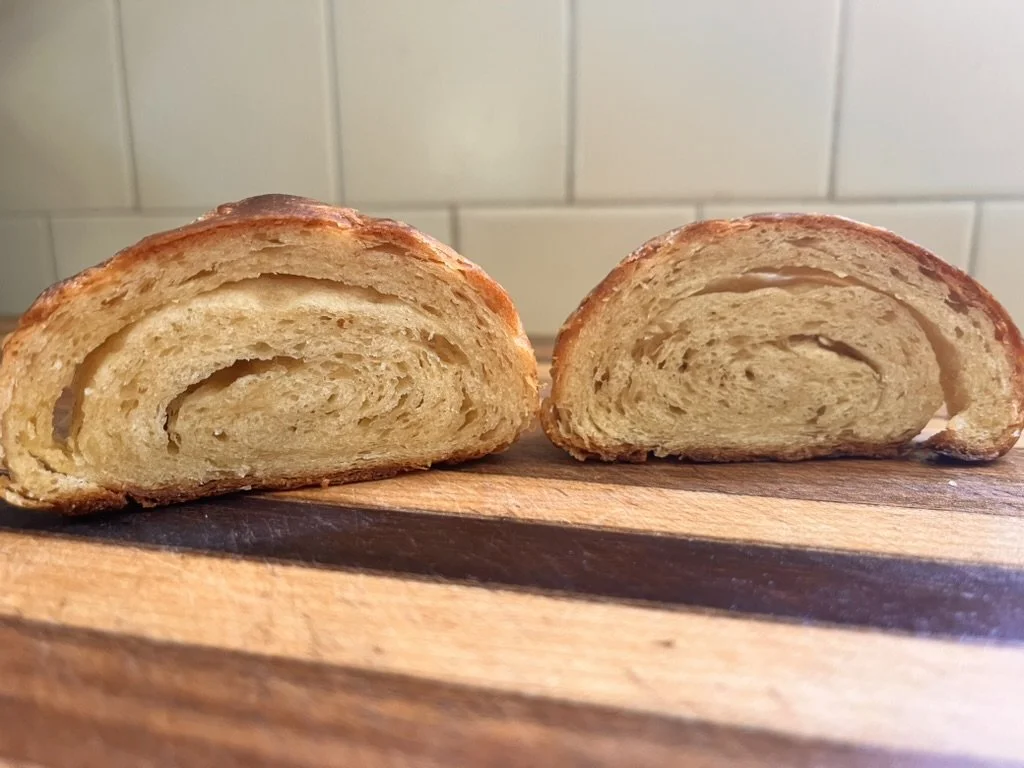
An interior view of the baked Olive Oil Croissants. Photo credit Kara Nielsen
The interior view was not as stunning as in the book’s photo, but it did reveal the layers and places where the butter block was visible. I could have proofed mine a bit longer — they were on the compact side. I also used active dry yeast instead of instant, which means I had to dissolve it first in water instead of just tossing it into the dough, but I wonder if it would have made a difference. I suspect that using the lighter T45 flour, if I could’ve found it, would have enabled a lighter, more open interior.
Taste-wise, the croissants had a noticeable olive oil aroma and flavor, but it was not overpowering. A crunchy exterior yielded to tender layers inside, with a satisfying savoriness from the oil and just a touch of sweetness. After a few bites, the olive oil flavor receded, and the flavor of the dough came through. All in all, a respectable and tasty croissant!
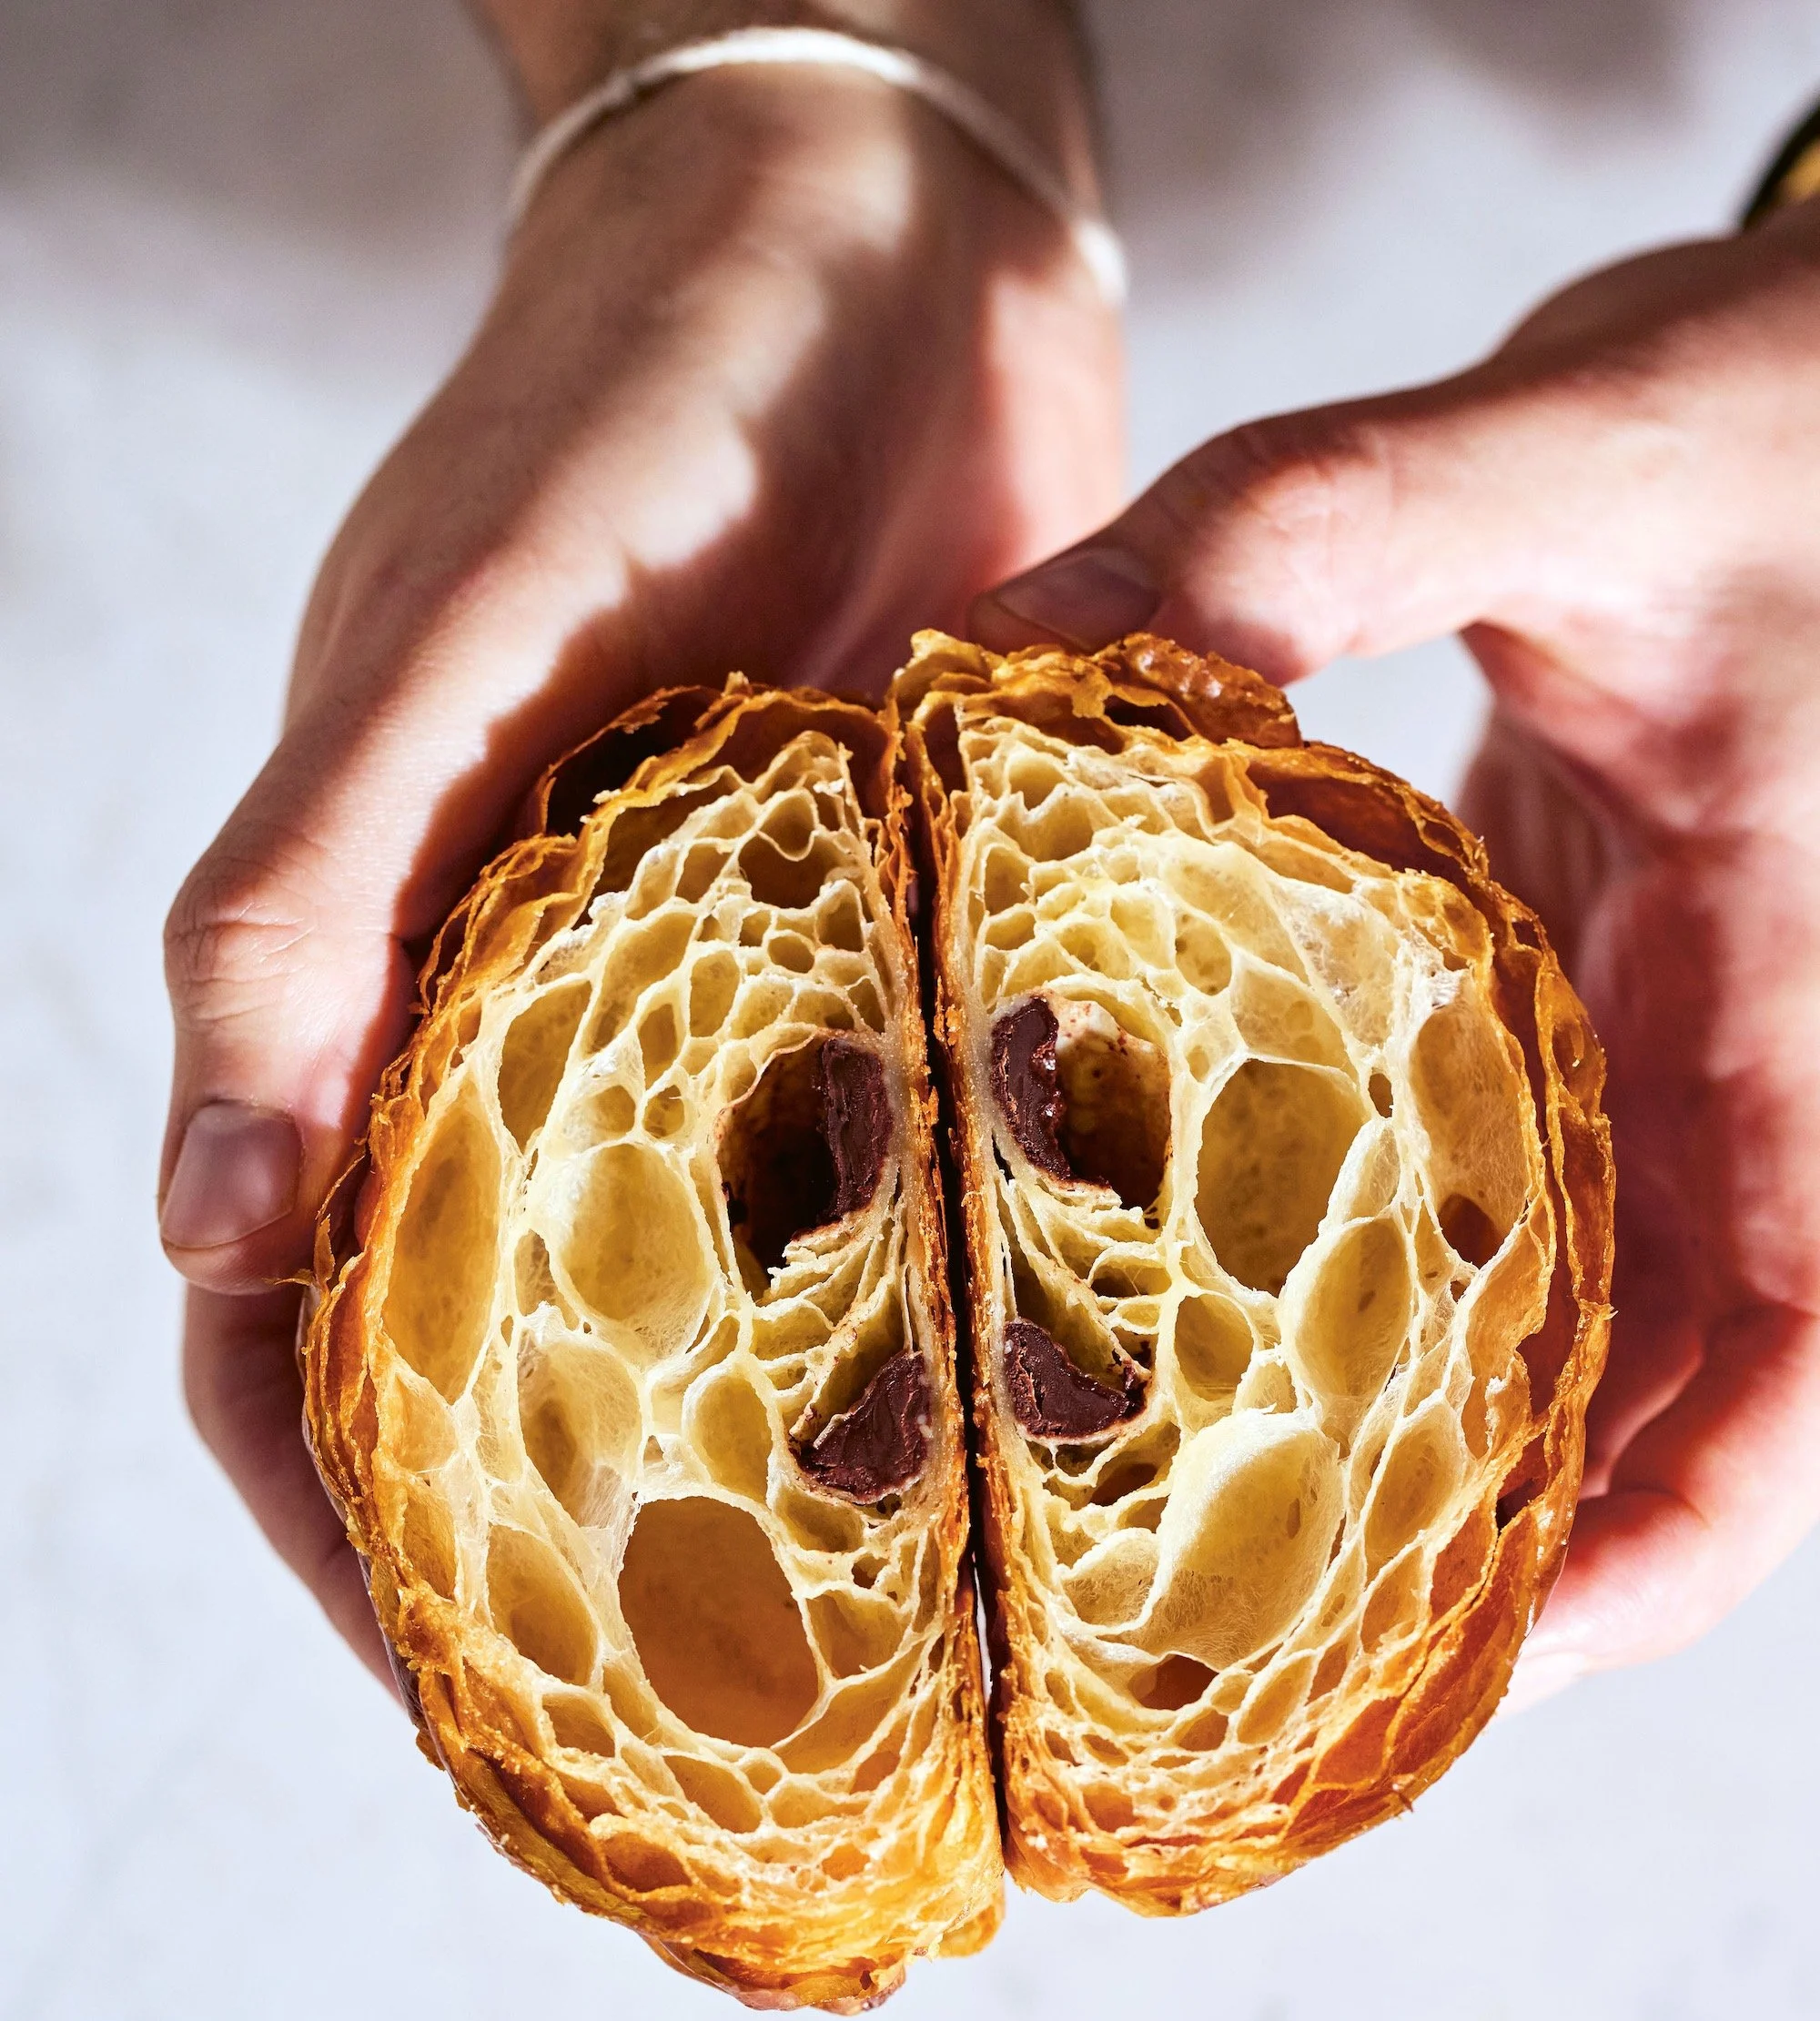
Philip Khoury’s pain au chocolat. Photo credit Matt Russell
Beyond Baking includes more recipes using this innovative plant-based, olive-oil-enriched dough, including almond croissants, pains au chocolat, and danishes, as well as puff pastry. For those motivated to tackle a multi-day — in fact, multi-weekend, counting the time to make the Olive Oil Butter block — baking project using plant-based ingredients, this recipe and book are entirely worthwhile. Khoury’s knowledge of pastry arts and clear directions, diagrams, and tips give home bakers the tools to tackle ambitious, exciting plant-based bakes.
Olive Oil Croissants
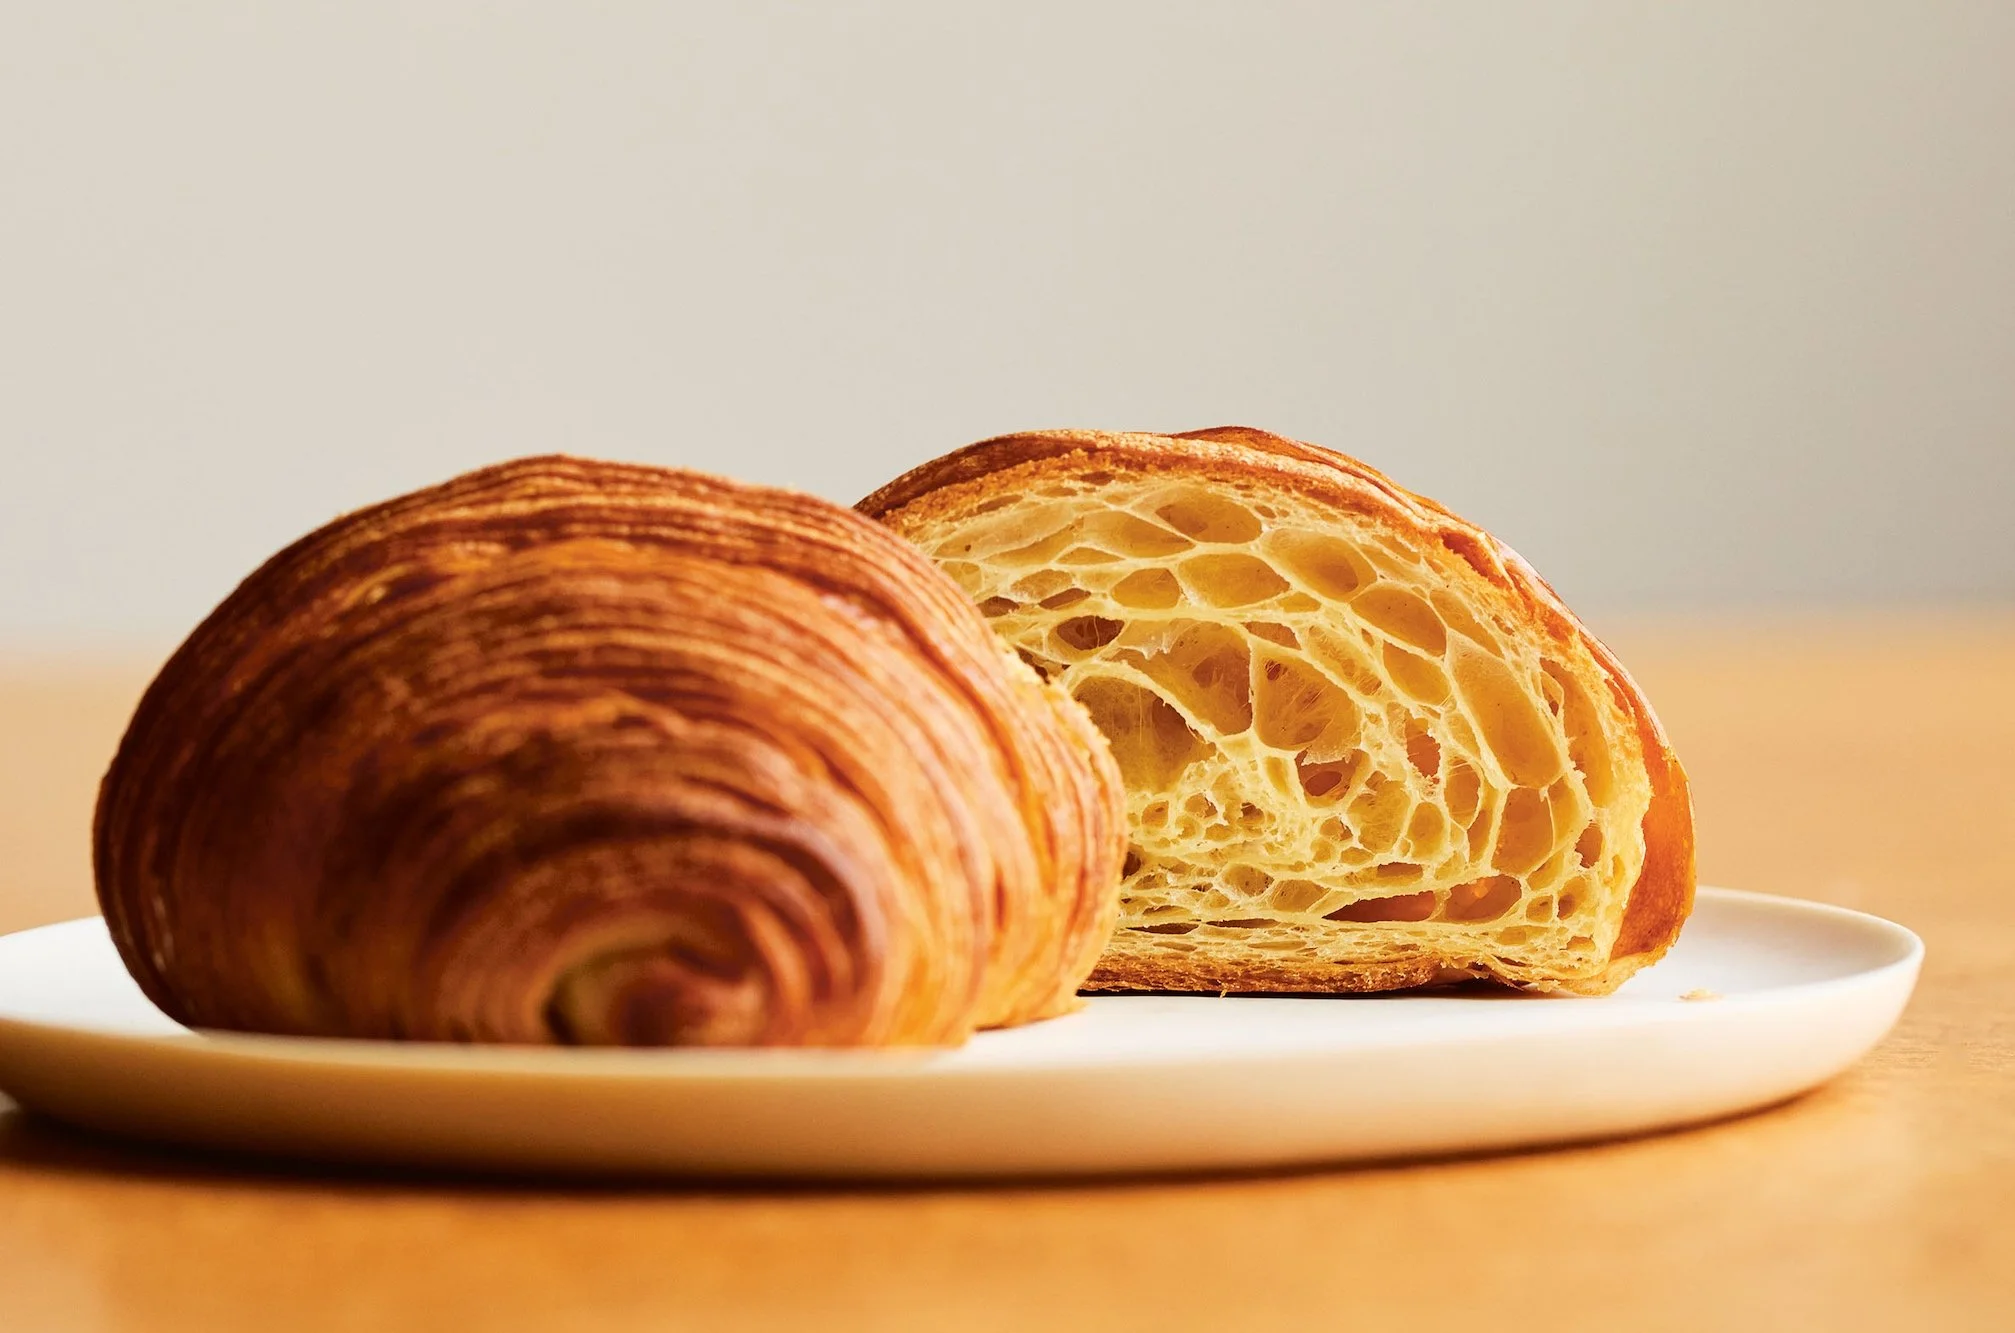
Philip Khoury’s Olive Oil Croissant. Photo credit Matt Russell
Adapted from Beyond Baking: Plant-based Baking for a New Era by Philip Khoury (Quadrille, October 2025).
Making croissants at home is no small undertaking, but it is an immensely rewarding craft. With practice, your technique will refine, your results will improve and the satisfaction of creating bakery-quality croissants in your own kitchen will make every effort worthwhile.
Makes 8–9 croissants
Ingredients:
1 lb 2 oz (500 g) all-purpose flour (or T45 if you can get it), plus extra for dusting
2.5 oz (70 g) caster (superfine) sugar
1-3/4 teaspoon (10 g) fine sea salt
2 teaspoons (6 g) instant yeast
1.8 oz (50 g) Olive Oil Butter or shop-bought vegan block butter (1), at room temperature
4.4 oz (125 g) soy milk
4.2 oz (120 g) water
9.7 oz (275 g) Olive Oil Butter or shop-bought vegan block butter (2), for laminating
Baking glaze (see below) or egg wash
Directions:
Weigh all the ingredients except the butter (2) for laminating directly into the bowl of a stand mixer, adding the yeast and liquids last.
Mix on low speed for 1–2 minutes until a dough forms, then increase to the second speed for 6–8 minutes, mixing until the dough reaches 75–77°F (24–25°C). To check the gluten development, perform the windowpane test: take a small piece of dough, roll it out with a rolling pin, then gently stretch it between your fingers. It should stretch thinly enough to become translucent without tearing. Proper gluten development is essential for the dough to expand, trap air, and form the light, honeycomb-like structure characteristic of a well-made croissant.
Shape the dough into a smooth ball, cover it with plastic wrap, then leave to rest at room temperature for 20 minutes. Once rested, cut an X shape into the ball, slicing halfway into it, then stretch each corner outward to create a square shape — this will make rolling out the dough easier later. Aim for clean, square corners. Wrap the dough in a large sheet of baking parchment and place it in the freezer for 30 minutes to chill rapidly.
While the dough chills, remove the butter (2) from the refrigerator. Plasticize it by placing a piece of baking parchment underneath and on top of it, and press down at 1/2 inch (1 cm) increments with a rolling pin, and as it flattens, fold the paper underneath the block at 8 x 8 inches (20 x 20 cm) to create a border the butter can be rolled up to. The butter should be cold but flexible for lamination. Roll the chilled dough into a rectangle just over 8 x 16 inches (20 x 40 cm). Place the plasticized but still cold butter in the center, ensuring it covers the middle third of the dough. Fold the two exposed sides of dough over the butter so they meet in the center, then press the edges together to seal the butter inside.
Lightly flour the work surface as needed but brush off any excess flour before folding to prevent it from being incorporated into the dough, which would make the final pastry dry. Always roll in the direction of the open edges of the dough (so the folded edges are on the sides). Roll the dough out to roughly 8 x 24 inches (20 x 60 cm), keeping the edges as straight as possible and running your hand underneath the dough occasionally to make sure it does not get stuck to the work surface. Complete the first double book fold by folding both ends of the dough toward the center, leaving a small gap between them, then folding the dough in half like a book to create four layers. Wrap in baking parchment and refrigerate for 1 hour to allow the gluten to relax and prevent the butter from melting during the next roll.
Remove the dough from the refrigerator again, roll it out, and complete one single fold (folding the dough into thirds like a letter). Wrap and refrigerate overnight to allow the gluten to relax and fermentation to take place, which will enhance the pastry’s flavor.
The next day, roll the dough out to 12 x 18 inches (30 x 45 cm) and 1/4 inch (5 mm) thick. Trim 1/2 inch (1 cm) off the edges to ensure clean, well-defined layers (leaving the edge is fine for the flavor but does result in sections of the croissant being a tiny bit denser/bready).
Measure and mark 4-inch (10 cm) increments along the long side of the dough. Using a sharp knife or pastry cutter, cut the dough diagonally to form triangles. Reserve the offcuts as these can be braided or placed in an individual pie or quiche dish to make a little monkey bread.
Shape the croissants by gently stretching the base of each triangle and rolling it up tightly from the base to the tip. There should be layers or steps of pastry. I like to very gently press the shaped croissant down on the thin end to secure it underneath the croissant on the tray. Place all the pastries on a baking sheet lined with baking parchment, spacing them apart to allow for expansion.
Proof in a warm but controlled environment at 79°F (26°C) for about 3 hours (see Tip). If your kitchen is colder, proofing may take longer. In warmer climates, be cautious not to overproof.
When fully proofed, the croissants should be noticeably puffy and should slightly wobble when the baking sheet is gently shaken.
Preheat the oven to 400°F.
Once proofed, lightly brush the tops of the croissants with baking glaze, ensuring none drips onto the exposed layers, as this can seal them and inhibit rising. Bake in the oven for 18–22 minutes until deep golden brown. Rotate the trays halfway through for even baking.
Remove from the oven and leave to cool on a wire rack before eating, as this will help to set the flaky layers.
To reheat baked croissants, place in an oven preheated to 350°F for 5–8 minutes until warm and crisp. Avoid microwaving, as this will make them soft rather than flaky.
Tip: To achieve the perfect light, airy texture, the dough must proof slowly at a controlled temperature to develop volume without compromising lamination. Since this dough contains butter, it is essential to keep the proofing temperature at 79°F (26°C) so that the butter stays firm and does not melt prematurely. To create a controlled proofing setup at home, I recommend using a large plastic storage container with a small heater — often used in 3D printing — to maintain a consistent temperature. A fine mist of water from a spray bottle over the pastries helps maintain humidity, preventing the dough from drying out.
Baking Glaze
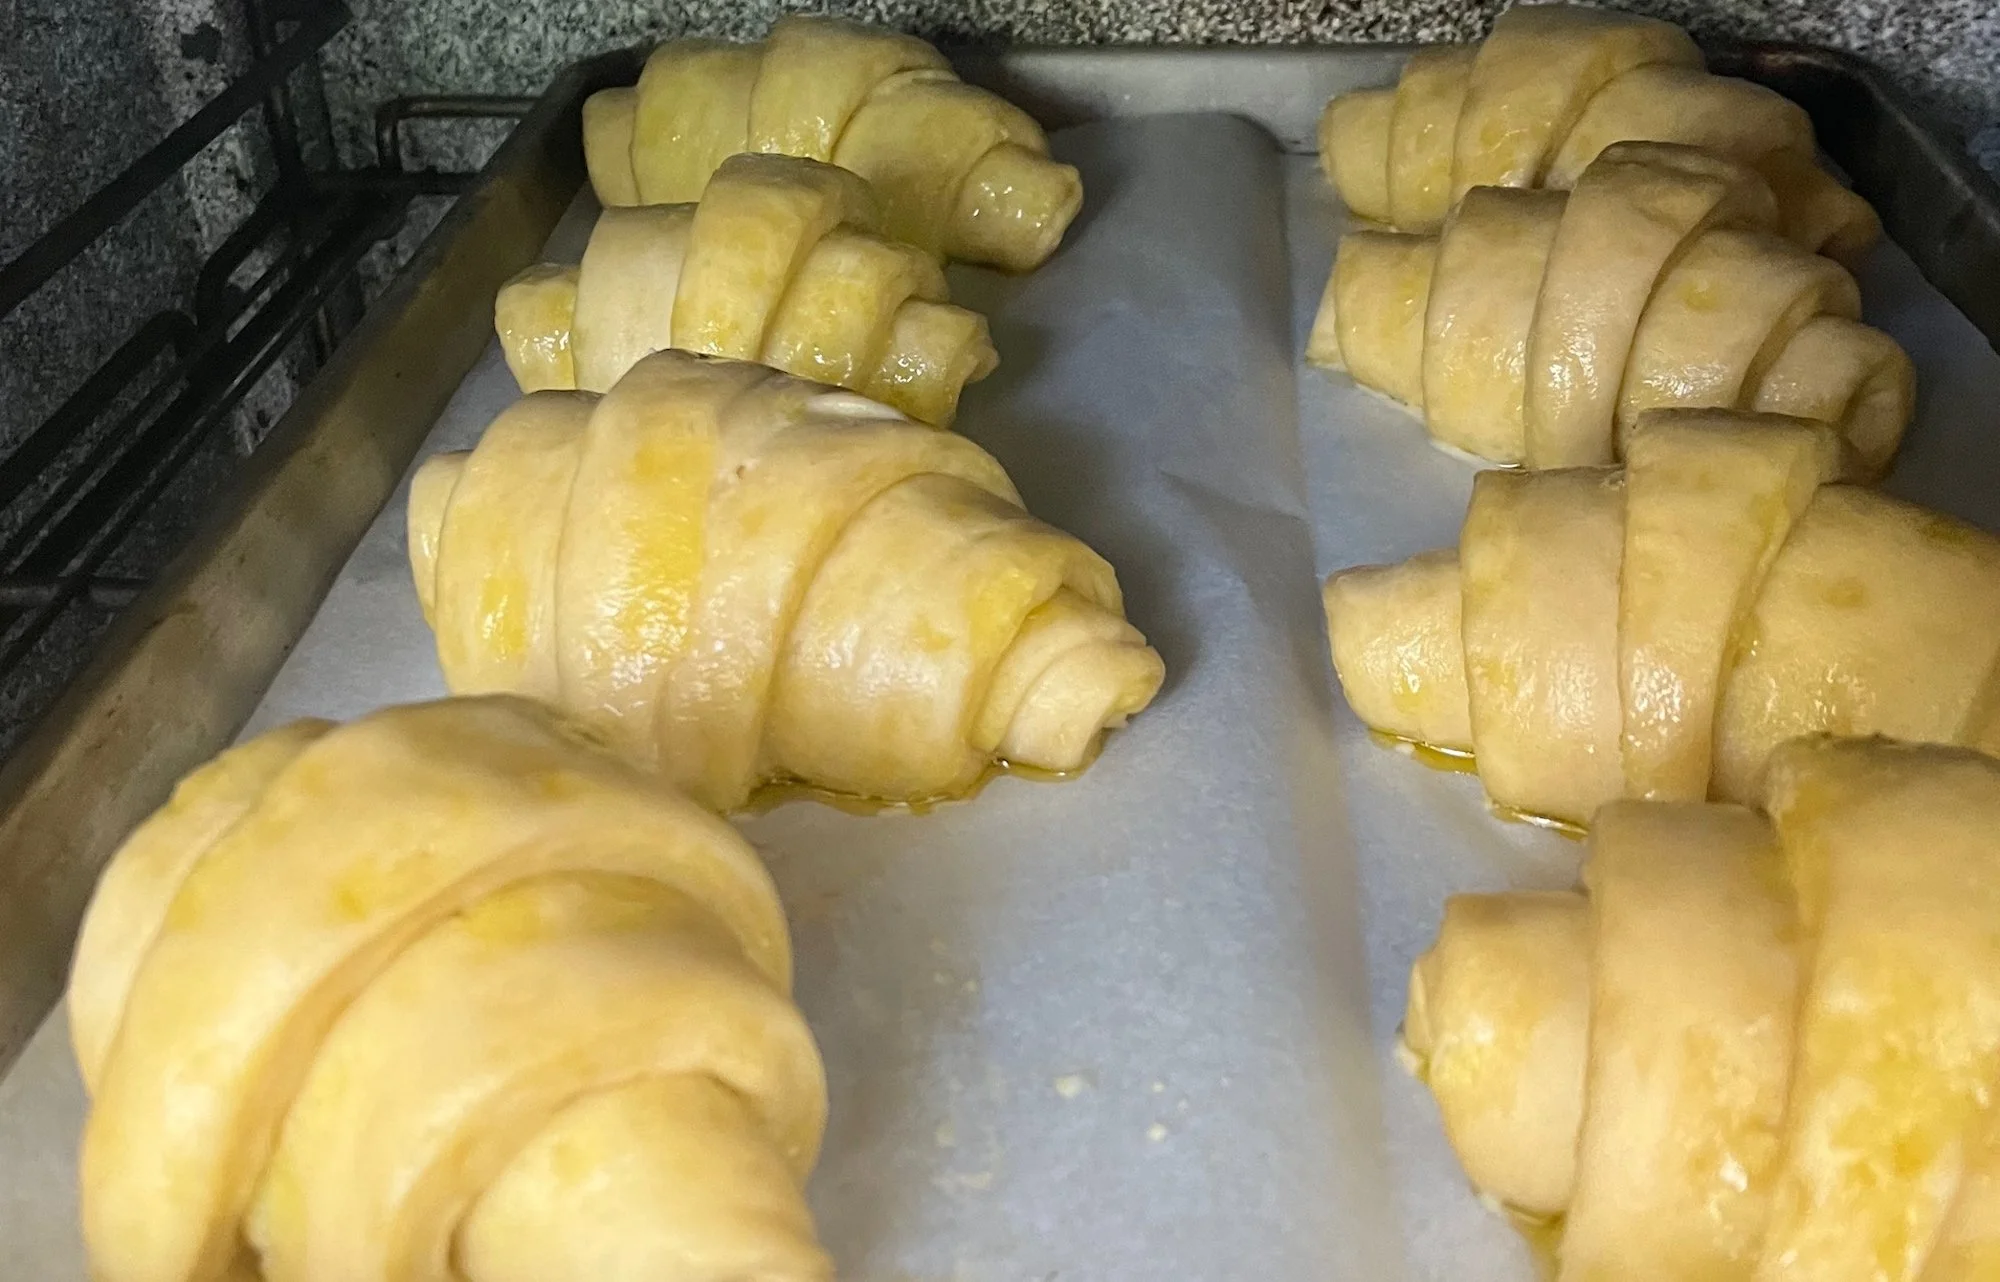
Baking Olive Oil Croissants. Photo credit Kara Nielsen
Makes about 12 oz (340 g)
Ingredients:
7 oz (200 g) soy milk
2.5 oz (70 g) olive oil
1.8 oz (50 g) agave syrup, golden syrup, or light corn syrup
0.9 oz (25 g) cooked sweet potato
Directions:
Combine all the ingredients in a small upright blender or a deep mixing jug (pitcher) suitable for a handheld blender.
Blend until smooth and fully emulsified — the mixture should be thick but pourable, with a consistent sheen. Try to blend without incorporating too many bubbles, but this can be unavoidable. To remove bubbles, store the glaze in the refrigerator overnight, then skim the foam layer on top.
Brush directly onto unbaked pastry or enriched dough just before placing in the oven. For best results, use a natural bristled pastry brush rather than a silicone one, which tends to leave streaks and doesn’t give even coverage. The glaze can be stored in the refrigerator for up to 4 days.
Tip: Pour the glaze into an ice cube tray and freeze. Once solid, transfer to a container or bag and store in the freezer for up to 3 months. Defrost cubes as needed.