
How Chef Philip Khoury Turns Olive Oil Into Butter
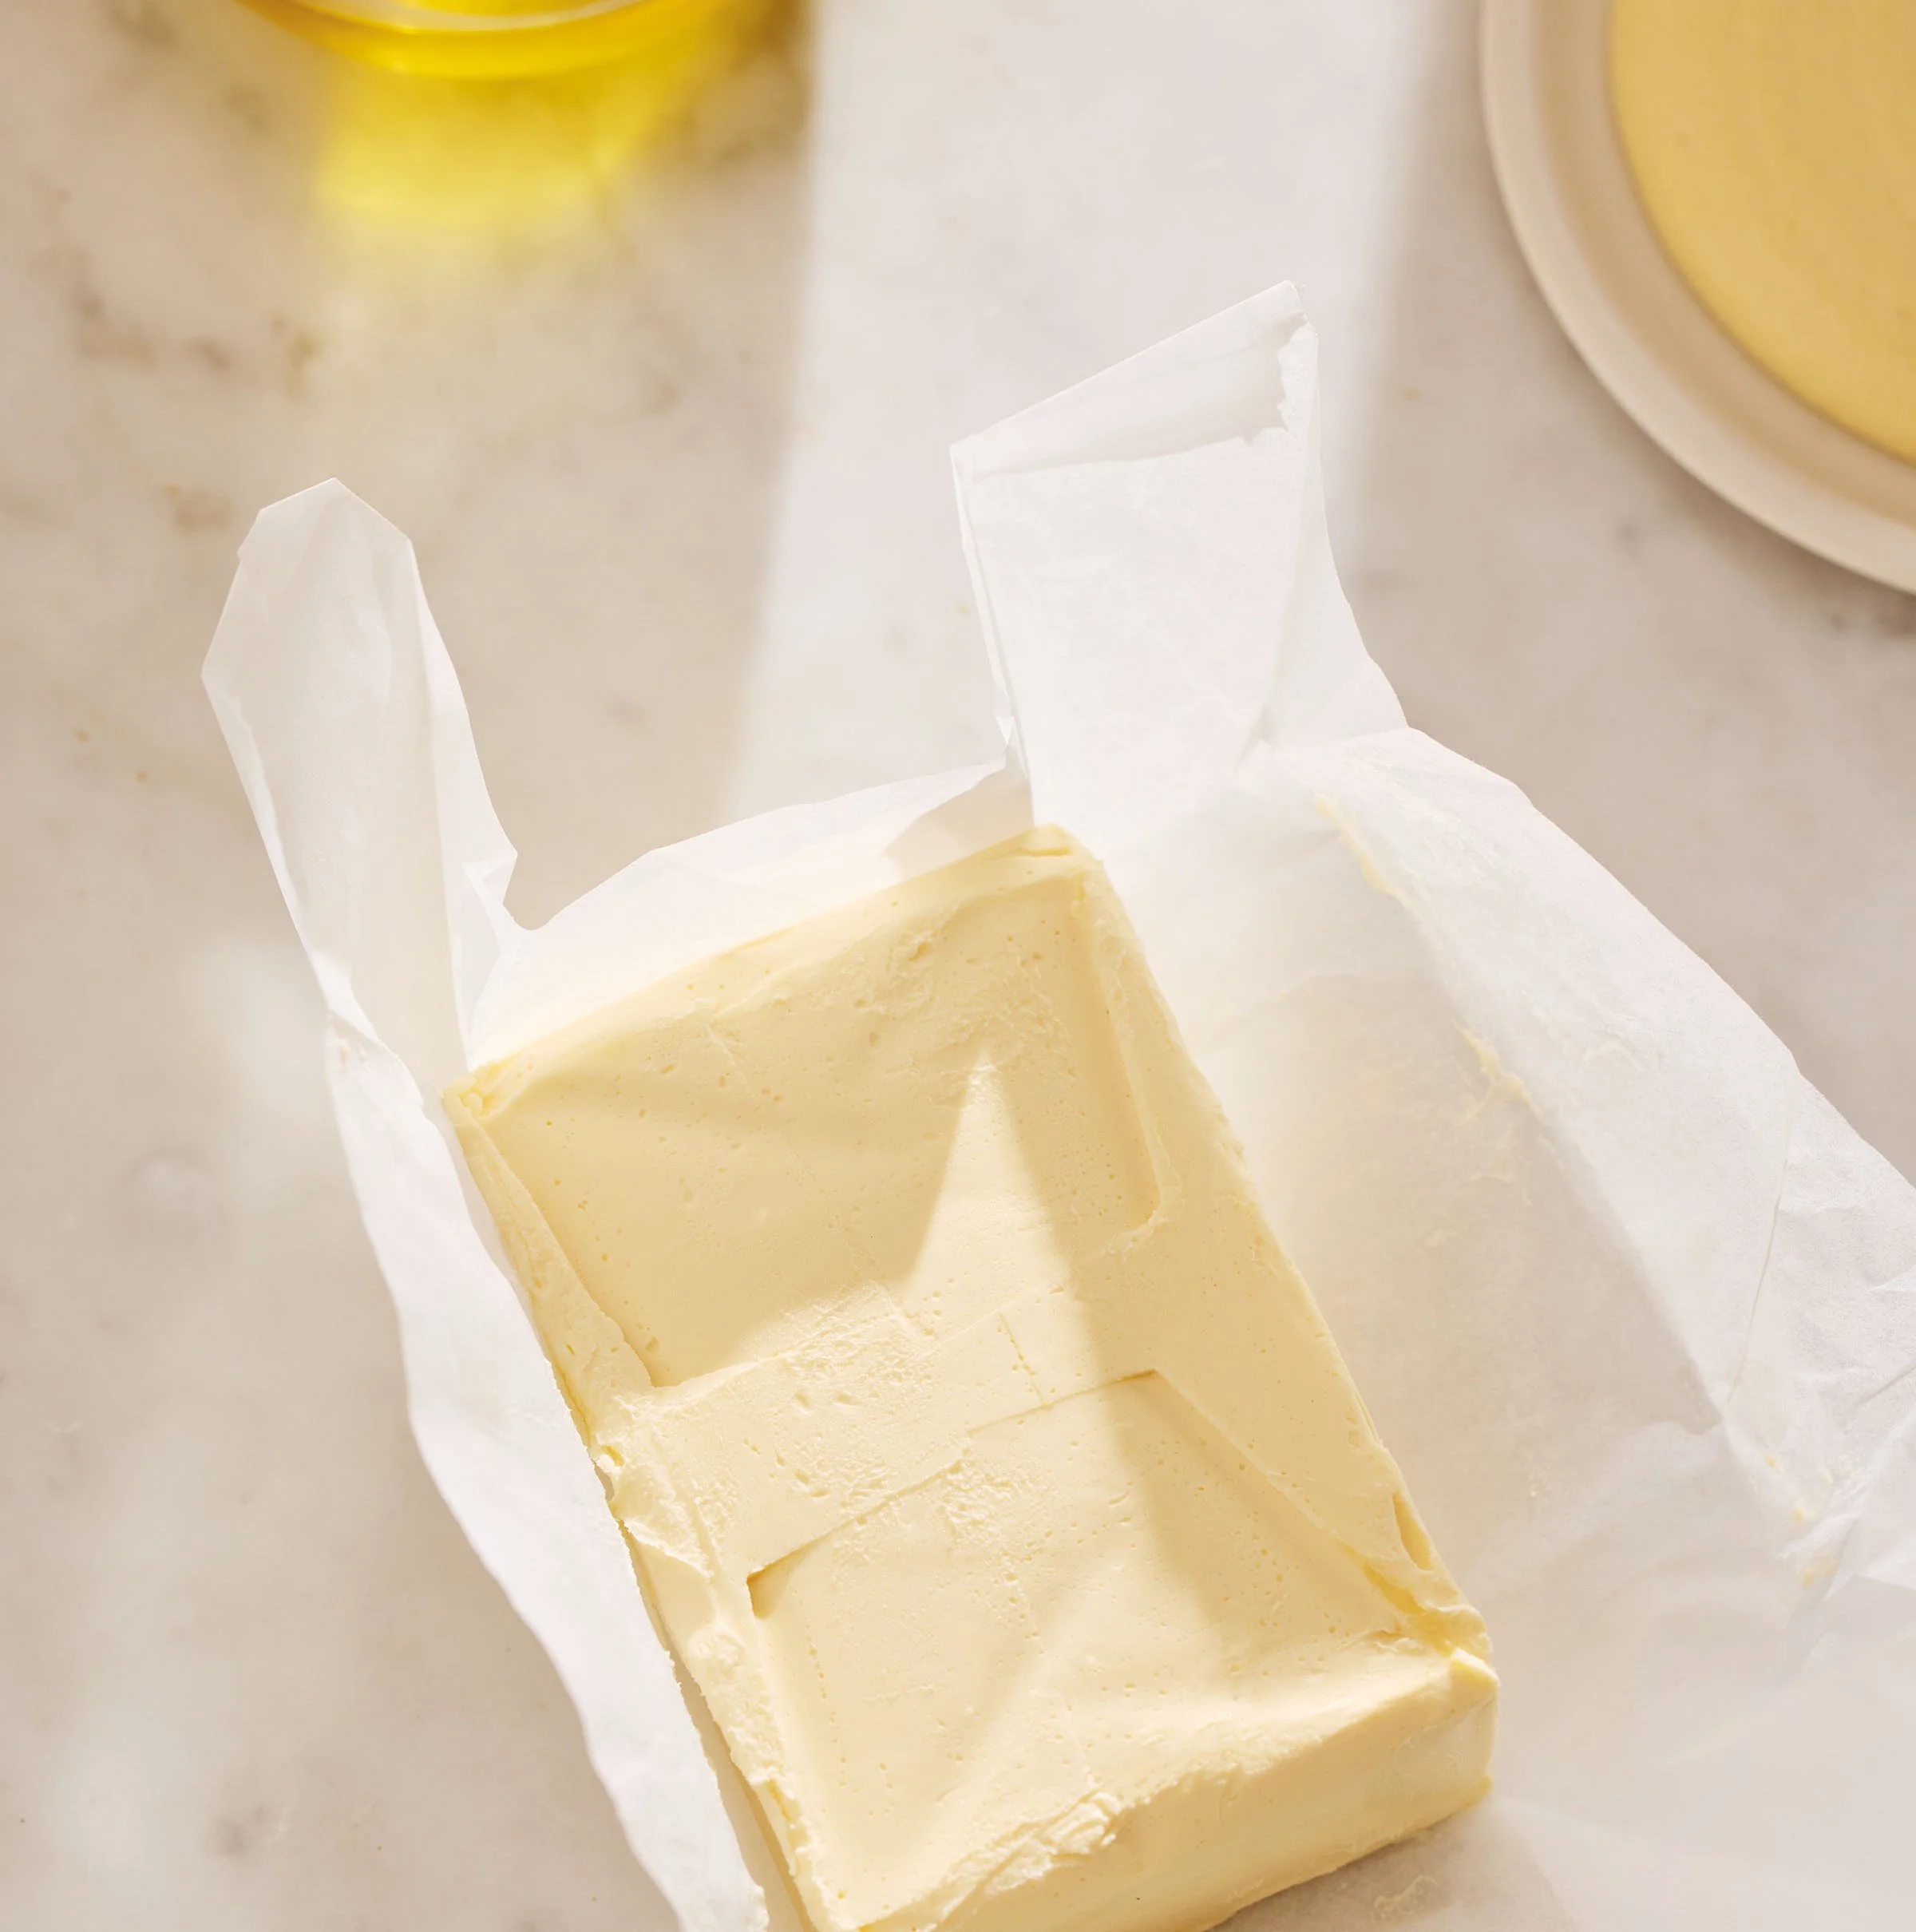
Philip Khoury’s Olive Oil Butter. Photo credit Matt Russell
What if olive oil could be transformed into a creamy, butter-like fat for baking? London-based pastry chef and author Philip Khoury developed a recipe that transforms olive oil into a butter-like, plant-based fat designed for laminating croissants and other baked goods without animal products. The method is featured in his 2025 book Beyond Baking: Plant-based Baking for a New Era. The resulting Olive Oil Butter gives croissants and puff pastry the structure needed to produce crisp, flaky layers and a unique savory flavor.
Why Make Olive Oil Butter?
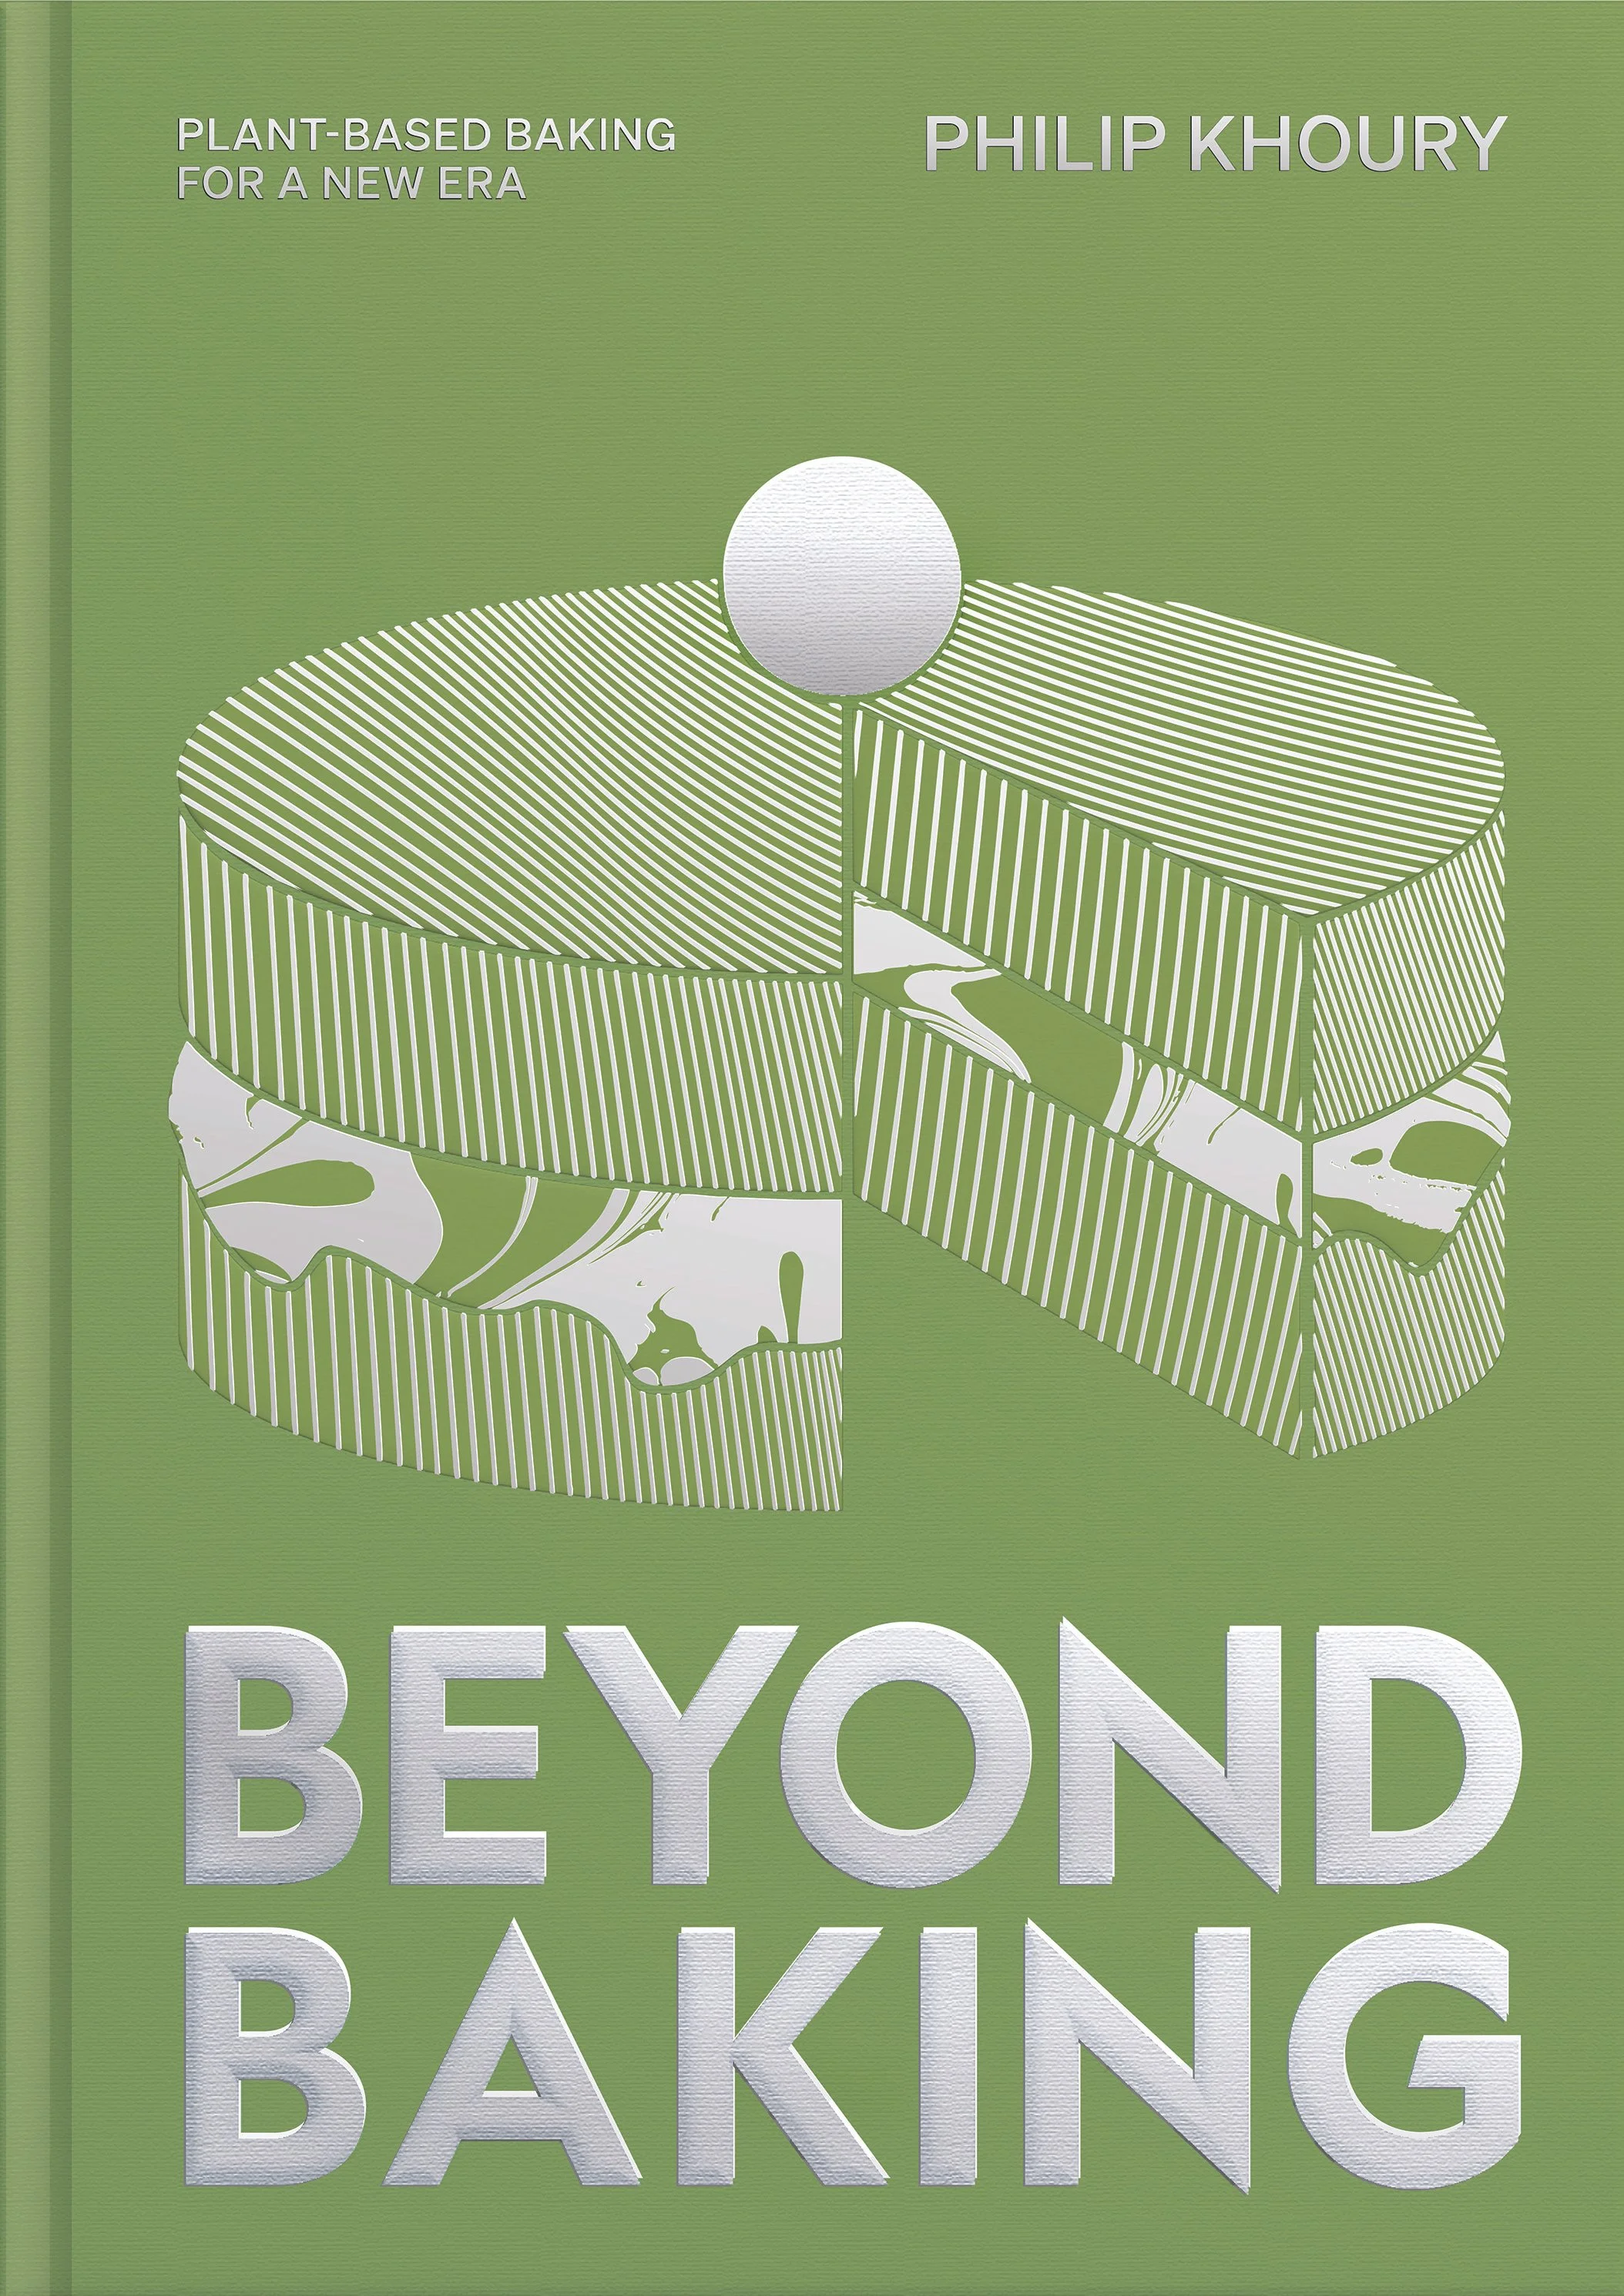
Beyond Baking by Philip Khoury
Many people are interested in reducing animal products in their diets for health, ethical, and environmental reasons, while still crunching into treats like croissants on occasion. Khoury frequently notes that it takes one and a quarter gallons of milk to produce just 11 ounces of butter, placing demands on dairy farming and the environment.
Existing plant-based butters have their own drawbacks. Some rely on refined vegetable oils or long ingredient lists, which Khoury avoids in his method, as he makes a point to create relatively simple plant-based recipes that use accessible, recognizable ingredients.

Philip Khoury. Photo credit Matt Russell
The pastry chef is also a strong advocate for olive oil, calling it “an ingredient that has been underappreciated in baking for too long” for its ability to create a range of textures and flavors. “It’s versatile, healthy, and brings a complexity that butter just can’t match. When you start using it, it changes the way you think about pastry.”
Putting Olive Oil Butter to the Test
Drawing on my own background in pastry, I decided to put Khoury’s Olive Oil Butter-making method to the test — both as a standalone product and as the base for his Olive Oil Croissants. I’m pleased to report that, despite some effort and time needed to gather the ingredients for the butter, the recipe worked well, producing a finished product that laminated impressively and delivered on its promise. Here’s how the process works.
Sourcing Ingredients
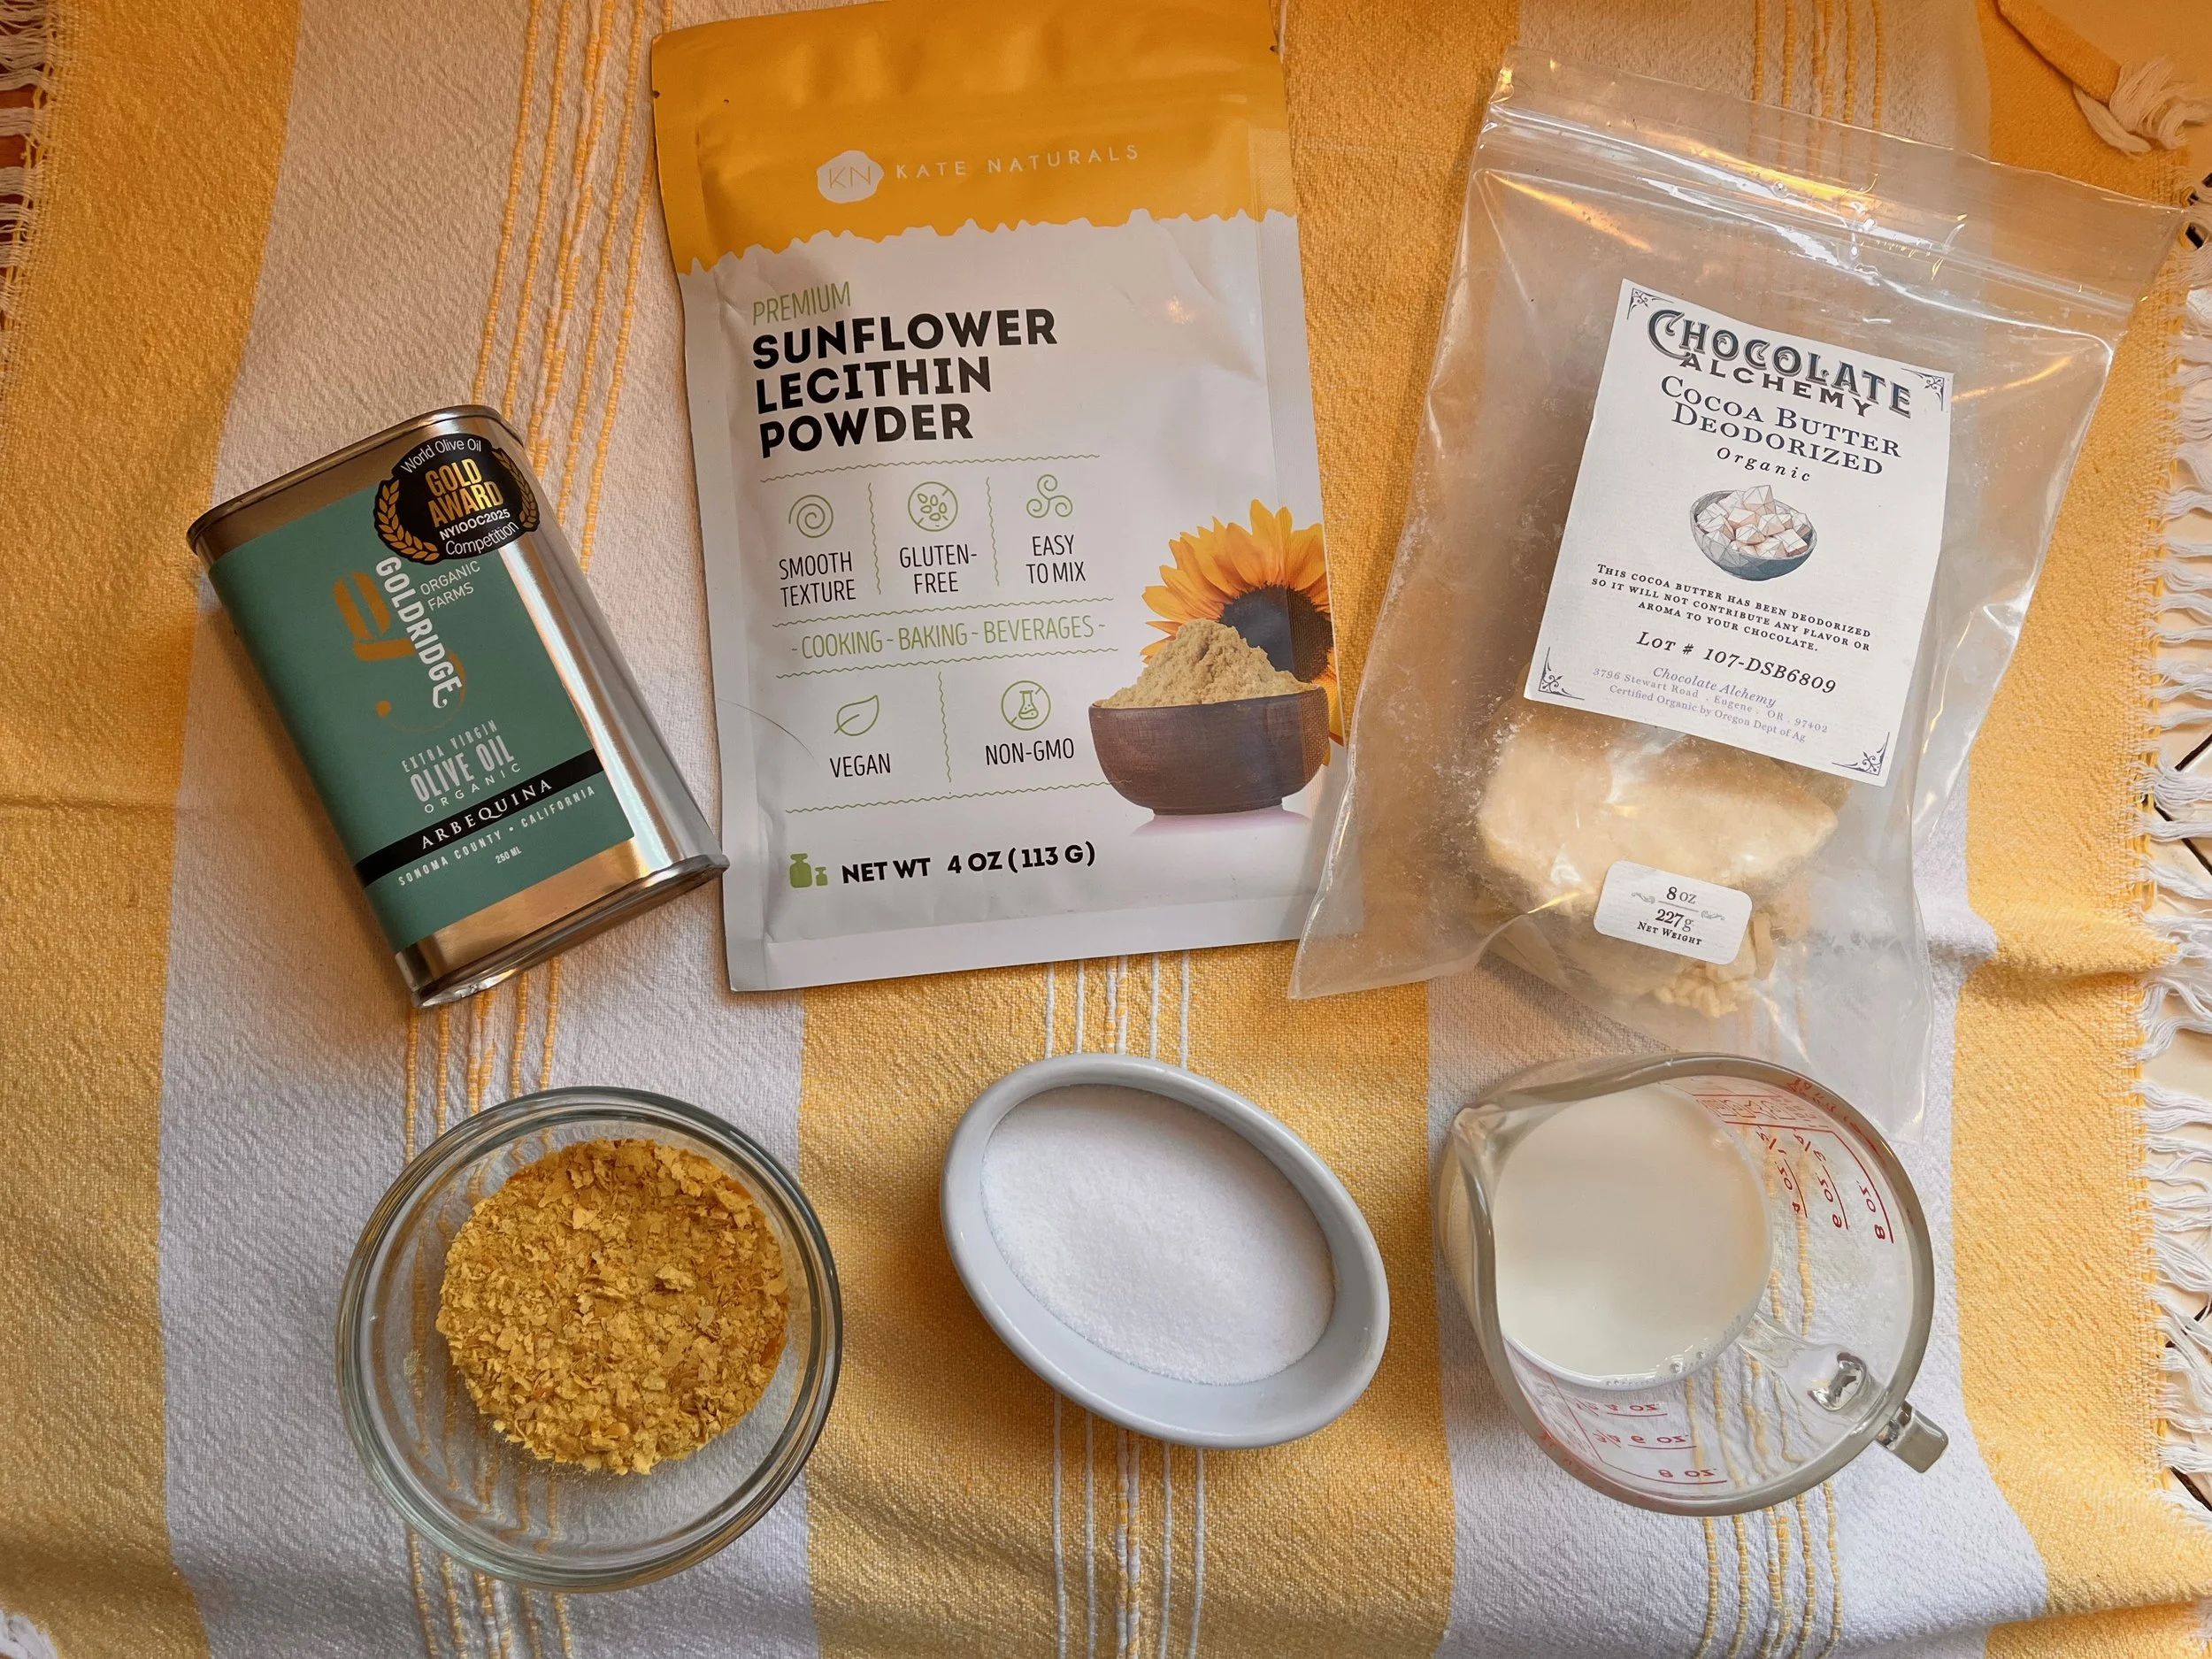
Ingredients needed for Olive Oil Butter. Photo credit Kara Nielsen
High-quality extra-virgin olive oil is the foundation of this recipe. When testing, Gold Ridge Organic Farms Arbequina Blend Extra Virgin Olive Oil produced excellent results.
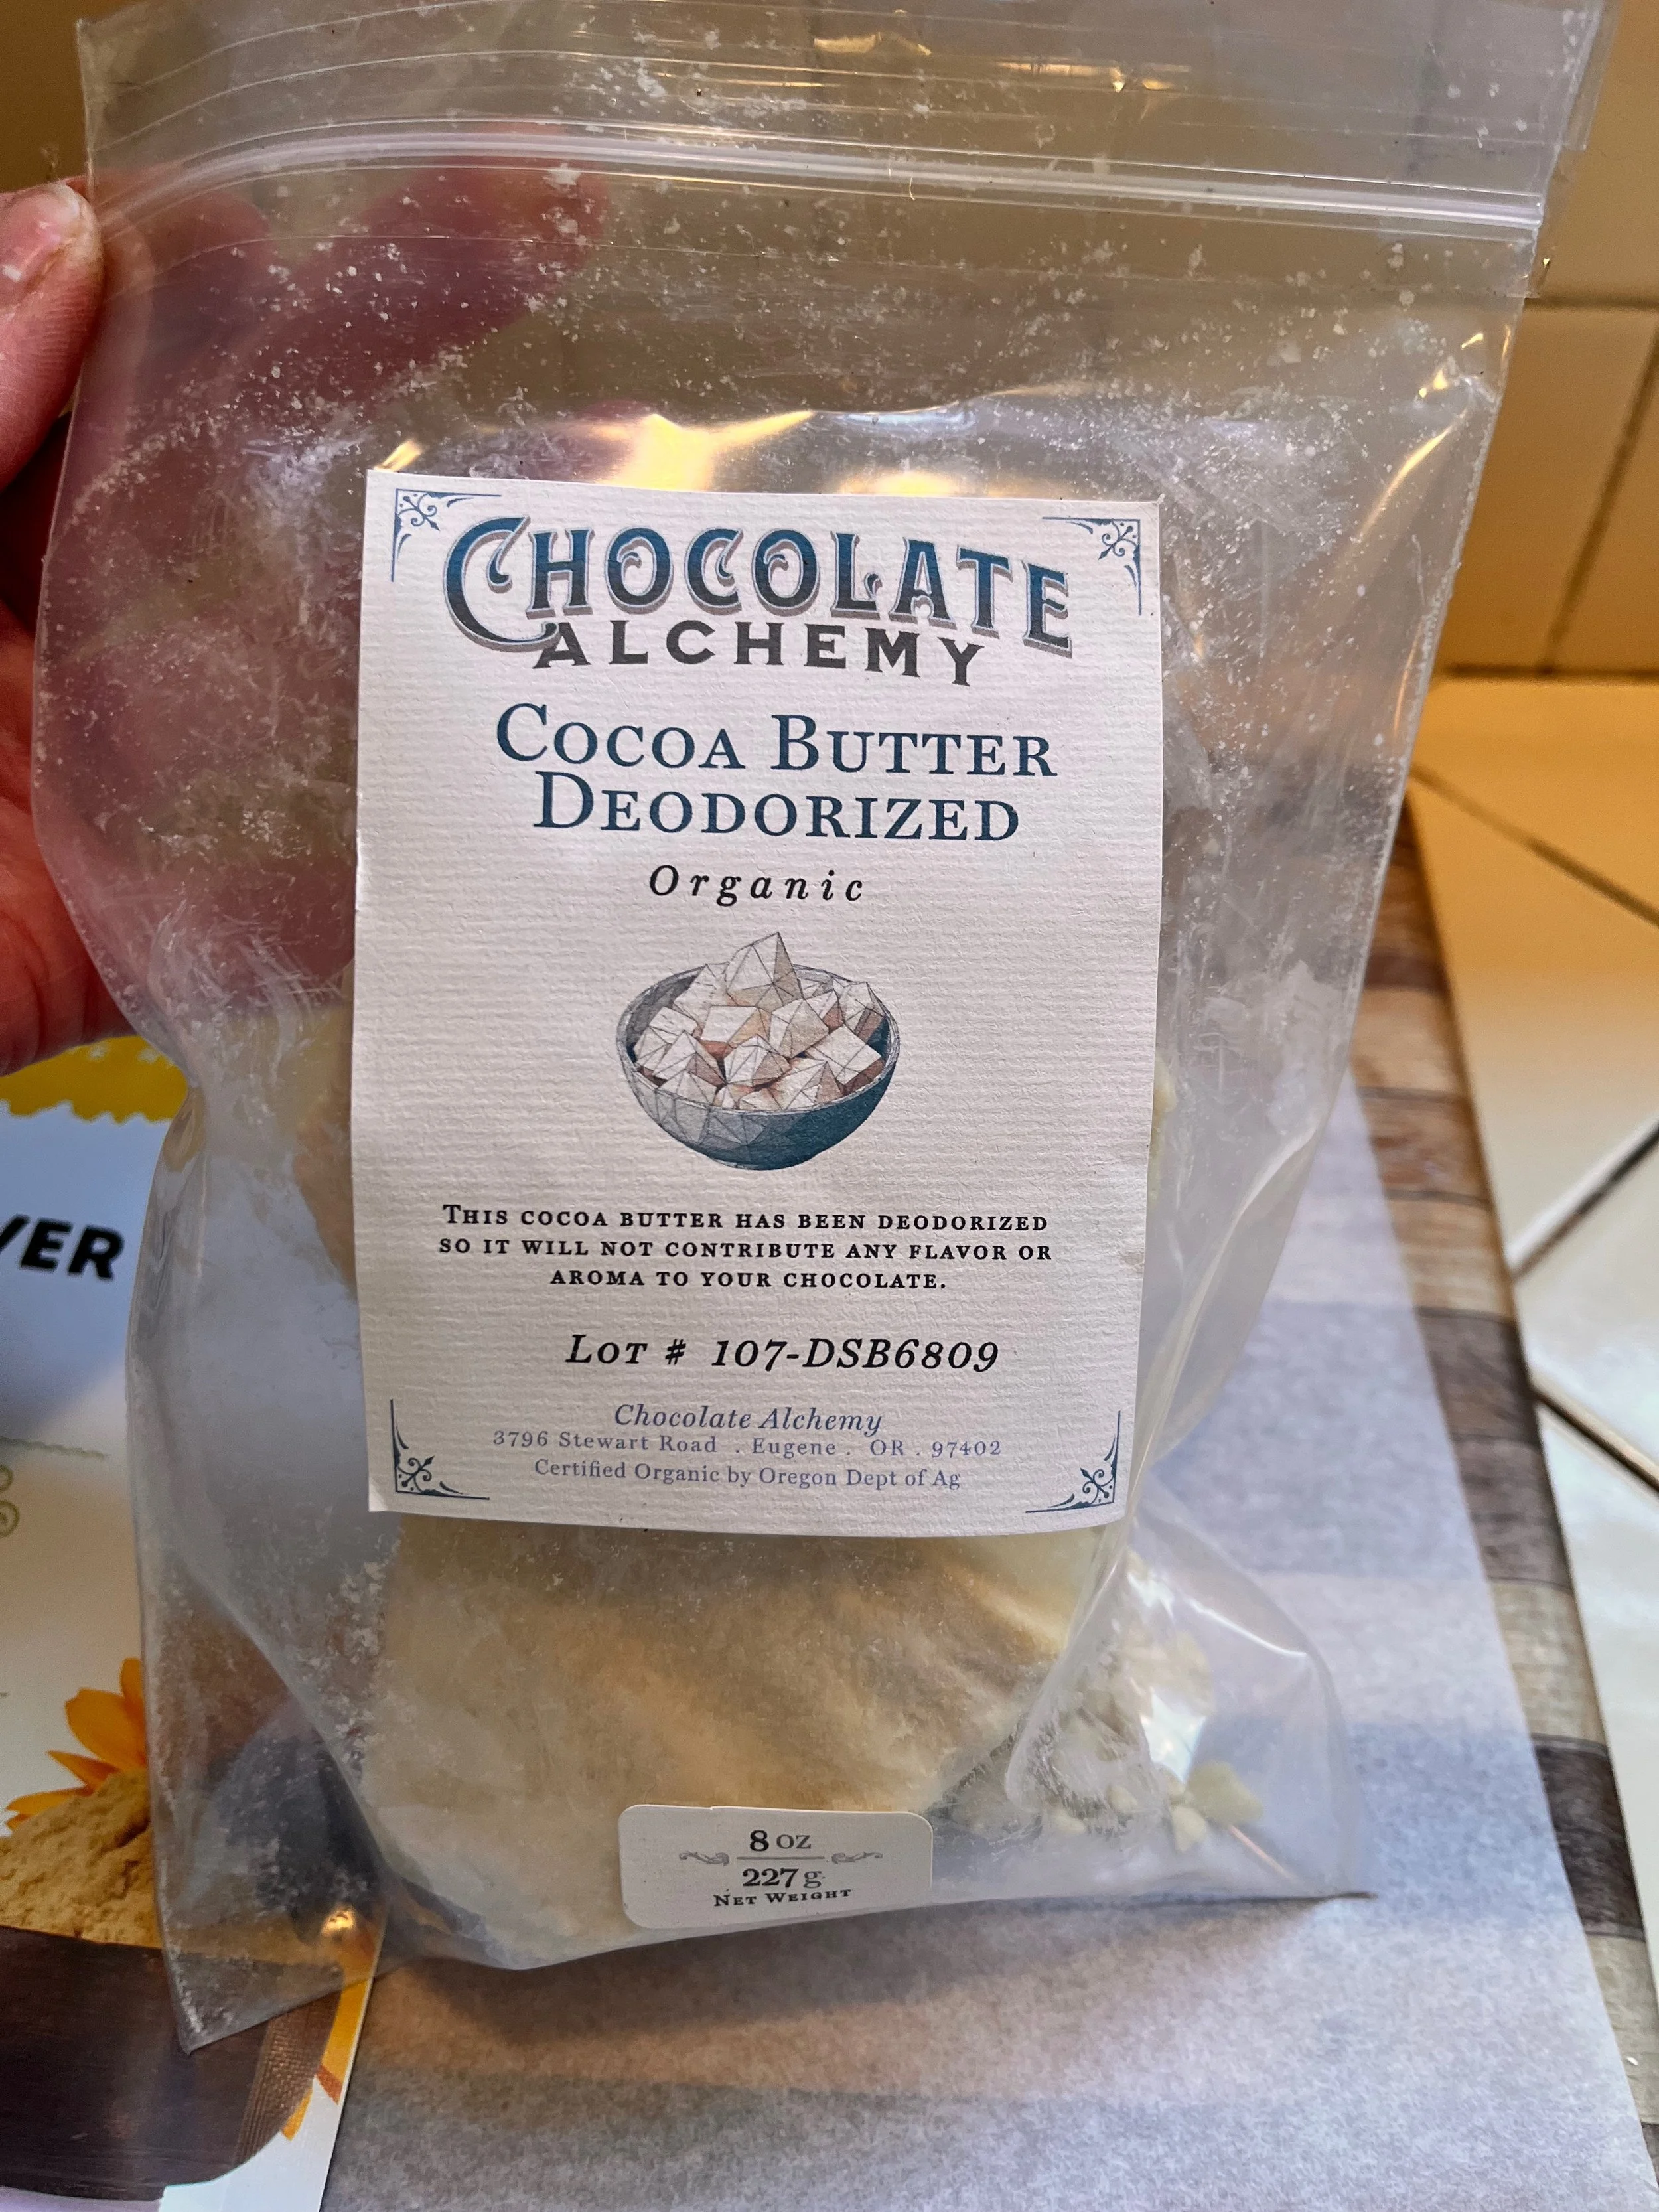
Chocolate Alchemy Deodorized Cocoa Butter. Photo credit Kara Nielsen
The other core ingredient is deodorized cocoa butter, which has been steam-treated to remove much of its natural aroma, making it a more neutral base for the recipe. Organic cocoa butter from Chocolate Alchemy took several days to arrive, so plan ahead when ordering.
Sunflower lecithin powder also proved difficult to find in local grocery stores and ultimately had to be ordered online. Lecithin is a plant-derived emulsifier and stabilizer often used in chocolate making to aid in cocoa bean grinding. Either sunflower or soy lecithin work, but sunflower may be preferable for anyone avoiding soy. The recipe calls for unsweetened, unflavored soy milk as well as nutritional yeast, which is widely available in bulk or packaged at natural foods stores.
Making the Butter
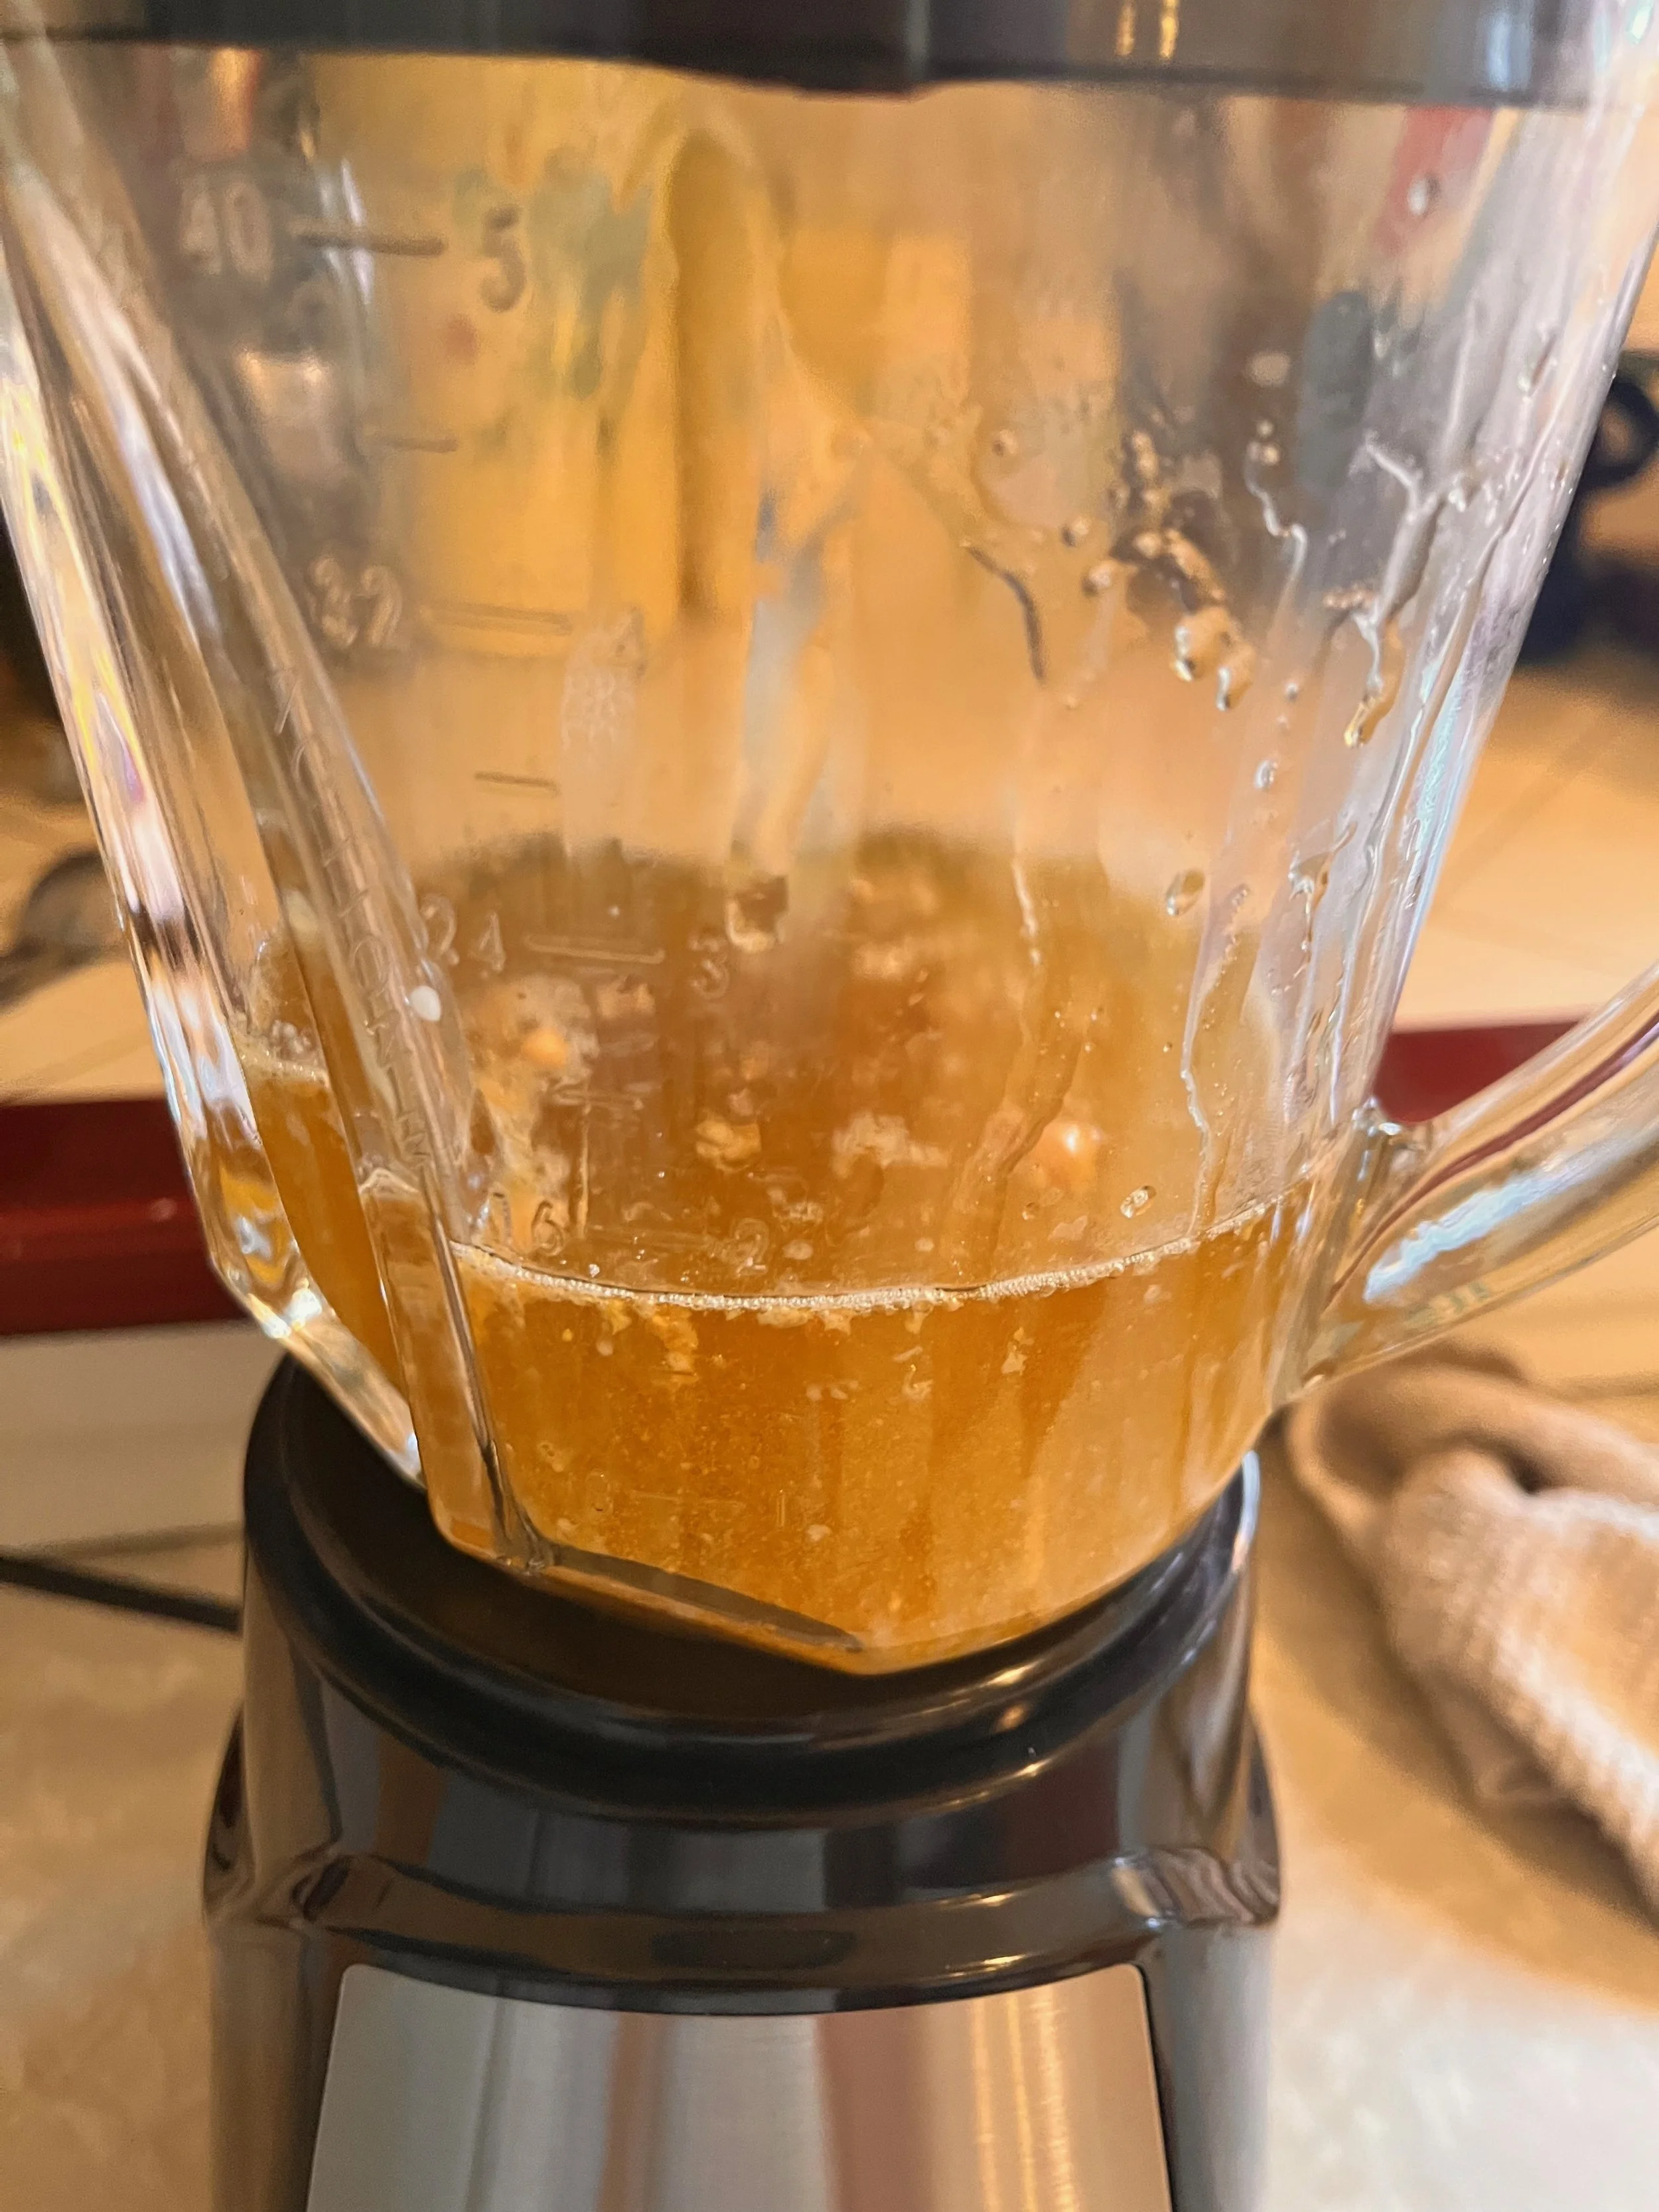
Liquid ingredients prior to being blended. Photo credit Kara Nielsen
Khoury’s recipe is clear and informative, listing ingredient amounts in grams and ounces. The process begins by lining an 8-inch square pan with parchment for the butter block. Next, the cocoa butter is melted over simmering water or in a microwave before being blended with the remaining ingredients until smooth.
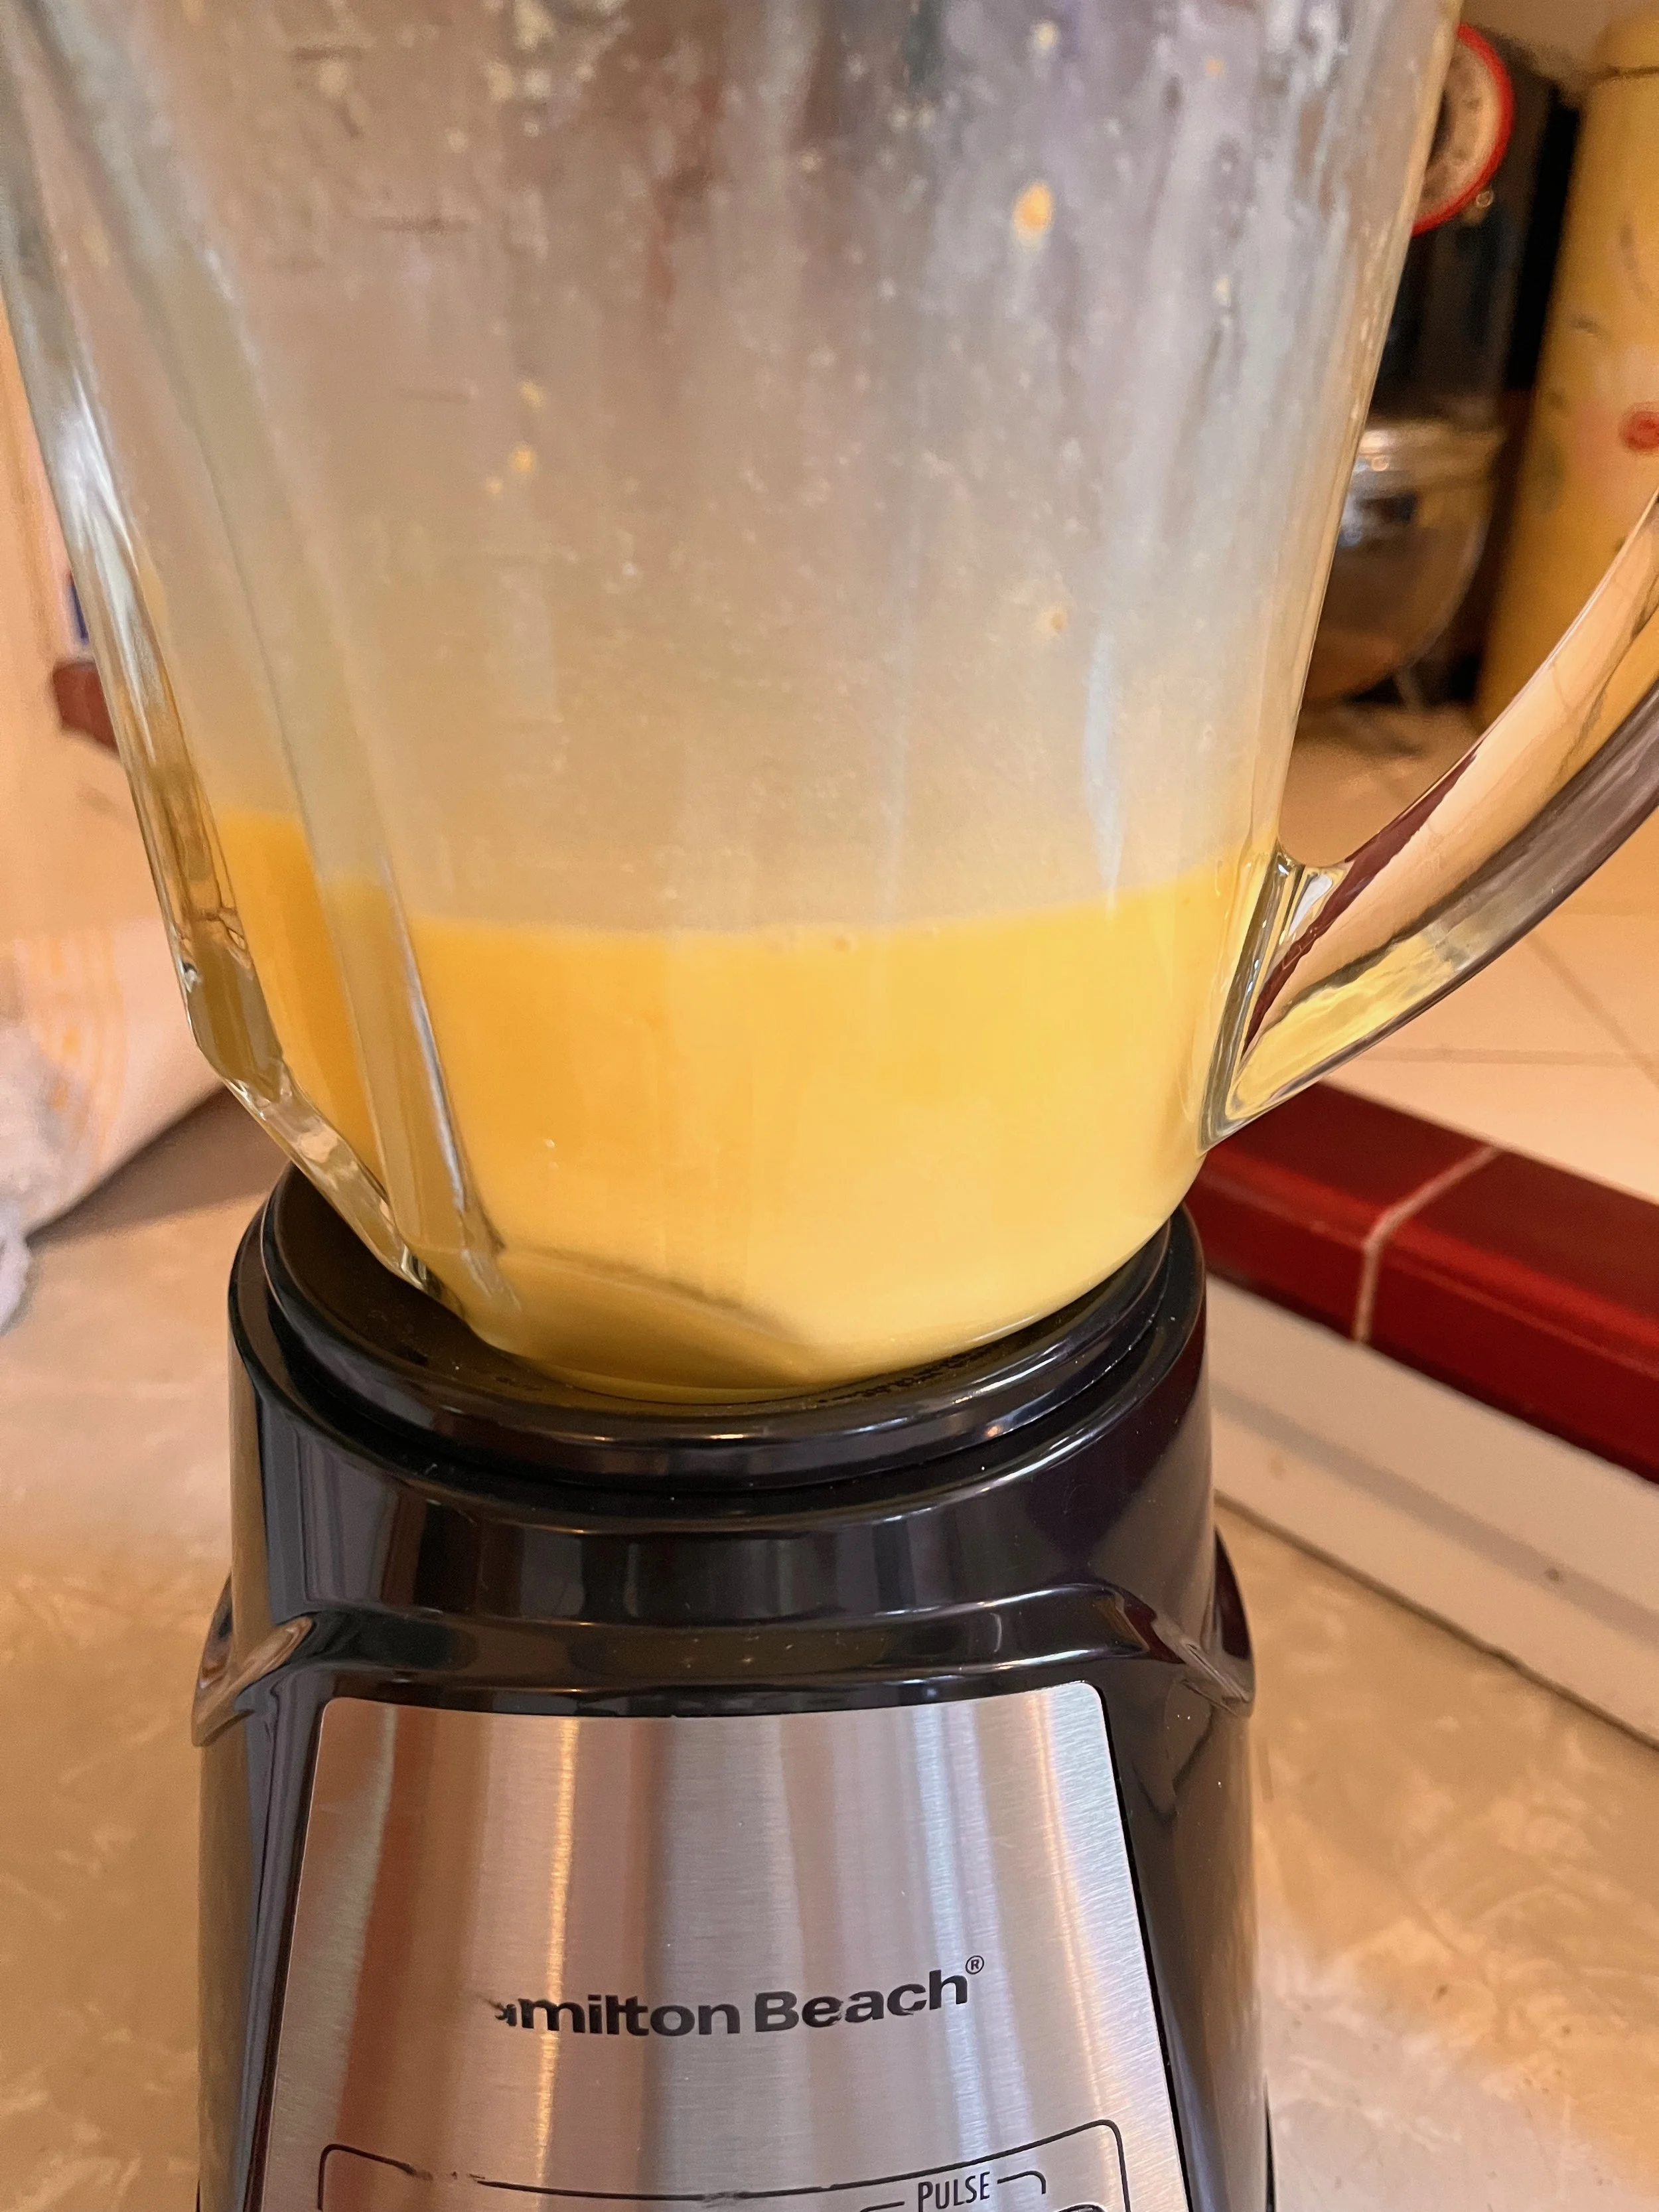
Emulsified liquid ingredients after being blended. Photo credit Kara Nielsen
Khoury demonstrates the technique using a NutriBullet, although a food processor also works well. Half of the mixture is chilled until set, then blended back into the remaining mixture, creating a thick, creamy emulsion with a smoother texture than chilling the entire batch at once.
Finally, the butter is refrigerated for at least six hours. For longer storage, I wrapped the finished butter block in plastic and froze it until I was ready to make croissants.
Using the Butter
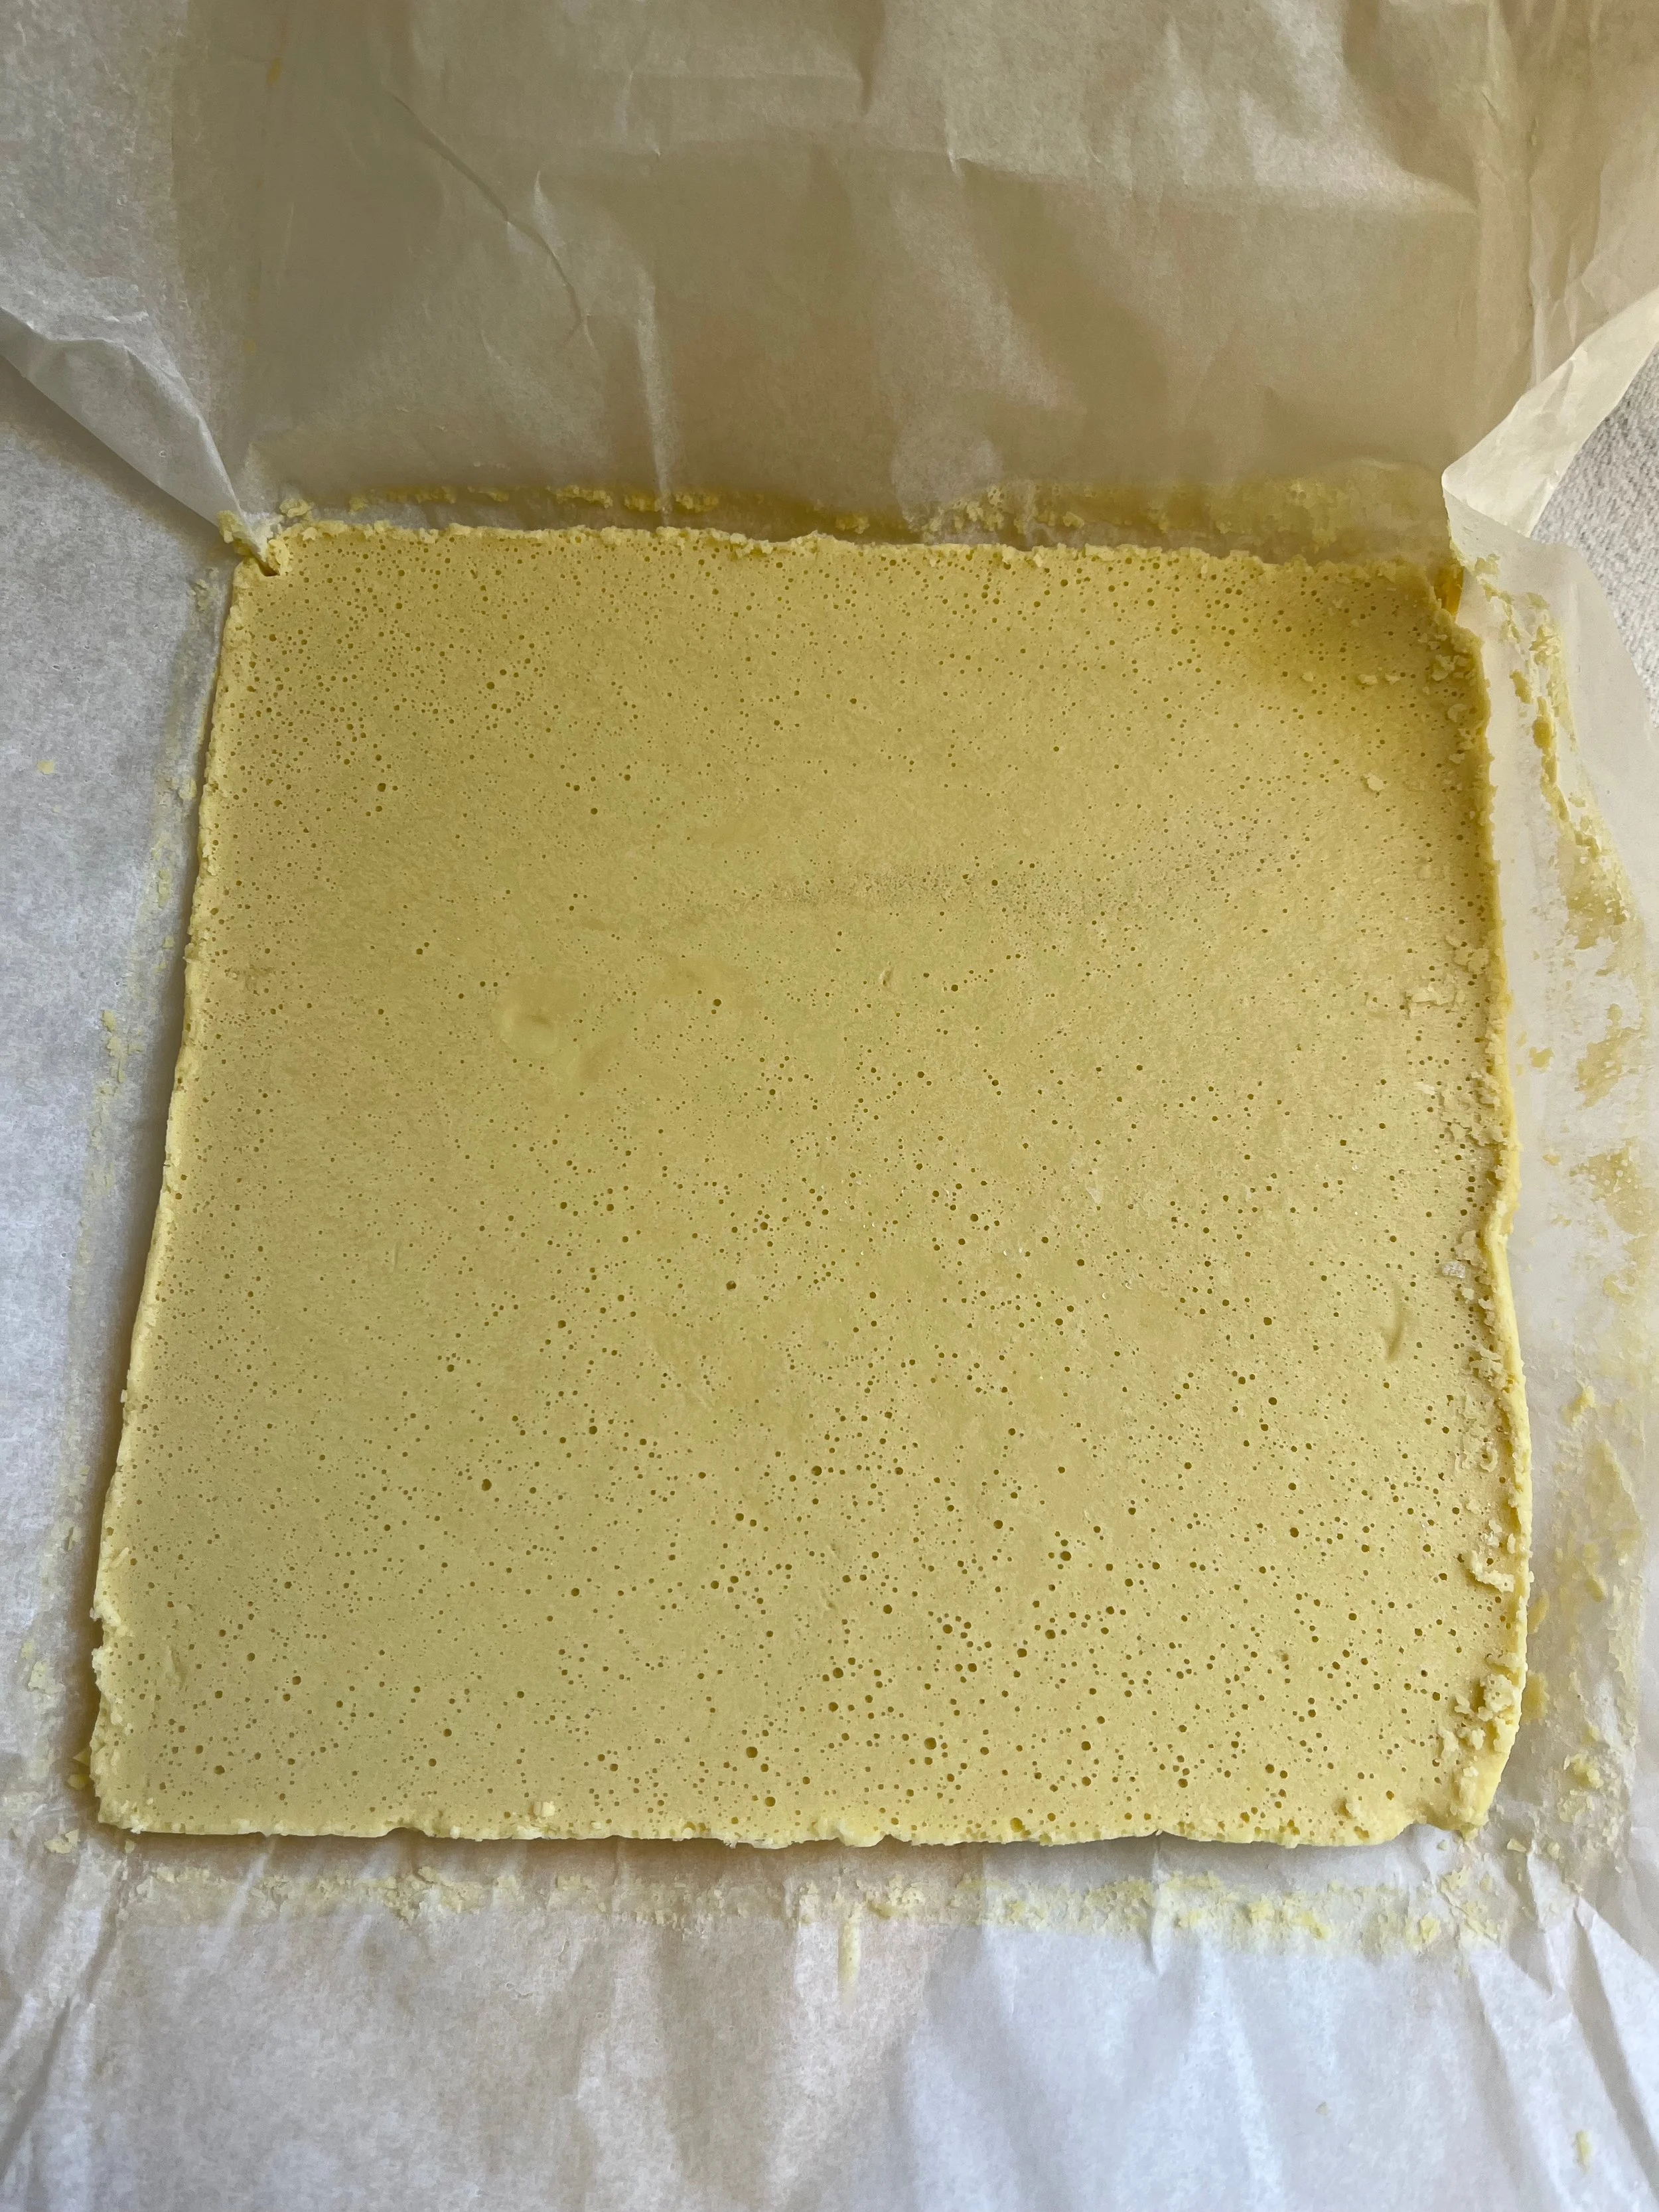
The Olive Oil Butter block after being chilled. Photo credit Kara Nielsen
In his video, Khoury points out that the Olive Oil Butter’s flavor is very olive oil-forward after it’s made, but much of that flavor mellows during baking. The butter can also be blended until creamy and stored in a ramekin or other container as a spread for bread or crackers. Because it separates when reheated, however, it is not well suited as a butter substitute when cooking.
With delicious olive oils readily available for drizzling or dipping, investing in cocoa butter and the other specialty ingredients simply to make a spread may not appeal to every home cook. For vegans and other plant-based eaters, however, having a flavorful olive oil spread on hand for entertaining or everyday meals may be worthwhile. I could imagine folding in finely chopped herbs, steeping garlic in the oil to start, or decorating the butter with sprinkles of spices or chile flakes.
Khoury uses the butter block in croissants and puff pastry, as the cocoa butter and other ingredients provide the laminating effect required for layered pastry products. The technique represents an important innovation in plant-based baking and is well worth trying for anyone who has missed croissants or other laminated pastries. Beyond Baking also incorporates olive oil directly into several recipes for cakes, cookies, tarts, and what he refers to as “Vrioche.” For bakers interested in exploring olive oil beyond savory cooking, Khoury’s book offers plenty of inspiration.
Olive Oil Butter
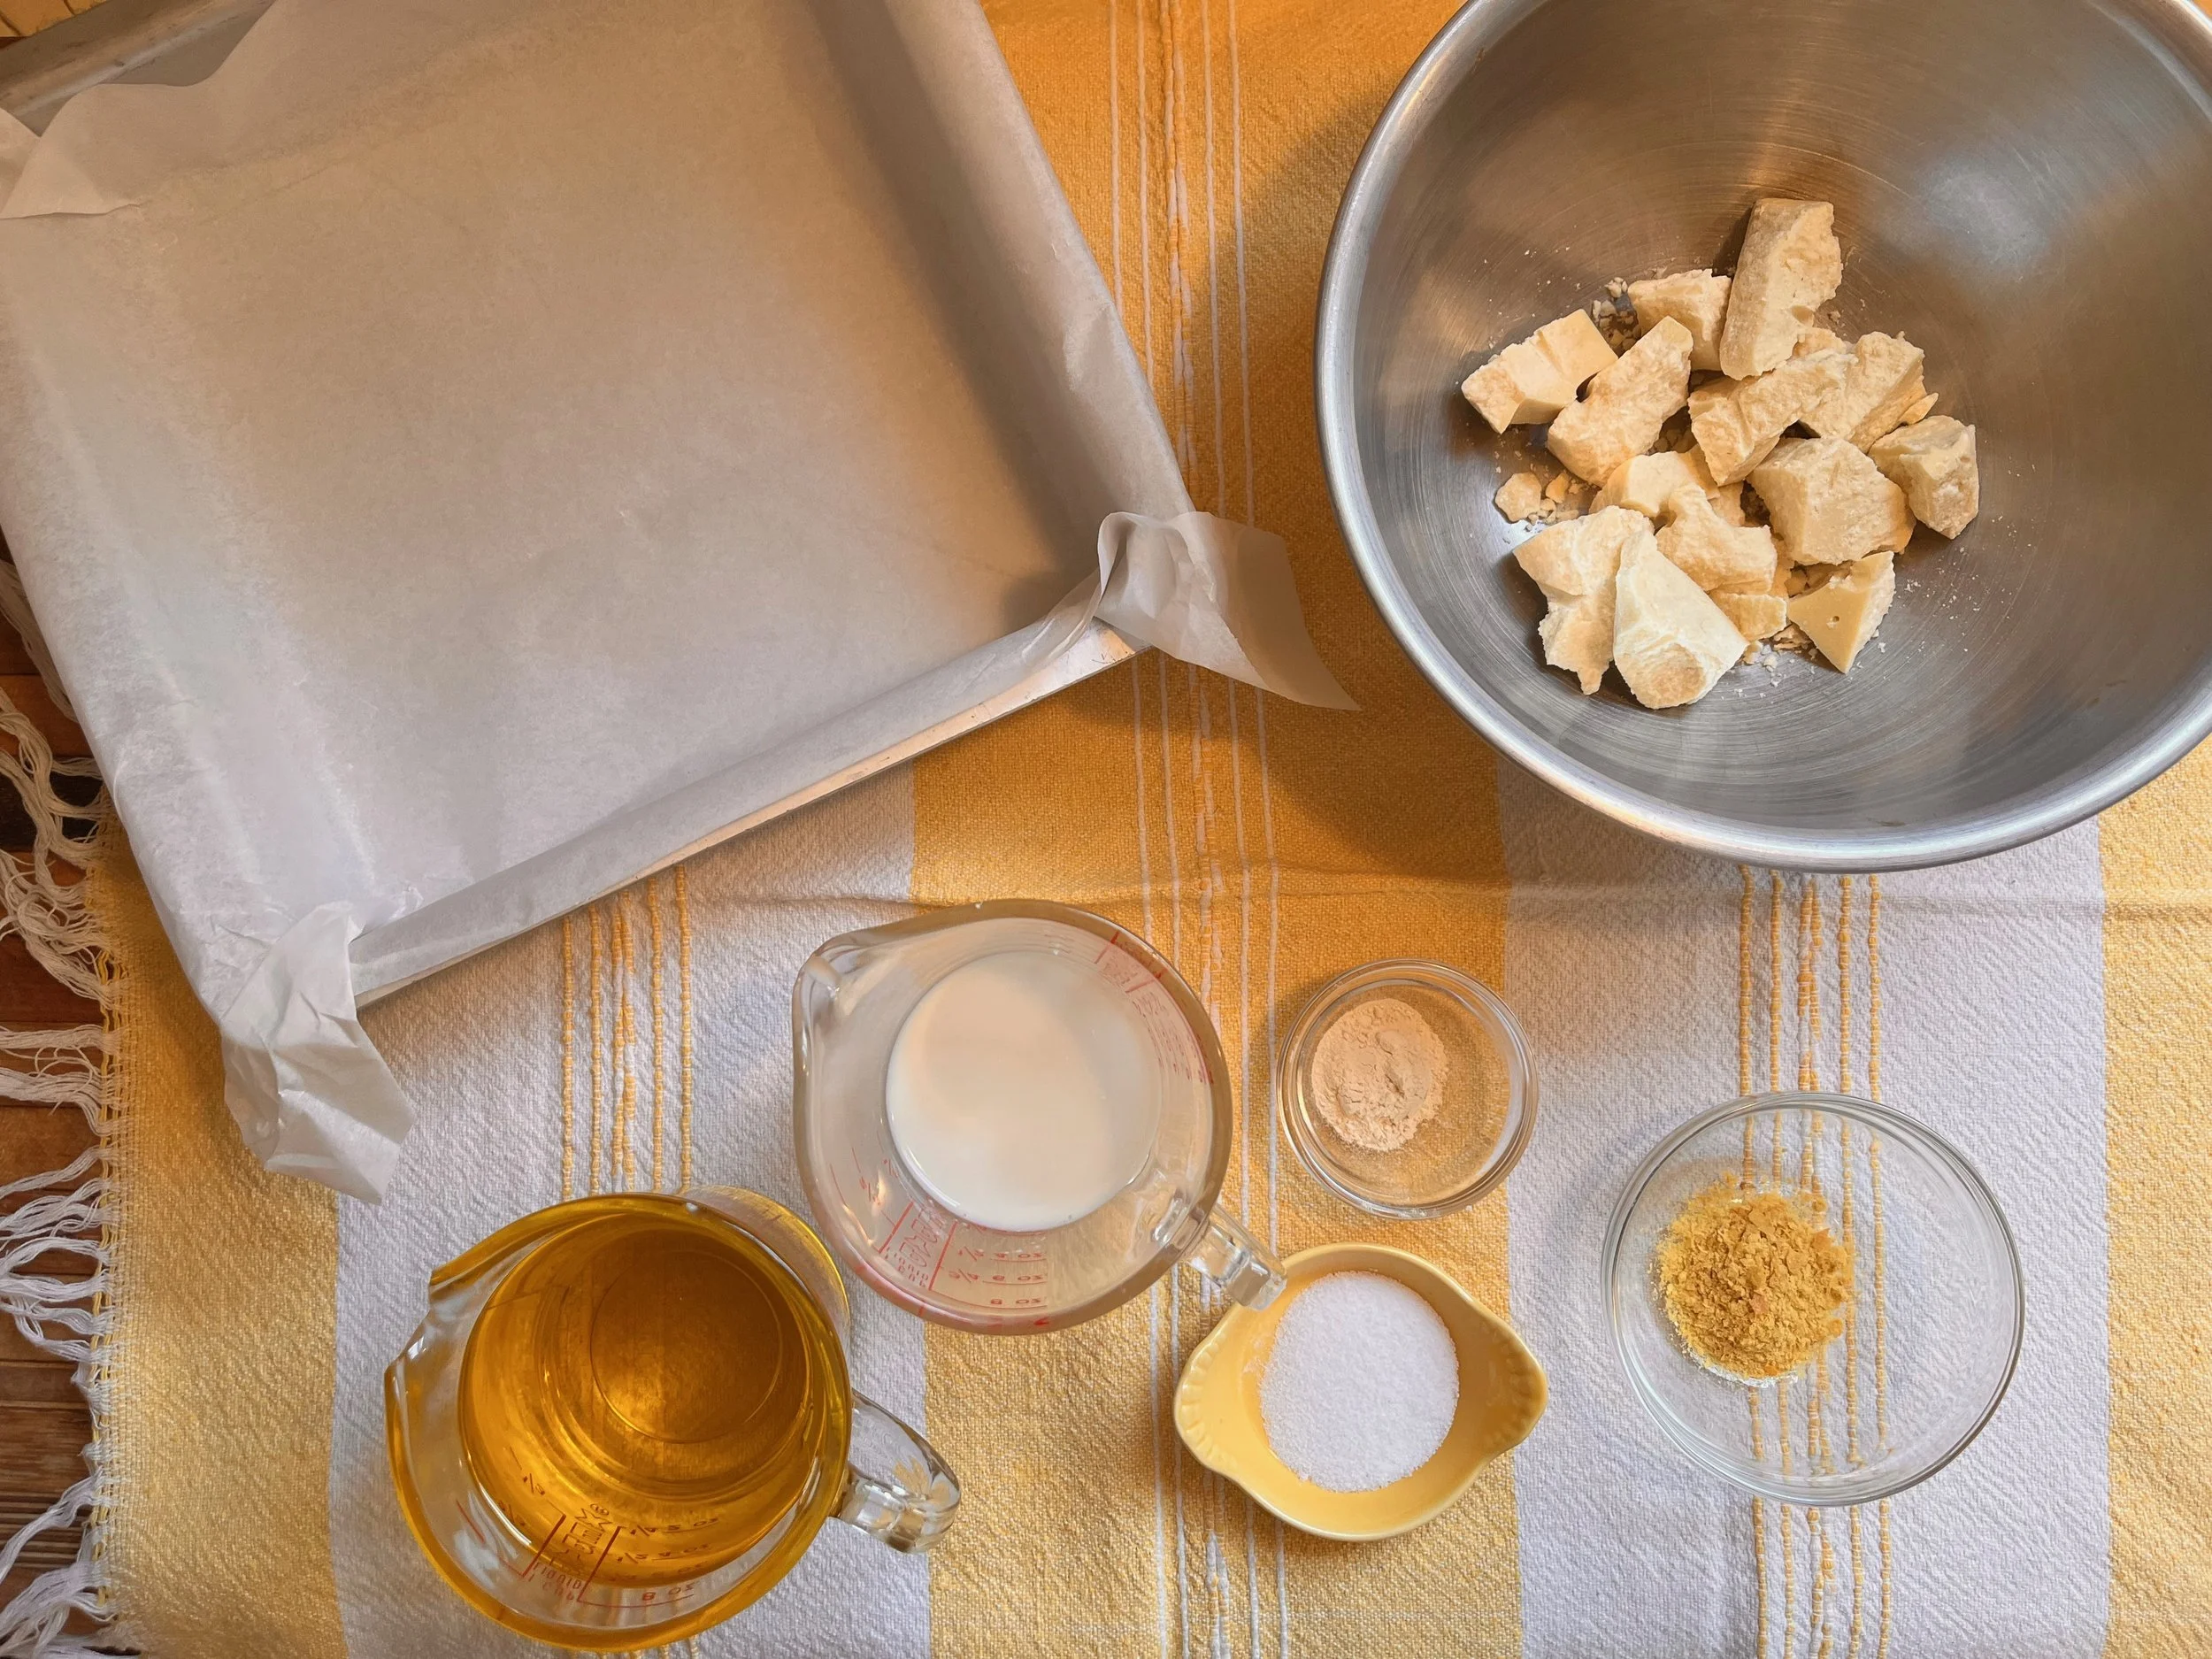
Pre-measured ingredients for the Olive Oil Butter. Photo credit Kara Nielsen
Adapted from Beyond Baking: Plant-based Baking for a New Era by Philip Khoury (Quadrille, October 2025).
Makes one butter block (about 350 g)
Ingredients:
3.4 oz (95 g) deodorized cocoa butter
1 teaspoon (3.5 g) lecithin powder
6.8 oz (193 g) extra virgin olive oil
1.9 oz (53 g) soy milk
1 teaspoon (1 g) nutritional yeast
1 teaspoon (6 g) fine sea salt
Directions:
Line a 8 x 8-inch square cake pan square cake tin (pan) with baking parchment, neatly folding the corners to ensure a smooth, even block of butter.
Melt the cocoa butter in a heatproof bowl over a bain-marie or in short bursts in the microwave until it reaches 158°F (70°C) on a thermometer.
Once fully melted, add the cocoa butter and all remaining ingredients to the blender or food processor (a NutriBullet works perfectly for this) to combine. Pour half the mixture into a shallow ceramic dish and refrigerate for 30 minutes until it is cooled and set at refrigerator temperature – 41°F (5°C).
Once the cooled half of the mixture is ready, use a paring knife to cut the chilled mixture into 1-inch (2–3 cm) squares. Check the warm mixture is 104°F (40°C), and warm up gently in the microwave if required.
Add the cooled pieces to the blender with the melted mixture and blend until it becomes thick and creamy. Be careful not to over blend, as the mixture can heat up too much and become too soft.
Pour the mixture into the pre-prepared tin and place in the refrigerator for at least 6 hours.
Once solid, remove from the tin, wrap in baking parchment and store in the refrigerator for up to 3 weeks, or freeze for up to 3 months.
Tip: If your mixture seems too soft, “melty,” or even liquid, repeat the temperature treatment from step 4 (melt half and chill half) and then blend again to achieve a very creamy texture.